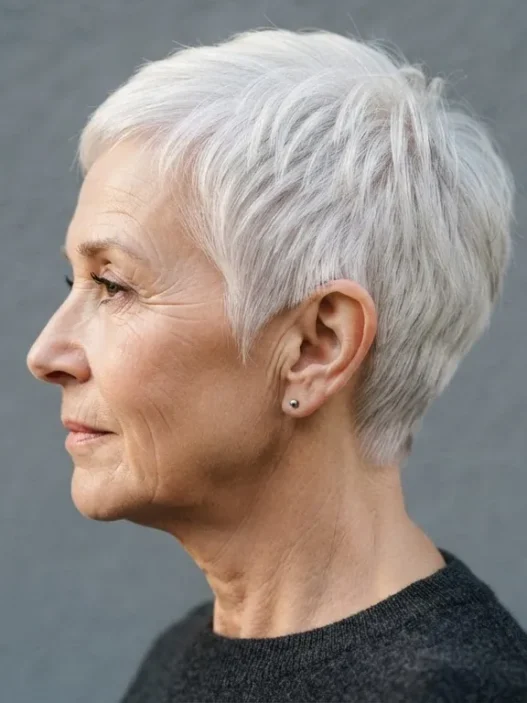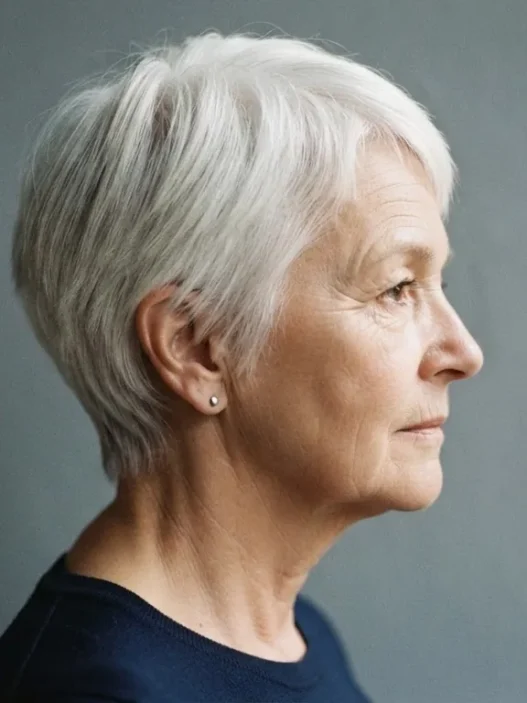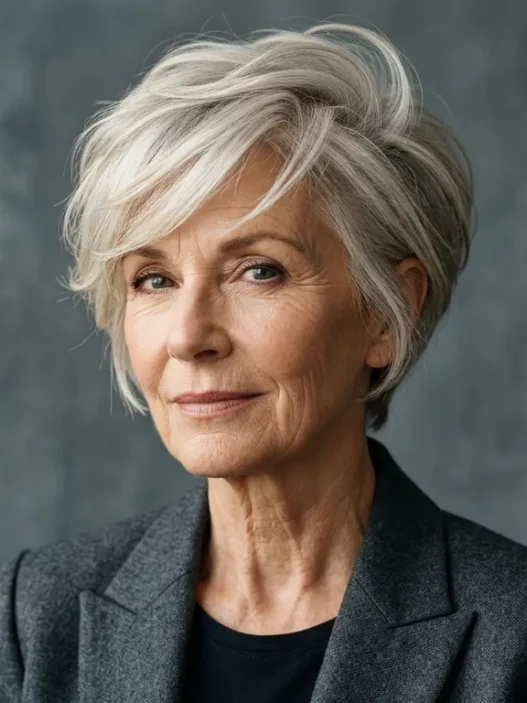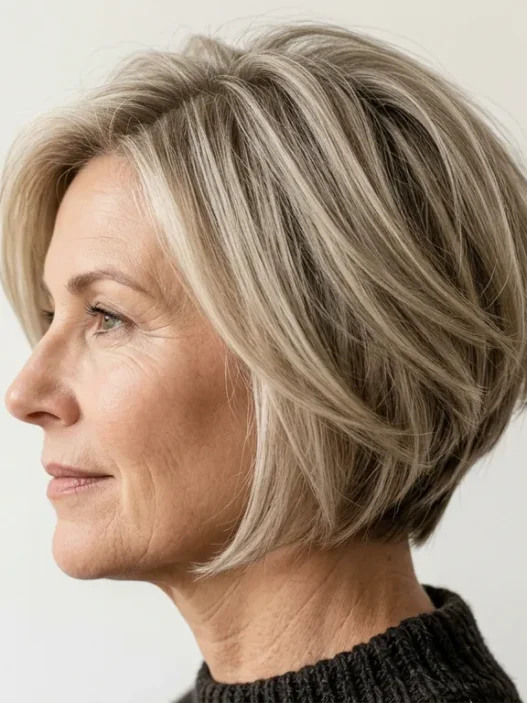










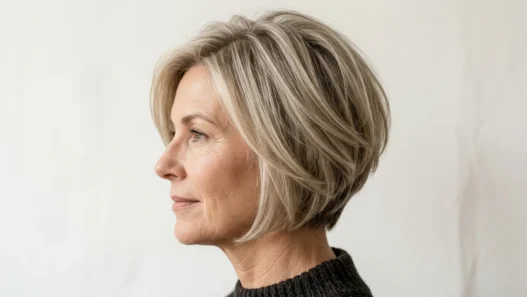


I cut my hair into a short, chin-skimming bob last spring because I was tired of chasing length that just went stringy. And I loved the cut in the salon chair. Then I went home, dried it the way I always had, and it fell completely flat by lunch.
That frustration sent me down a rabbit hole. I do not believe styling fixes thinning, but I do believe drying can either expose every sparse spot or softly blur it. This is the exact order I dry mine in now.
Just to be clear up front, this is not a treatment. It will not grow hair. It is a way to dry short thinning hairstyles so the hair you have reads denser, especially around the crown.
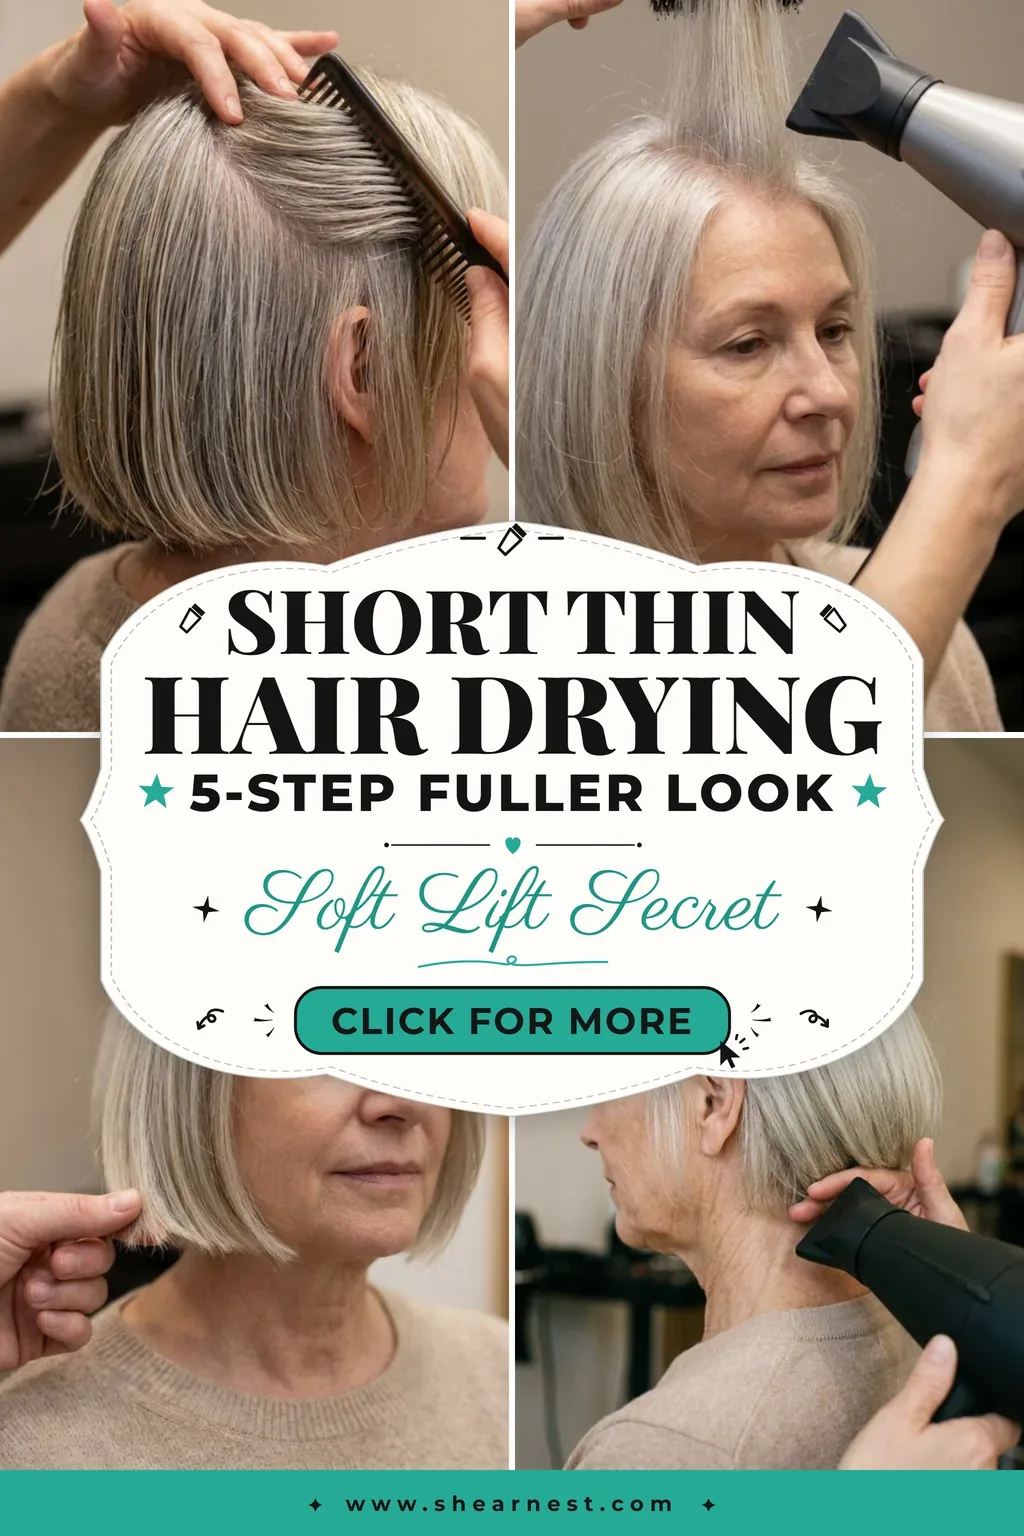
What We Will Walk Through Together
- What You’ll Need
- Step 1: It Is Not the Shampoo, It Is the Scalp Prep
- Step 2: It Is Not the Parting Alone, It Is the Dry Direction
- Step 3: It Is Not the Round Brush, It Is the Lift Angle
- Step 4: It Is Not the Length, It Is the Edge Finish
- Step 5: What It Actually Is, the Cool Set That Holds
- What I Get Asked About Drying Short Thinning Hair Denser
What You’ll Need
I keep this deliberately small. Fine hair hates a crowded bathroom counter, and mine gets over-conditioned in about two seconds flat if I layer too much.
- A light-weight volumizing mousse, golf-ball size only, not a palmful
- A heat-protectant mist that does not feel oily between your fingers
- A small, soft-bristle round brush, about a one-and-a-half-inch barrel
- A wide-toothed comb and two flat, no-crease clips
- A blow dryer with a nozzle and a real cool-shot button
- A pea-size drop of matte paste or a fine-mist flexible hairspray, pick one
My favorite is that small round brush. I used to use a big fat one because I thought bigger meant more volume. On my density it just polished everything to my scalp. The smaller barrel gives me actual bend at the root without pulling the ends thin.
Step 1: It Is Not the Shampoo, It Is the Scalp Prep
For months I blamed my shampoo. I switched to thickening, then clarifying, then sulfate-free, then back again. My shower looked like a science fair. And my crown still separated into those see-through ribbons by day two.
What it actually was, for me, was residue plus too-wet styling. I was putting mousse on soaking hair, so it just slid down and glued my roots flat. Now I gently squeeze my hair in a microfiber towel for a full four minutes. Not rubbing. Just pressing. Damp, not dripping, is the whole point.
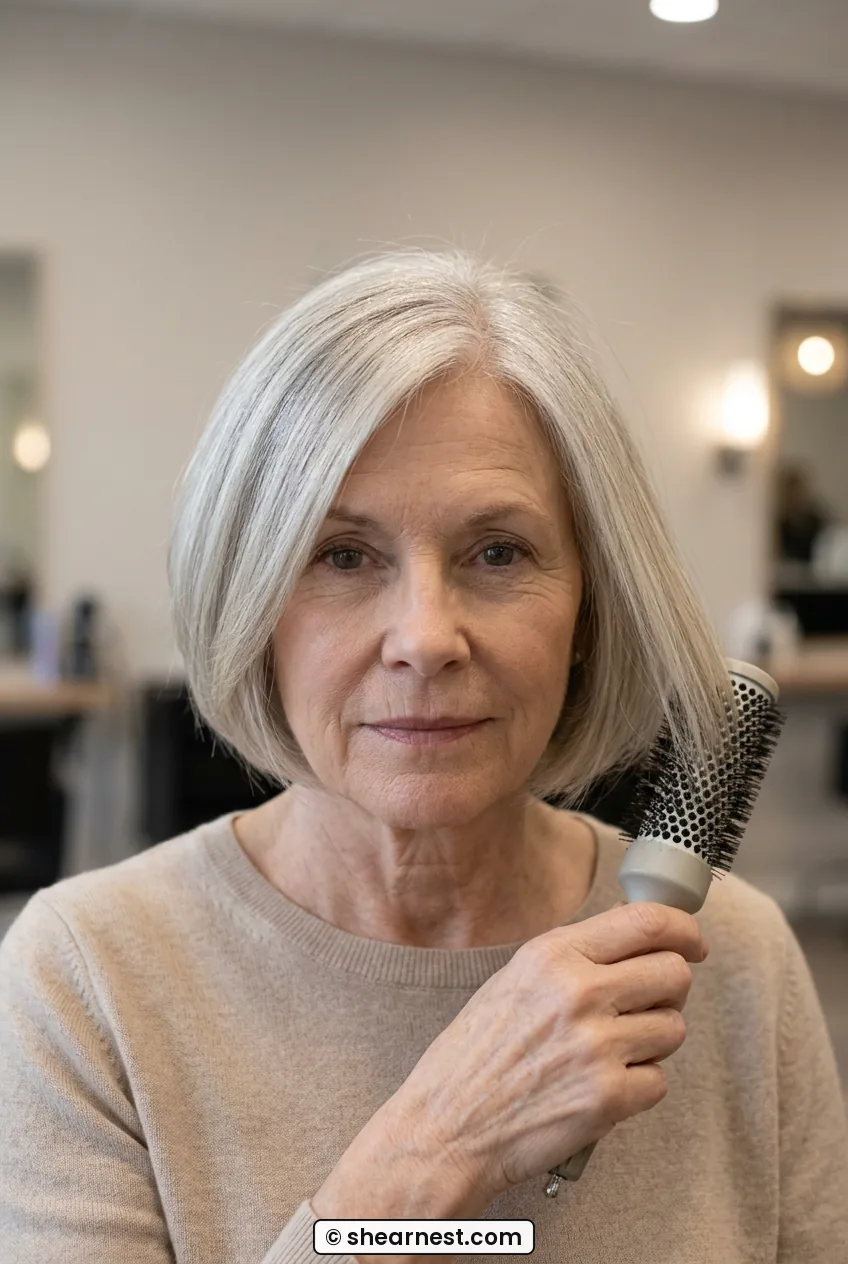
Look at how she is wearing hers in the photo below. That clean lift right off the scalp is what towel-blotting plus well-placed product gives you. See how the section is held away from the head instead of combed tight to it? That little bit of air at the root is everything.
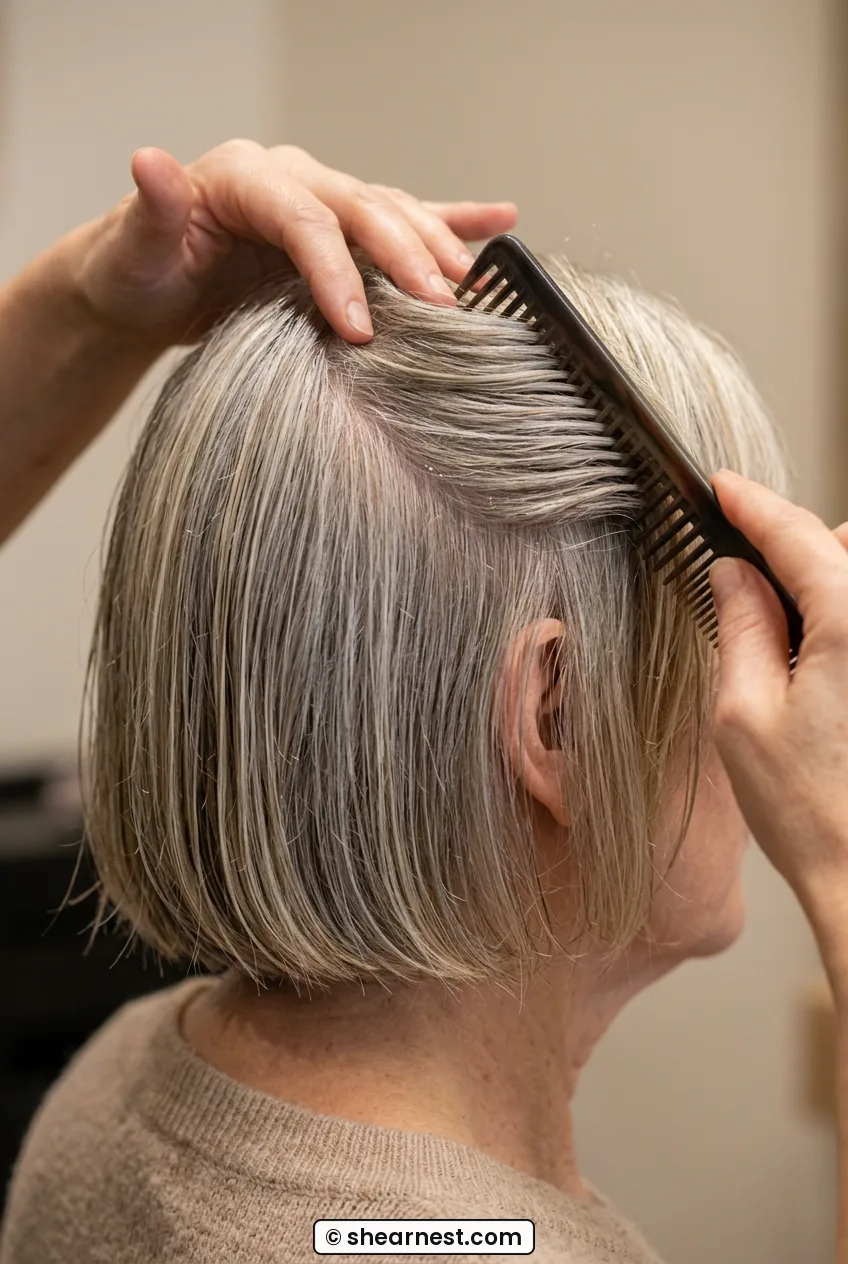
I work in that golf-ball of mousse only at the roots first, with my fingertips, like I am shampooing in reverse. Then I mist the mid-lengths lightly with heat protectant. If you have a short bob for fine hair, keep conditioner and heavy creams off the top three inches entirely. My ends need softness, my roots need air.
When I tried this on my friend Carol, who has a very similar short haircut for fine hair, she laughed because I timed her towel step on my phone. But her part line looked half as wide when we actually waited until her hair was evenly damp before adding anything. Wet spots drink product, damp spots lift with it. You can also read about fine and thinning hair prep if your roots get oily fast like mine do, the advice on washing frequency helped me stretch to every other day.
I part my hair roughly where I want it, then I comb it completely flat with the wide-toothed comb just once to distribute product. This sounds backward, but you want to start even so you can build direction in Step 2. Think of it as smoothing the canvas before you sculpt it.
Step 2: It Is Not the Parting Alone, It Is the Dry Direction
I used to think if I just found the perfect side part, my crown would look full. I moved it left, then right, then middle. It still split open under kitchen lighting. Why? Because I was drying everything straight down toward the part, which just trained the hair to lie separated.
My stylist showed me to rough-dry in the opposite direction first, and that changed more than any part ever did. I clip the top crown section up loosely, just two clips, and I dry the underneath first on medium heat, pushing it side to side with my fingers. No brush yet. Just air and motion.
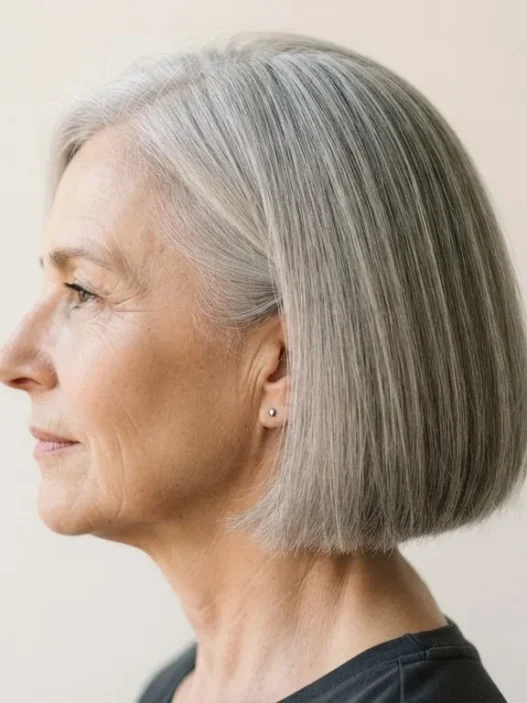
This is the length I am talking about. See how it hits just below her chin in this next photo, with the sides pushed slightly forward while the crown is still clipped? That is exactly how mine looks halfway through. A little messy, a little wide, not pretty yet. You want about 70 percent dry before you ever pick up a brush. If you brush too early on short hairstyles for fine hair, you just stretch the damp hair thinner.
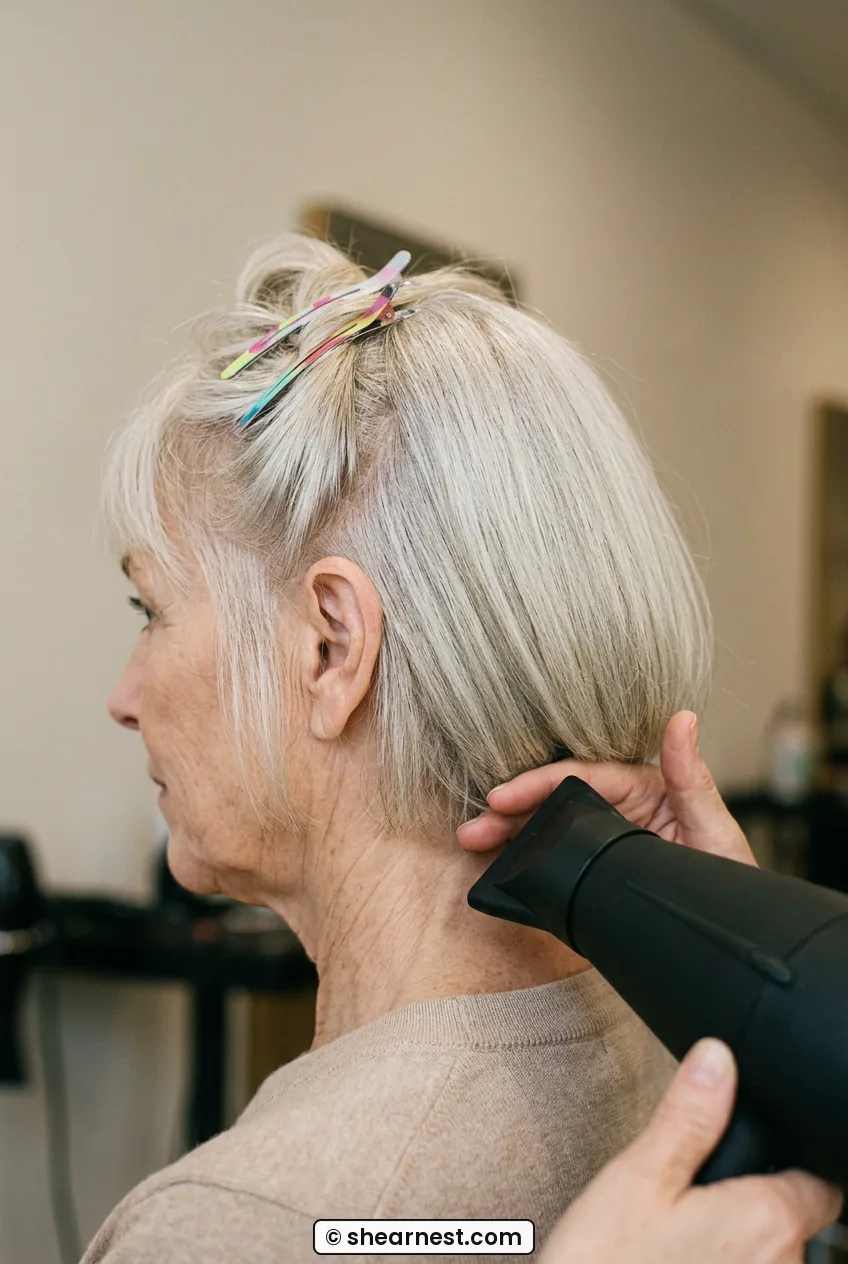
I keep the dryer nozzle pointing down the hair shaft, never straight into the scalp, and I move constantly. About three minutes. My test is to touch the underneath nape. If it still feels cool and damp, keep going. Warm and almost dry means you can move on.
Then I drop that top section and dry it forward over my face first, even though I never wear it that way. It feels silly. But drying forward for 30 seconds fills in that thin spot right at the crown whorl where my scalp always peeked through. Only after that do I push it back into my actual part. The root has memory now, so it stands up instead of splitting.
The mistake I made for a year was rough-drying on high heat with no nozzle, head flipped upside down. I got big hair for ten minutes, then flat, frizzy hair with a sore scalp. Medium heat, nozzle on, upright head, that is what finally gave me lift that lasted past coffee.
If your crown is very sparse, you might like how I think about short hair styles for thinning fine hair and where the lift should actually sit. It is not all over, it is just in that top diamond from temple to crown. That is the only place I spend extra drying time.
Step 3: It Is Not the Round Brush, It Is the Lift Angle
Okay, confession. I owned four round brushes and blamed all of them. Ceramic, wood, thermal, boar. The brush was never the problem. My angle was. I was pulling each section straight out sideways and rolling under, which smoothed my short cuts for fine hair completely flat to my head.
Now I take horizontal sections across the crown about two inches wide, no wider than the brush. I place the brush behind the roots and lift straight up, past vertical, so the hair is standing away from the scalp. The section is held at 90 degrees from the head, clearly upright, not flat and not pulled forward. Then I aim heat right at that one-inch root zone for five slow seconds.
She has got a similar density to mine in this photo, and honestly, this lifted angle looks incredible on her. Look at how the comb is holding that clean section straight up off the crown while her fingers steady it. That upright hold is what I mean, not a curl at the ends but height at the base.
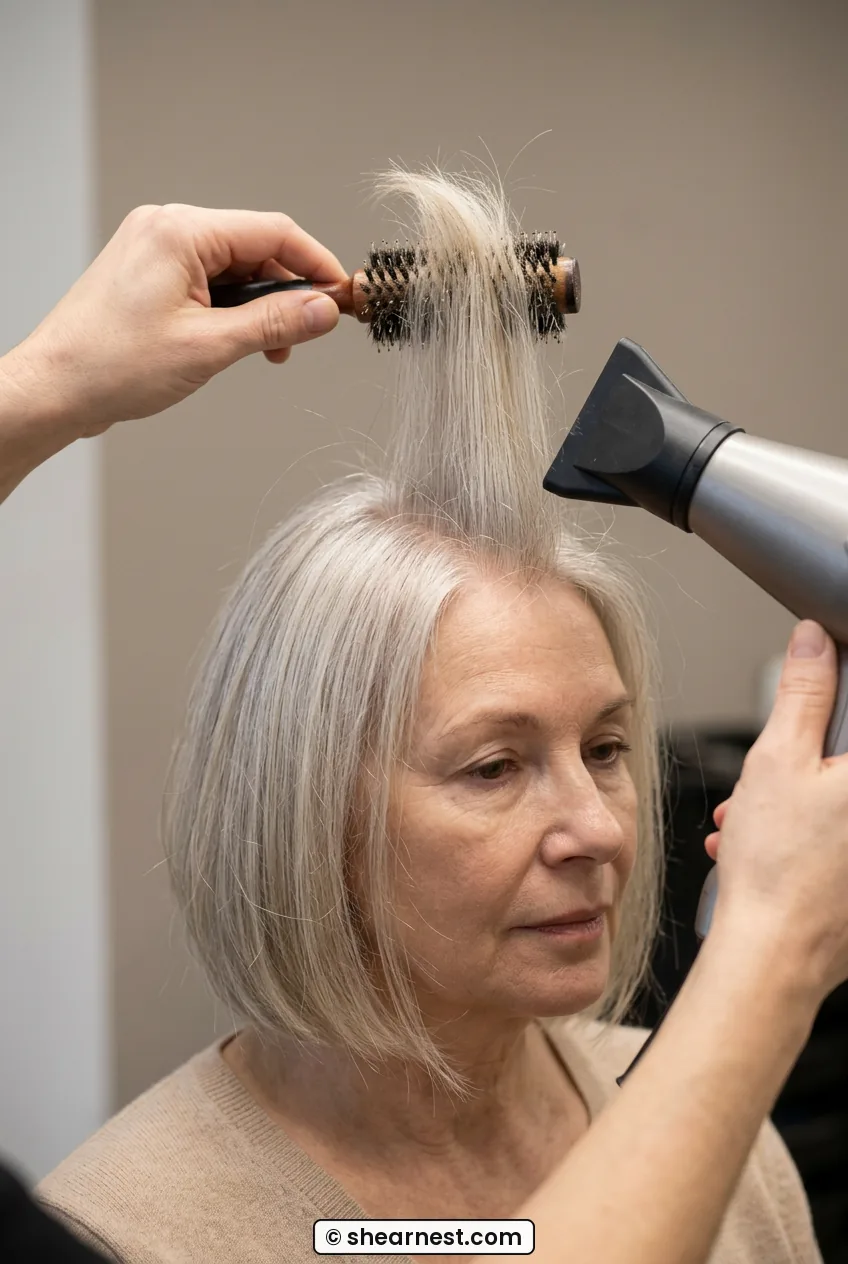
I only do four sections like this. Two on either side of the part, two straight back at the crown. That is it. More than that and I overwork it and it goes limp again. I learned about keeping tension gentle from reading up on blow-drying techniques for fine hair before I bought yet another brush I did not need, and the tip to keep the dryer moving instead of baking one spot saved my ends.
Ends get almost no heat in my routine. Once the root is dry and warm, I just slide the brush lightly to the ends with cool-ish residual heat. For short bobs for fine hair, curving the very tips under just a quarter turn is enough. A full curl eats up density and makes the perimeter look thinner, which is the opposite of what we want.
Do you hear that little sizzle sound? Stop. Your section was too wet. Clip it back up, rough-dry a bit more, then come back. Wet hair plus a hot round brush is how I snapped a bunch of baby hairs around my face last winter, and those flyaways made my hairline look even thinner for months.
See the Root Lift in Action
Step 4: It Is Not the Length, It Is the Edge Finish
For a while I was convinced I needed to go shorter, then longer, then shorter again. I kept booking trims thinking length was why my edges looked wispy. It was not the length. It was how I finished the perimeter when it was dry.
When hair is 100 percent dry, I let it cool for two full minutes. I make tea. I do not touch it. Warm hair looks thicker than it is, and if you fuss with it warm, you press the lift right back out. Cooling locks that upright root in place.
Then I use the tiniest bit of matte paste. I rub a pea-size drop until there is almost nothing left on my palms, then I pinch just the very ends around my face and at the nape. Not the roots. Never the roots. This gives that soft, slightly thicker edge instead of feathery nothing. If paste feels too heavy for you, a single veil of flexible spray from ten inches away does the same job.
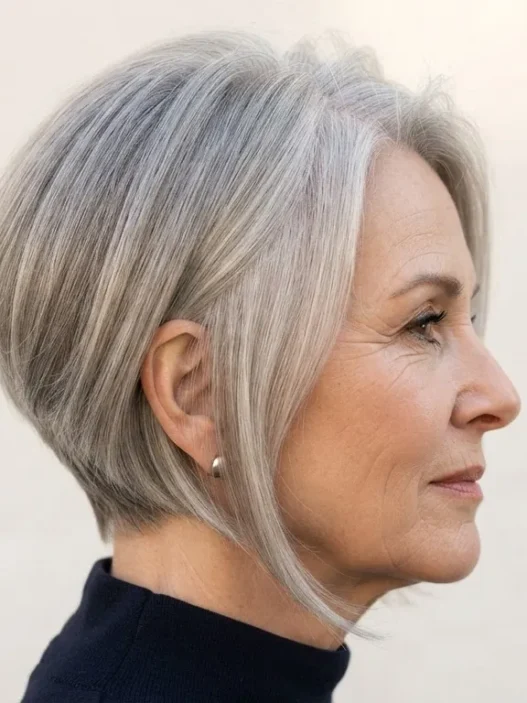
This close-up shows what I mean about the edge. See how her ends look softly tucked, not razor sharp and not straggly? That slightly blunt, lived-in line is what makes short thinning hairstyles read denser from across the room. I point to this photo a lot when friends ask why I stopped razor-texturizing my perimeter.
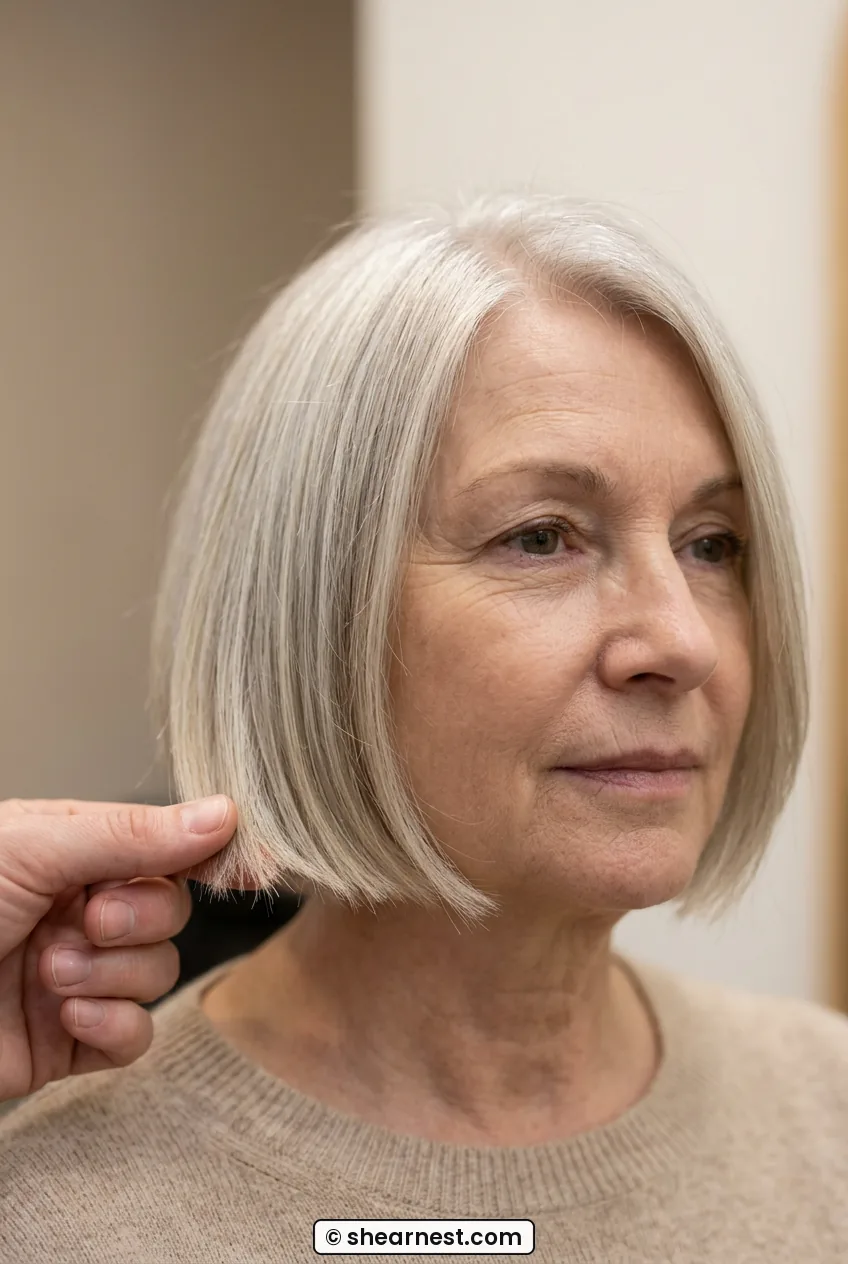
I also push the sides very slightly forward with my palms to cover the corners where my jaw meets my ear. That little pocket always looks sparse on me if the hair is pushed straight back behind the ears. Forward means shadow, and shadow means depth. I found a similar idea when I was browsing hairstyles for thinning hair for women, the ones that worked best all kept a little softness in front of the ear instead of tucking tight.
At this point I check the back with a hand mirror. If the nape is flipping out, I just smooth it under with my hands warmed from the dryer, no extra heat. Short hair styles for thinning fine hair fall apart fastest at the nape when we add more tools, so hands off is better.
Step 5: What It Actually Is, the Cool Set That Holds
So after ruling all that out, what is left? For me, it is simply this. Volume on fine, low-density hair is mostly a cool set, not hot styling. Heat creates the shape, cold keeps it.
I hit that cool-shot button section by section, holding each lifted piece up for five seconds while it cools. It feels boring. It looks like nothing is happening. But this is the step that gets me to 4 p.m. without my part widening. I do the crown, then the two front pieces. Back gets a quick cool pass while lifted with fingers, no brush needed.
Look at her crown here, how it has that soft dome instead of a flat split? That is a cool set, not teasing. I never tease anymore. Teasing gave me breakage right where I could least afford it, and the little tangled mat showed through my silver in sunlight.
Once cool, I set my part with the tail of the comb, just nudging, not carving a hard line. A slightly soft, off-center part blurs scalp show-through so much better than a crisp straight line. Then I tilt my head side to side and let the hair fall naturally. If a flat spot appears, I lift just that piece, warm it for three seconds, cool it again. Spot fix, not a redo.
I like to finish with a three-second cool blast all over from arm’s length, like hairspray without hairspray. It settles flyaways without gluing anything down. I picked up that habit after reading about how a cool shot sets volume and realizing I had been skipping the only button that actually locks lift, and it made my short hair styles for fine hair last an extra day.
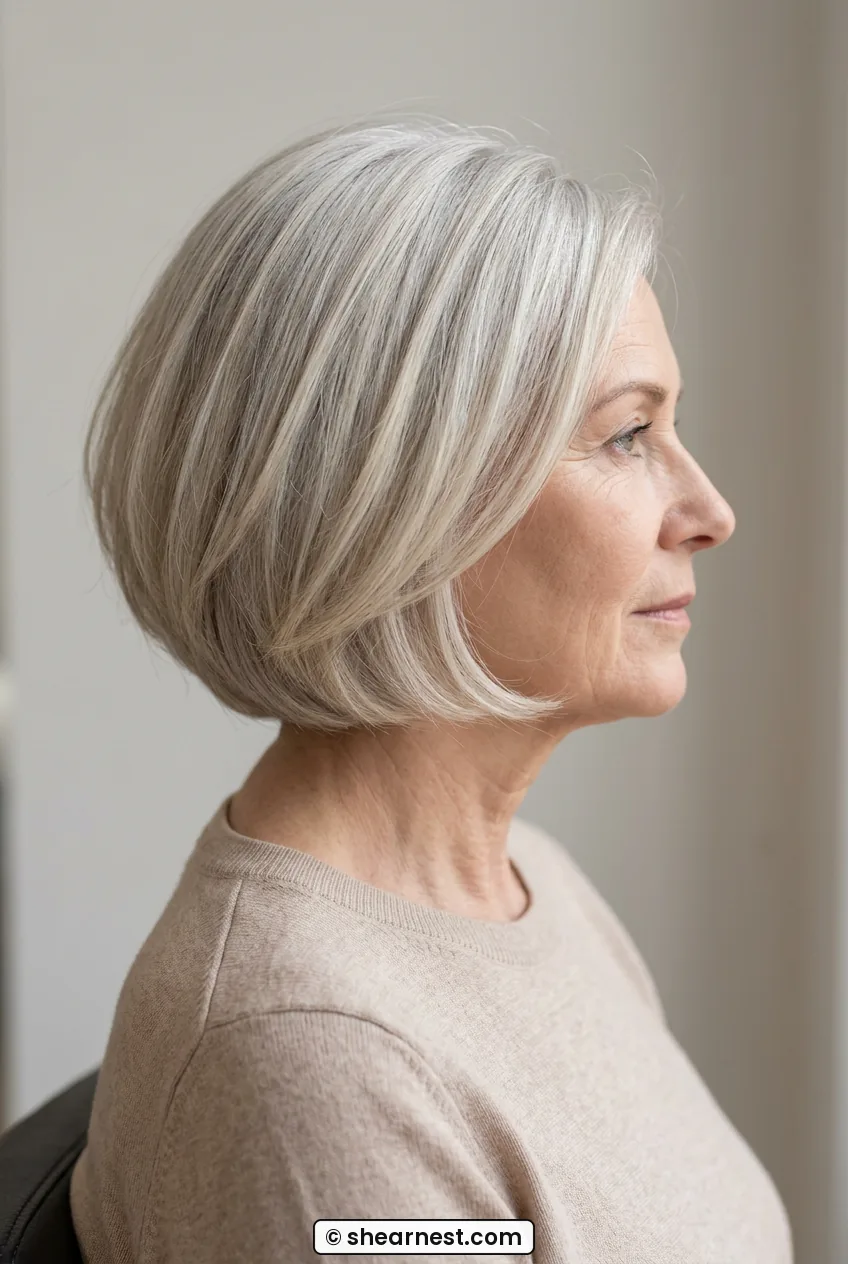
One more view from the side says it best. See the fullness through the back crown even though the ends are still fine and wispy? That is the whole goal. Not thick ends, but a supported middle that holds the silhouette out from the head.
And please hear this part from someone who learned it the slow way. If you are seeing a widening part, smooth bald spots, heavy shedding in the shower, itchy or painful scalp, or thinning that moved fast over a few months, styling is not the answer. That is a doctor visit, not a dryer technique. I love a good haircut for thin hair over 50 that works with the density you have, and I live in short hairstyles over 60 these days, but none of that replaces medical advice when your scalp is telling you something changed.
What I personally got from this exact order surprised me. My chin bob now takes eleven minutes, not twenty, because I stopped reworking damp sections. My crown does not split by noon, and photos in bright bathroom light do not scare me anymore. It still looks like fine hair up close, of course it does, but from conversation distance it just looks like a neat, full short bob. And I will take that every single day.
What I Get Asked About Drying Short Thinning Hair Denser
Can I air-dry instead and still get that denser look?
You can, but I lose about half the lift. What works for me is rough-drying just the crown for two minutes, then letting the rest air-dry. That little bit of upright heat at the root does most of the work.
Does mousse make fine hair crunchy or thinner looking?
Only if I use too much or put it on soaking hair. A golf-ball amount on towel-blotted roots feels like nothing once dry. If yours feels sticky, use half as much and keep it off the ends.
How do I keep second-day volume without washing?
I lift the crown with my fingers and hit it with the dryer on warm for 20 seconds, then cool. A tiny puff of dry shampoo at the roots before bed, not in the morning, keeps me from getting that flat morning part.
Is a side part really better for a thinning crown?
A soft off-center part helps me, but only because I dry forward first. Without that forward dry, any part will still separate. Think direction first, part line second.