









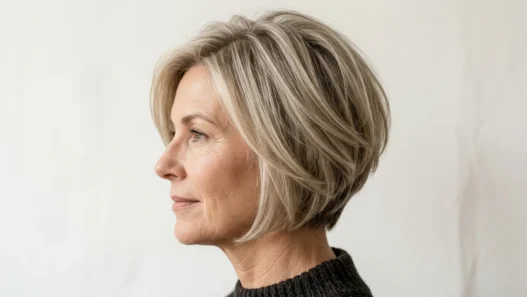


I cut my hair into a textured pixie cut for fine hair last spring because I was tired of my thin ponytail doing absolutely nothing. I loved it short. Then I missed a trim, then another, and suddenly I was in that fuzzy in-between place where nothing sits right. Growing it out on purpose turned out to be a completely different skill from just wearing it short, so I built myself a little shaping routine to survive it.
No tool is named below on purpose. This is all about where my hands go and what they do. If you can feel it with your fingers, you can control it while it grows. That was the light-bulb moment for me, and it is how I got through months three to six without crying in a salon parking lot.

What You’ll Need
I keep this embarrassingly simple because fine hair rebels the second I overload it. Everything lives in a little linen pouch in my bathroom drawer, and the whole thing takes me about six minutes on a normal morning.
- a pea-sized amount of light-weight matte paste, warmed between palms first
- a fine-mist spray bottle with warm water, for re-wetting flat spots
- a travel-size root-lift powder or dry texture spray, used sparingly
- two small no-crease clips to hold the top while I work the sides
- a low-heat dryer with a soft nozzle, never full-hot
- a silk pillowcase, because cotton flattens my crown by morning
I learned to respect root-lift powders after reading up on short hair styles for thinning fine hair where the lift placement finally clicked for me. And if your ends feel see-through already, a quick look at the best haircuts for fine hair helped me pick which bits to leave alone while growing.
Step 1: Fingers Flat at the Crown
I always start here, with damp hair and my fingers flat at the crown. Not poked in, not scratching, just laid flat like I am checking for rain. This tells me where my hair actually wants to split that day. My left side always lies flatter, yours probably has its own stubborn spot too.
I press gently and slide forward about an inch, then back. I am feeling for that soft, slightly raised cushion that means texture is still in there. If it feels slick and glued down, I mist it again. Fine hair lies to you when it is too wet or too dry, so I aim for that cool-damp, just-washed-apple feel. Does that make sense? You will know it when you feel it.
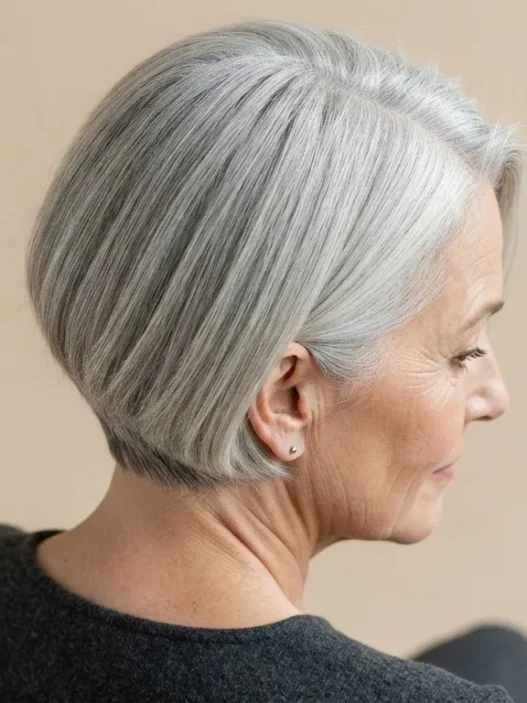
The goal in this first minute is lift memory. I keep my fingers flat and push the crown hair up and slightly back, holding for a slow count of five. I do that three times across the crown. Look at how she is wearing hers in this photo, that soft height right behind the front. That angle is exactly what I mean about not flattening the crown while you grow. She has a similar fine texture to mine, and honestly, that little lift makes her whole head look fuller.
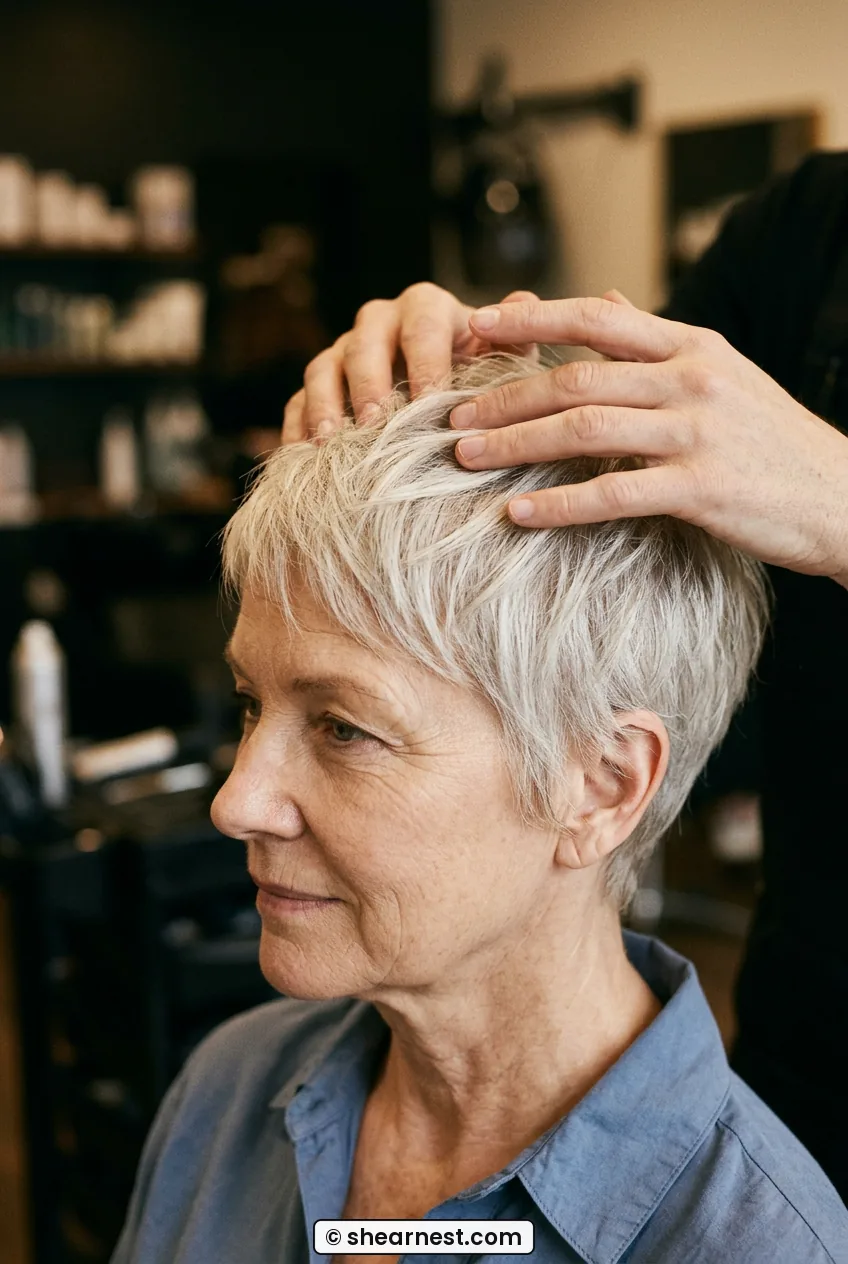
I used to rush this and go straight to product. Big mistake. When I give my crown thirty seconds of finger pressure first, everything else I do lasts to dinner. I picked up that idea from learning how to keep air in fine roots from articles on volume techniques for short hair woven into my morning routine before I even reach for paste.
Once the crown feels warm from my hands and stands a little on its own, I stop. I do not touch it again until Step 6. Leaving it alone is part of the method. My favorite part, actually, because I am a chronic over-toucher.
Step 2: Palm Cupped Behind the Ear
This is the super-short-pixie survival step. You know that stage where the sides stick straight out over your ears and you look a bit like a dandelion? Mine did that at week five. The fix was cupping my whole palm behind the ear and pressing that pocket of hair down and slightly back.
I cup, I hold, I count to ten. The warmth of my palm does more than any heavy cream ever did. Then I slide my palm down a half inch and repeat. I am training those side pieces to tuck instead of puff. On very fine hair this matters double, because one puffy side makes the whole cut look wider and thinner on top by comparison.
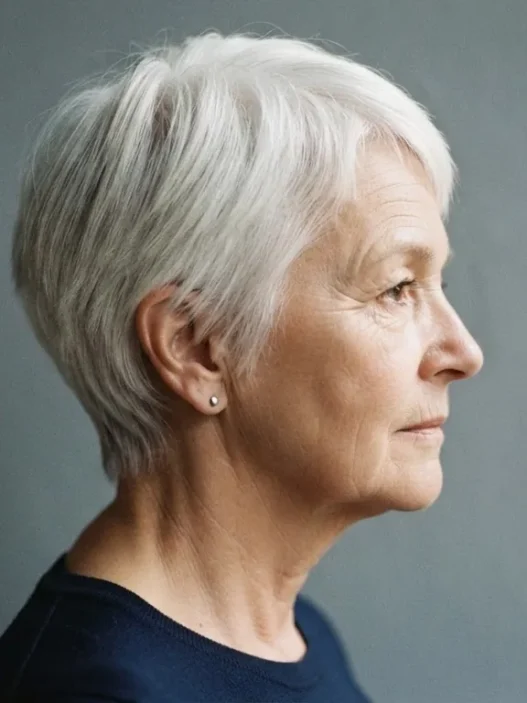
This is the length I am talking about in the photo here. See how it hugs just behind her ear without disappearing completely? That close-to-the-head fit keeps a growing pixie looking deliberate instead of overgrown. I stare at that tuck every time I need reassurance that mine will lie down eventually.
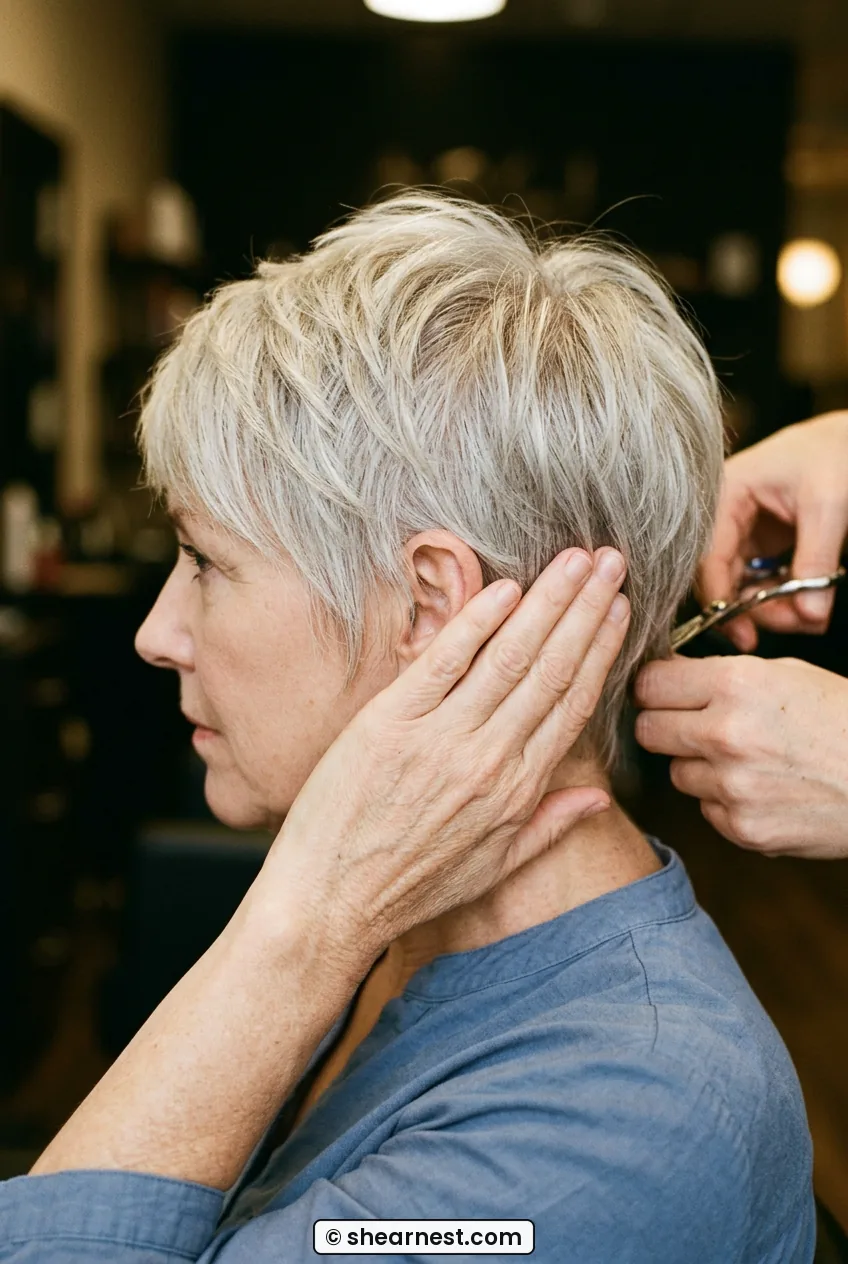
I do both sides even if only one misbehaves, or I end up lopsided by lunch. And I do it on damp hair, before paste. If I wait until it is dry, fine hair just springs back. I learned about encouraging that close fit from reading on grow-out styling for pixies worked into my evening touch-up before bed, which sounds fussy but takes twenty seconds.
Do you get that little flip right at the ear? Mine still does on the right. I just re-cup it after my coffee. No shame in a mid-morning re-press. It beats re-wetting the whole head.
Step 3: Fingertips Pinched at the Sides
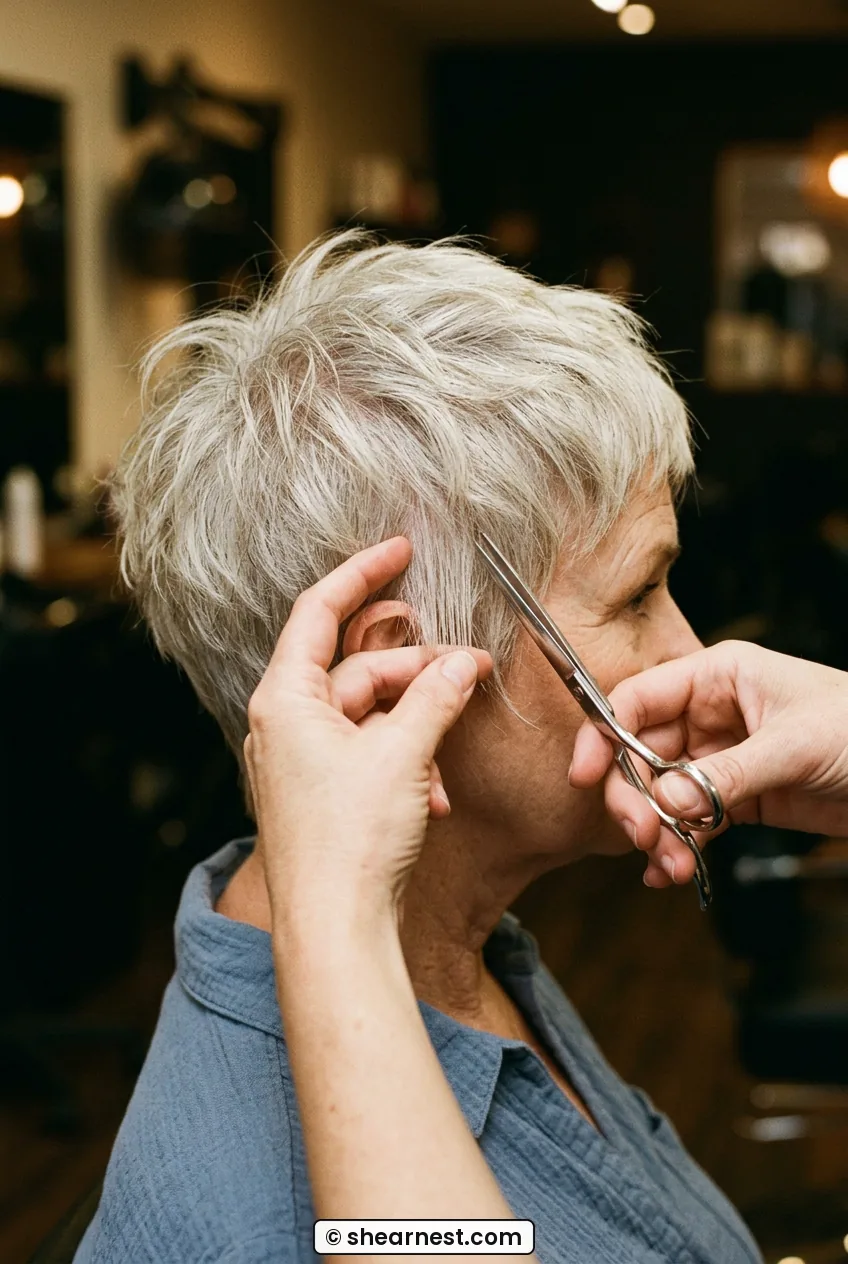
Now that the sides are lying down, I need them to look thicker. So I go in with fingertips pinched at the sides, like I am picking up a pinch of salt. I take tiny vertical sections just above the ear and pinch from mid-shaft to the ends. Just a whisper of paste on my fingertips, nothing in the palm.
This creates those little separated ends that make a textured pixie read as textured, even while it grows. Without this, my fine hair clumps into one see-through curtain on the side. With it, I get five or six distinct points that catch light. My stylist once told me texture is an illusion on fine hair, and she was right. We are basically drawing lines where fullness is not.
My mistake was pinching with a big glob of wax to force separation. My sides went stringy by 10am and I looked wetter, not thicker. Now I use less than I think, pinch twice, and walk away. If I need more, I add it to dry hair later, never to damp hair.
This stage reminds me why I saved that guide on how to style pixie cuts for fine hair to my phone. That two-minute pinch-and-release is the same motion, just smaller and lower while you are growing. And for very short starts, I kept thinking about pixie cuts in general and how many of them rely on that side definition to avoid the helmet look.
Check the photo for this one. Those feathery, non-uniform ends? That is the pinch. Not cut with a razor, just styled apart with fingers. I love how imperfect it looks up close, because perfect separation always falls flat on me by afternoon.
Step 4: Palm Against the Nape
The nape is where grow-outs go to die. Mine turned into a little ducktail at month two, thin and pointed and constantly curling up in the rain. So I press my whole palm against the nape, fingers pointing down toward my collar, and smooth firmly downward.
I hold for ten seconds. Then I lift my palm straight off, no rubbing. Rubbing frizzes fine neck hair instantly. I repeat twice. This presses the neckline flat while the upper layers keep their volume, which gives the illusion of a clean shape even though I am three weeks past a trim. It is my favorite low-effort trick.
If the nape still kicks out, I mist just that inch with water and re-press. Never add more paste there. Paste plus neck sweat equals a sticky, separated mess by 4pm. I learned that the hard way on a warm train ride in June, fanning my neck like a Victorian lady.
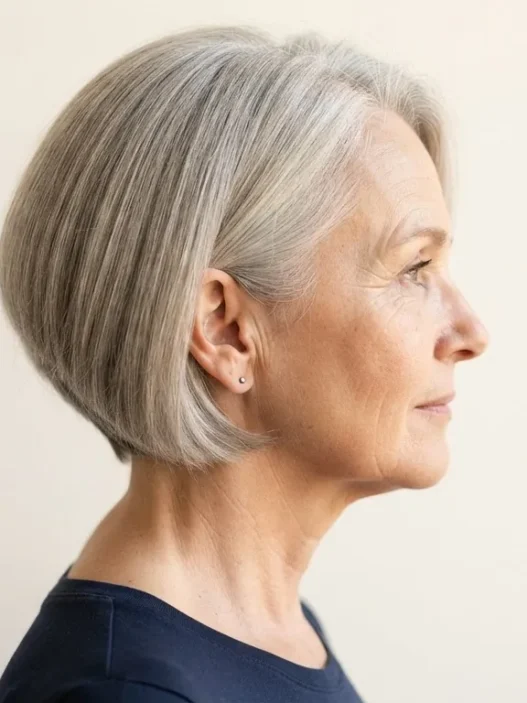
Look at the back view here. See how tidy hers looks at the neckline but still soft on top? That is exactly the contrast I aim for with my palm. Tight at the bottom, airy above. It makes the grow-out look intentional, like a soft long pixie rather than a forgotten short one.
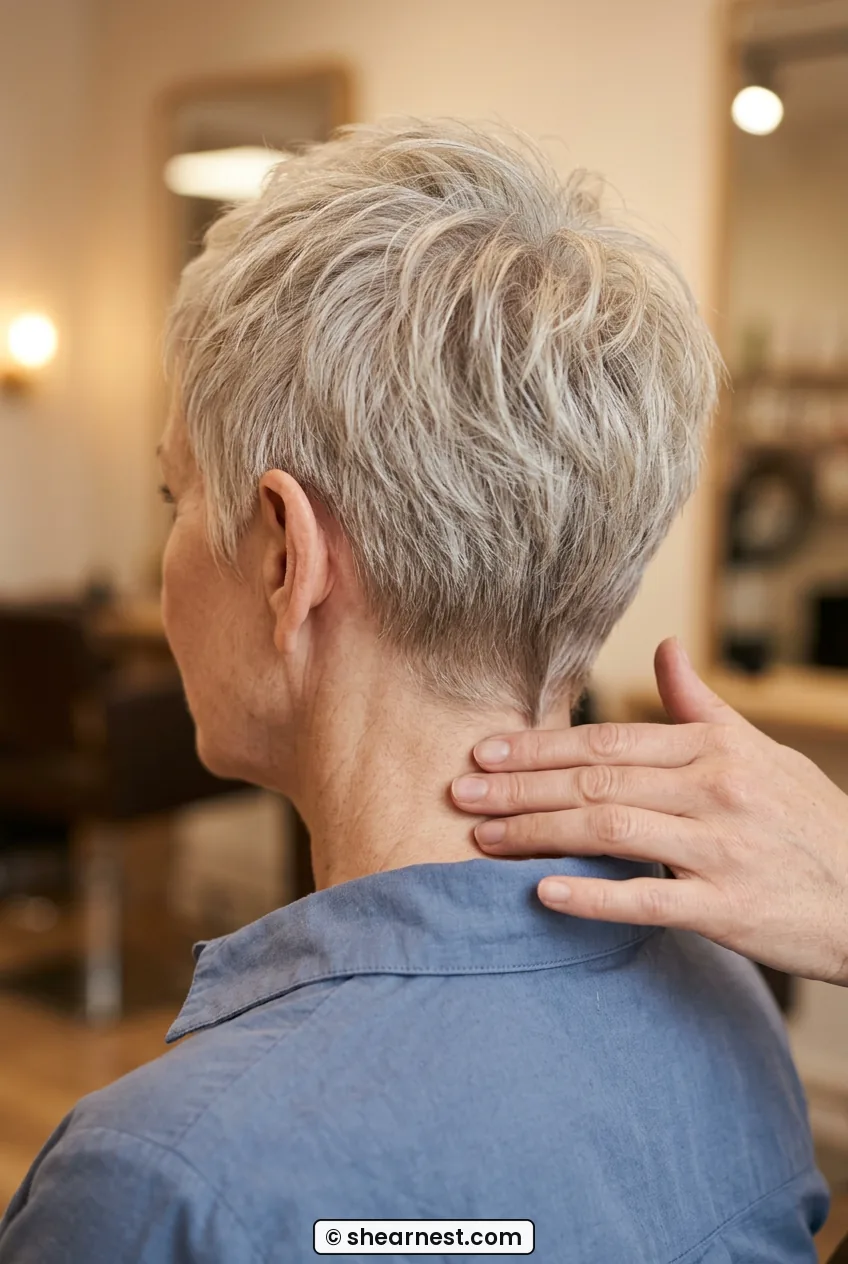
I also sleep on this step, literally. A silk pillowcase lets my palm work last until morning, while cotton used to ruffle my nape into a kink. I read about managing that fragile neck hair in pieces on neckline care for fine hair folded into my nighttime habits, and it saved me a lot of morning re-wetting.
See the Nape Press in Action
Step 5: Pushing Forward at the Front
By now the back and sides are behaving, so I turn to the front. My fringe was the shortest part of my pixie, so it took the longest to catch up. For months it was too long to stand up and too short to tuck. Pushing forward at the front solved it.
I place my fingertips at my hairline and push everything forward and slightly to the side, like a soft curtain falling onto my forehead. I do not push straight down. Forward and over. This covers a thinning hairline, softens forehead lines, and gives fine front pieces something to do besides separate into wisps. I hold with light pressure for five seconds, then let go.
Then I go back with almost-dry fingertips and nudge two or three pieces apart. Not perfectly spaced. A little irregular. My best front days look a bit undone, like I just walked in from a breeze. Over-styled fringe on fine hair always looks thinner to me, have you noticed that?
She is doing this beautifully in this image. That forward fall over the brow, still airy enough to see skin through? I point at that every time my fringe feels awkward. It proves you do not need thickness to get softness, you just need direction.
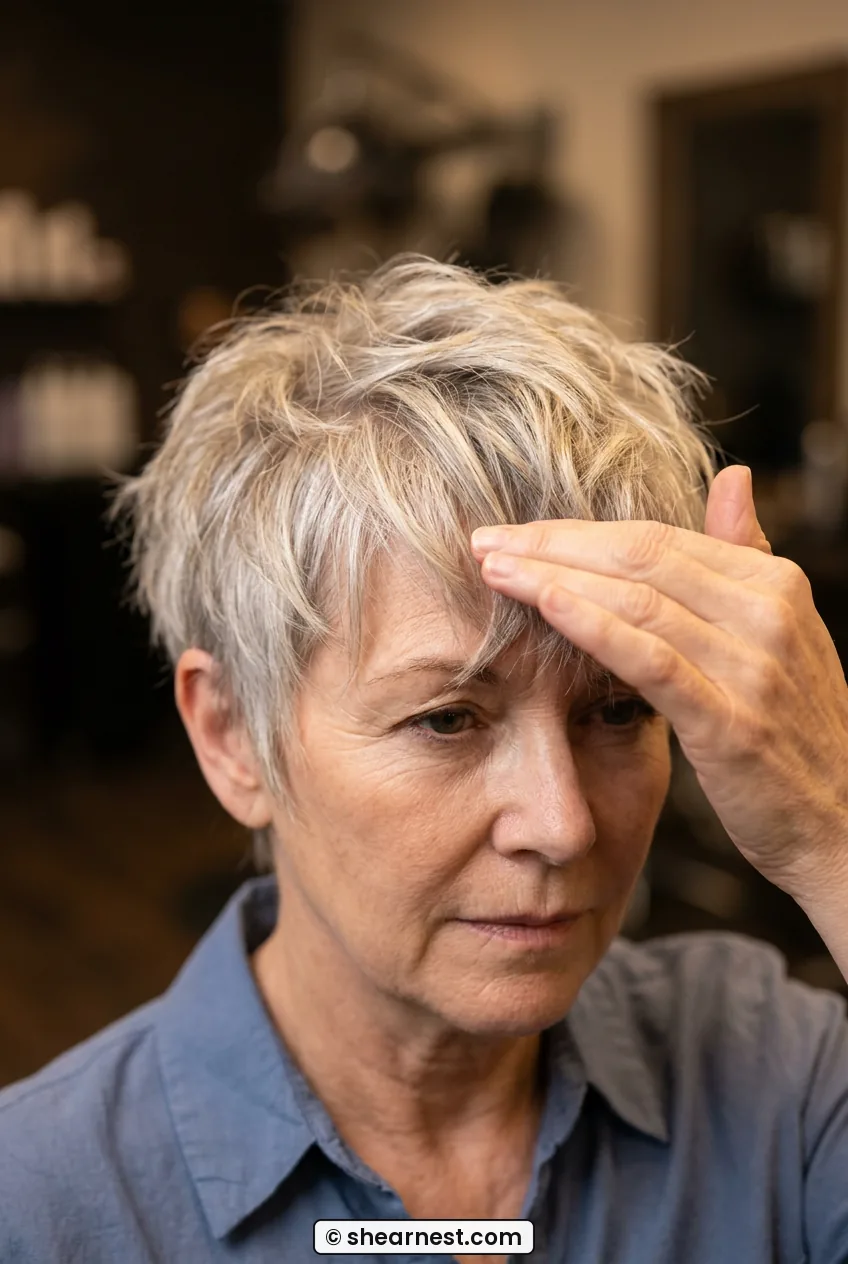
I used to blow-dry my fringe straight back to get height. Terrible idea for a grow-out. It exposed every sparse spot. Forward is kinder. It borrows density from the crown and drags it where the eye looks first. That single change took me from pinning my bangs back daily to actually liking them.
If you are debating micro-trims while growing, I found it useful to compare notes on haircut for very fine hair judged later in the day, because morning fullness lies. I only dust the very front points now, nothing off the top, just to keep that forward drape clean.
Step 6: Thumbs Lifted Under the Roots
Last step, back to where we started. I slide my thumbs lifted under the roots at the crown, right under that cushion we set in Step 1, and give the tiniest lift. Not a tease, not a backcomb, just a lift and release. Both thumbs, symmetric, working from front to back in three spots.
This re-inflates anything my palms flattened while working the sides and nape. Fine hair deflates if you look at it too hard, so this final puff matters. I sometimes add a tap of root powder to my thumb pads first, but only if I have somewhere to be after 6pm. For grocery runs, I skip it.
Then, and only then, do I allow myself one comb moment. I take a wide-tooth comb and draw it once, lightly, from crown to front to set the direction. Once. If I go twice, I lose the texture I just pinched in. My rule is etched on my mirror now: one pass, then hands only.
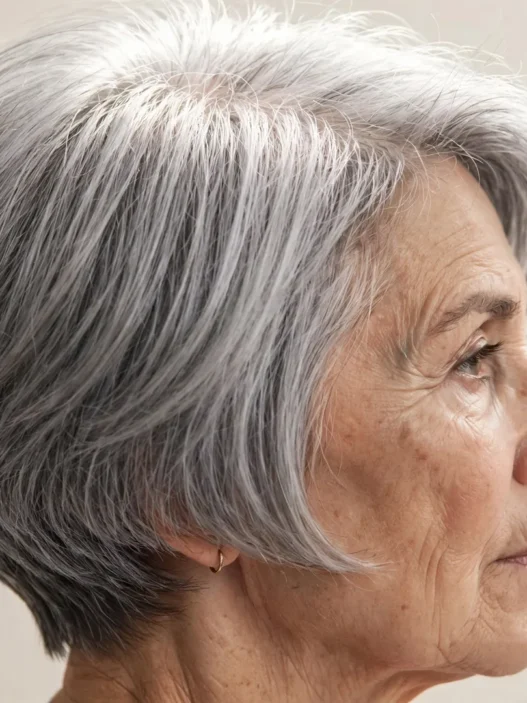
The finished feel in this last photo is what I get on a good day. Lived-in, piece-y, with air underneath. Not big, not stiff, just enough lift that my scalp does not show through under kitchen lights. I never thought I would love my hair at this in-between length, but I do.
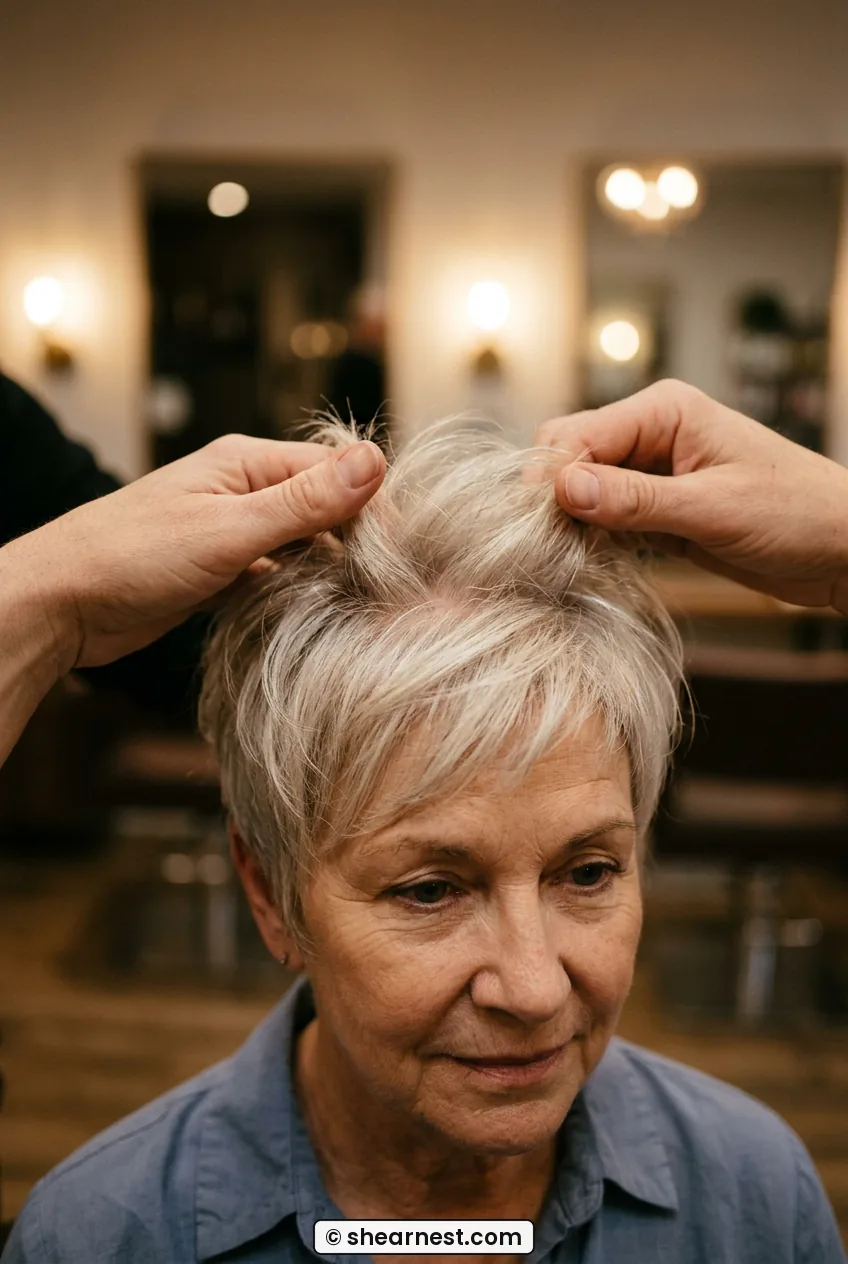
Growing deliberately taught me patience I did not know I had. My pixie is now brushing my ears and the top falls forward without help. It still gets flat after a long car ride and the nape still misbehaves in humidity, but I know where my hands go now. Fingers flat, palm cupped, pinch, press, push, lift. Six little moves and I feel like myself again.
Grow-Out Questions I Kept Googling at Midnight
How often should I trim while growing out a pixie?
I go every 8 to 10 weeks for a dusting, nape and ear edges only. Taking anything off the top resets all your progress and thins out the very fullness you are trying to build.
Why does my fine hair look thinner as it gets longer?
Weight pulls the roots flat, so separation shows more scalp. That is why the crown lift and side pinch matter more now than when it was super short. Keep the air in and it reads thicker.
Can I grow out a pixie without a mullet stage?
Not entirely, but you can blur it. I keep the nape pressed and let the top catch up, with a tiny neckline clean-up between full cuts. From the front, no one can tell.
What product weight works for fine grow-out hair?
The lightest one that still does the job. I use matte paste in pea-sized amounts and root powder only on day two. Anything creamy or oily collapses my texture by lunch.
If you are in the awkward middle too, try my order for a week and see which hand position helps you most. Mine was the palm at the nape, hands down. Let me know yours.