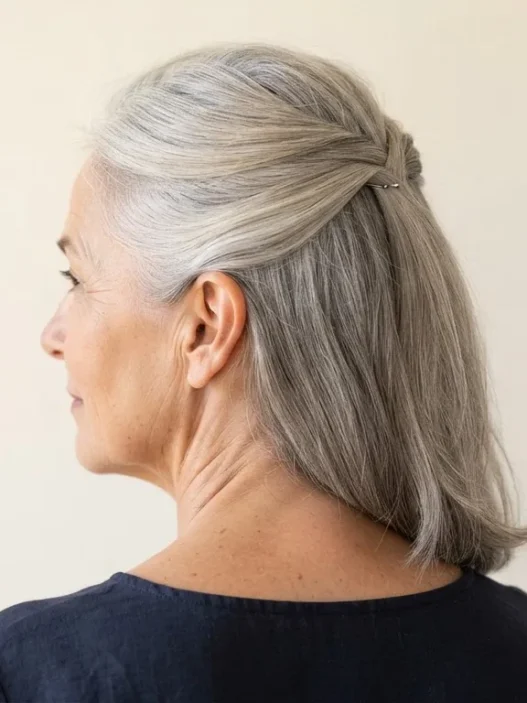










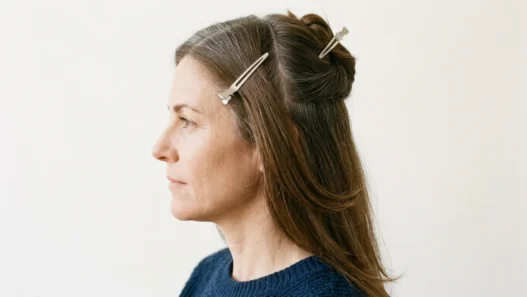


I started cutting my own hair out of stubbornness, honestly. My regular stylist retired, the next one kept adding bulk I didn’t want, and I was spending forty-five minutes every morning trying to fix something that should have fixed itself overnight. I needed a low maintenance haircut over 60 that actually behaved — not one that required product, diffusers, and a second coffee to manage. So I learned the technique myself, slowly, in a bathroom mirror, and I want to walk you through exactly what I figured out.
Inside This Guide: The 7-Step Tapered Pixie
- Why Shape Matters More Than Product
- What You’ll Actually Need
- Step 1: Reading the Head Shape Before You Cut
- Step 2: Sectioning the Crown
- Step 3: Cutting the Crown Length
- Step 4: Where the Weight Comes Out
- Step 5: Tapering Through the Nape
- Step 6: Trimming Around the Ear
- Step 7: Drying Against the Fall
- What It Looks Like When It Goes Wrong
- How Long It Holds and Day-Two Revival
- Questions I Get About This
Why Shape Matters More Than Product
Here’s the thing nobody says clearly enough: a good cut on fine, white, or thinning hair does what product cannot. Product adds texture to the surface. Shape controls where the hair falls, which direction it moves, and how much volume appears without any effort at all. That’s the whole philosophy behind a properly built tapered pixie — it has a beveled crown that creates lift on its own, a clean nape that frames the neck without needing gel, and a soft arc around the ear that means you never have to tuck or pin anything.
I spent years reading about haircuts for fine hair over 50 and understanding the theory, but theory only clicks once you’ve had a pair of scissors in your hand and watched what actually happens to the hair. This guide is written for someone doing this on herself at a bathroom mirror — one-handed where necessary, using a handheld mirror for the back. It’s slow work. That’s fine. Slow is how you don’t take off too much.
What You’ll Actually Need
Keep it simple. You don’t need a salon kit. You need tools that are sharp, light, and easy to hold with one hand. Here’s what I use:
- Sharp haircutting shears — not kitchen scissors, not craft scissors. One decent pair makes a real difference to how cleanly the hair falls.
- A clipper with guards — ideally a lightweight cordless set with at least a #1, #2, and #3 guard. The taper lives in these numbers.
- A fine-tooth cutting comb — the kind that holds the hair firmly against your fingers
- A wide-tooth comb or detangling brush for the initial section work
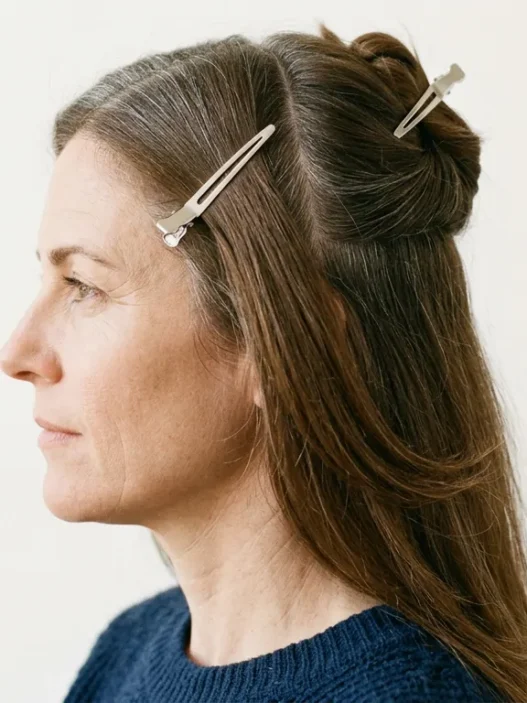
- At least four sectioning clips — the flat duckbill type, not the round spring clips that slip
- A handheld mirror — critical for seeing the nape and the back of the crown
- A spray bottle with plain water
- A small amount of lightweight leave-in conditioner (optional, but helpful on very dry white hair)
That’s genuinely it. You can research what tools matter most for straight hair cuts and you’ll keep coming back to the same short list: sharp shears, a good comb, guards for the clipper. Nothing else earns its place on the counter.
Step 1: Reading the Head Shape Before You Cut
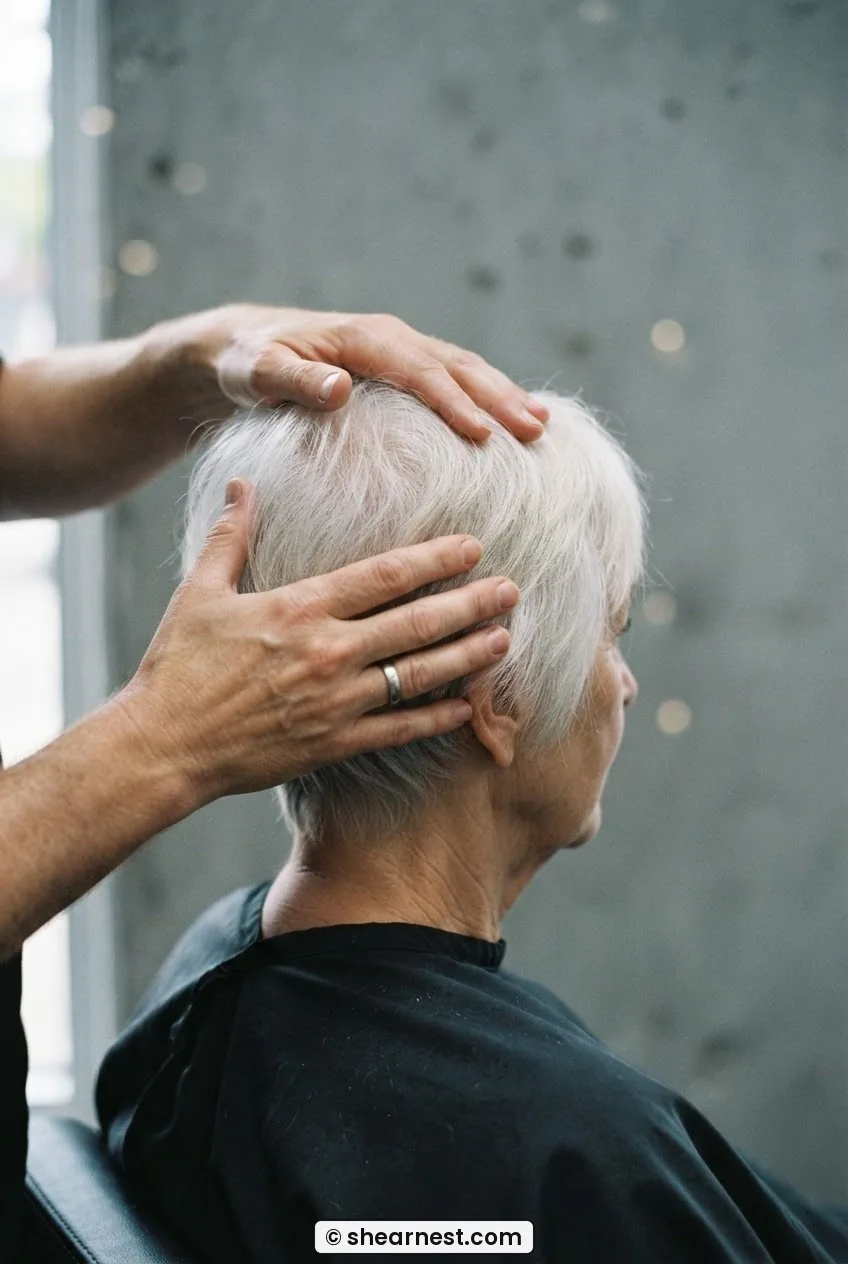
Before one single snip, stand behind a seated mirror and look at the head shape. Run your palms over the crown — feel whether it’s flat on top, rounded, or slightly elongated toward the back. Feel where the occipital bone sits (that ridge across the back of the skull, roughly an inch above the nape). This is information you’ll use in every step that follows.
If the crown is flat, you’ll want to keep a little more length there — maybe an inch and a half — so it doesn’t look pressed down. If it’s nicely rounded, you have more freedom and can work with tighter lengths. The occipital bone position tells you where to start your taper: if it sits low, the taper can start lower. If it’s high, you’ll need to begin blending earlier or the transition looks abrupt.
Take two minutes. Just look. Note the density at the temples — women over 60 often have more thinning there than anywhere else, and that affects how closely you crop the sides. White and silver hair also catches light differently than pigmented hair, so sparse areas read as more obvious. The goal here is information, not judgment.
Step 2: Sectioning the Crown
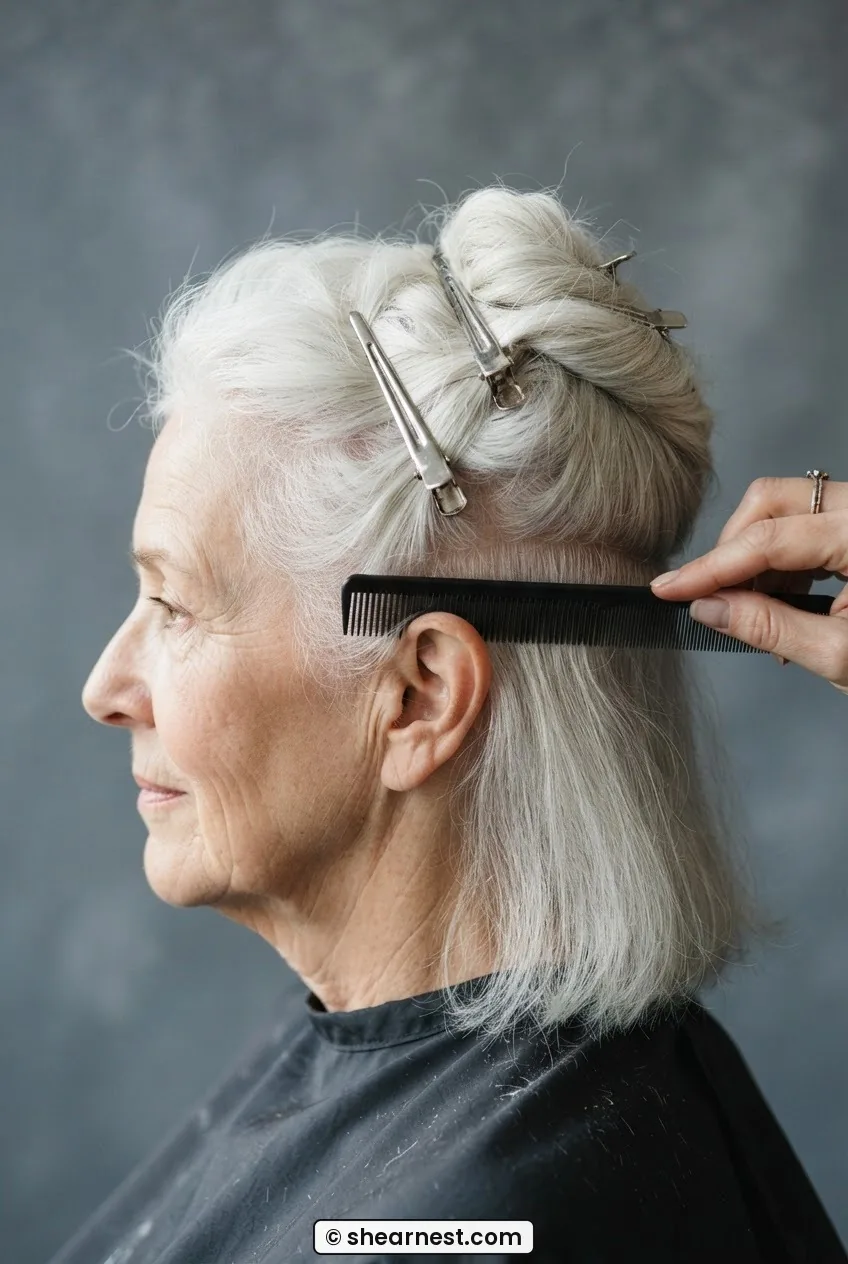
Dampen the hair lightly with the spray bottle — not soaking, just damp enough that it doesn’t fly around. Then take your wide-tooth comb and draw a section from ear to ear across the top of the head, clipping everything above the line up and out of the way. This upper section is your crown panel and you’ll cut it last. Working out of sequence is the fastest way to lose track of length.
Next, clip a second horizontal section from temple to temple, running slightly above the occipital bone. This is your transition zone — the band of hair where the clipper work from below will connect to the scissor work from above. Keep this section narrow, about an inch wide. Wider and you lose control of the blend.
Everything below the occipital line — the nape section — is now free and hanging loose. That’s where you start cutting, which feels counterintuitive (most people reach for the top first) but is actually the correct order. The nape sets the shortest length in the whole cut. Every decision you make above it responds to it.
Step 3: Cutting the Crown Length
Before you move to the back, establish your crown length first — it anchors everything else. Let down the crown panel, comb it forward, and decide on your length. For most fine white hair over 60, one inch to one and a half inches works well: enough to lie softly across the top without looking pressed flat, short enough that it air-dries in under ten minutes and holds its shape without product.
Hold the comb parallel to the crown surface and draw the hair up through it so about an inch protrudes above the comb teeth. Cut straight across with the shears held horizontally. Work in small passes — comb, lift, cut — moving from front to back across the crown panel. Your guide is the first section you cut; each subsequent section matches it.
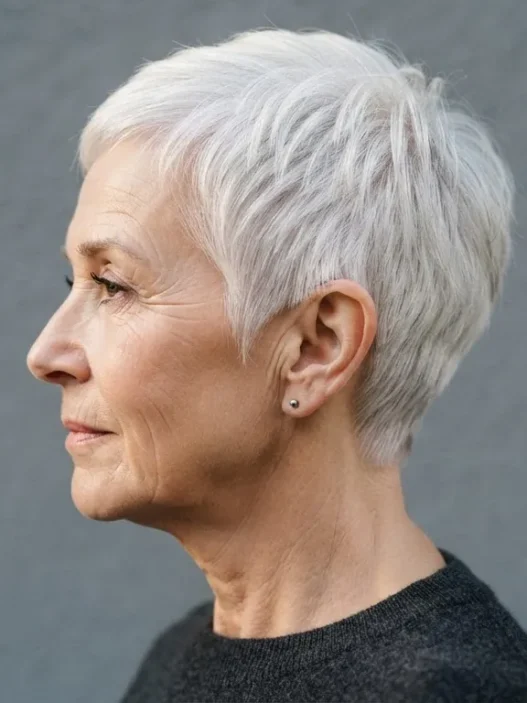
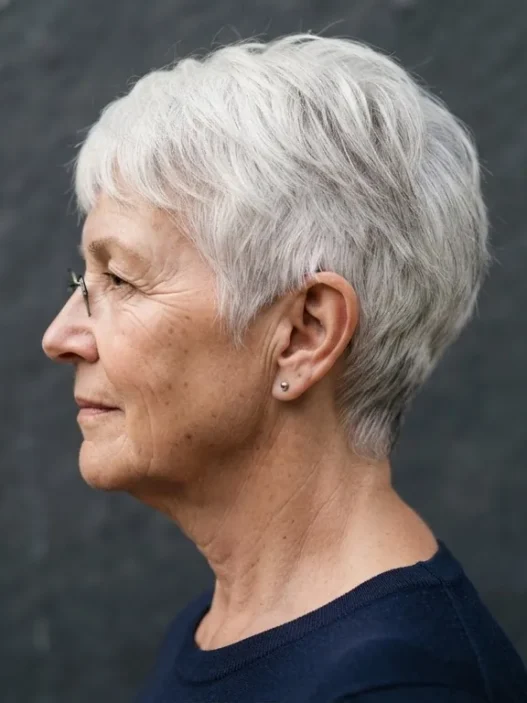
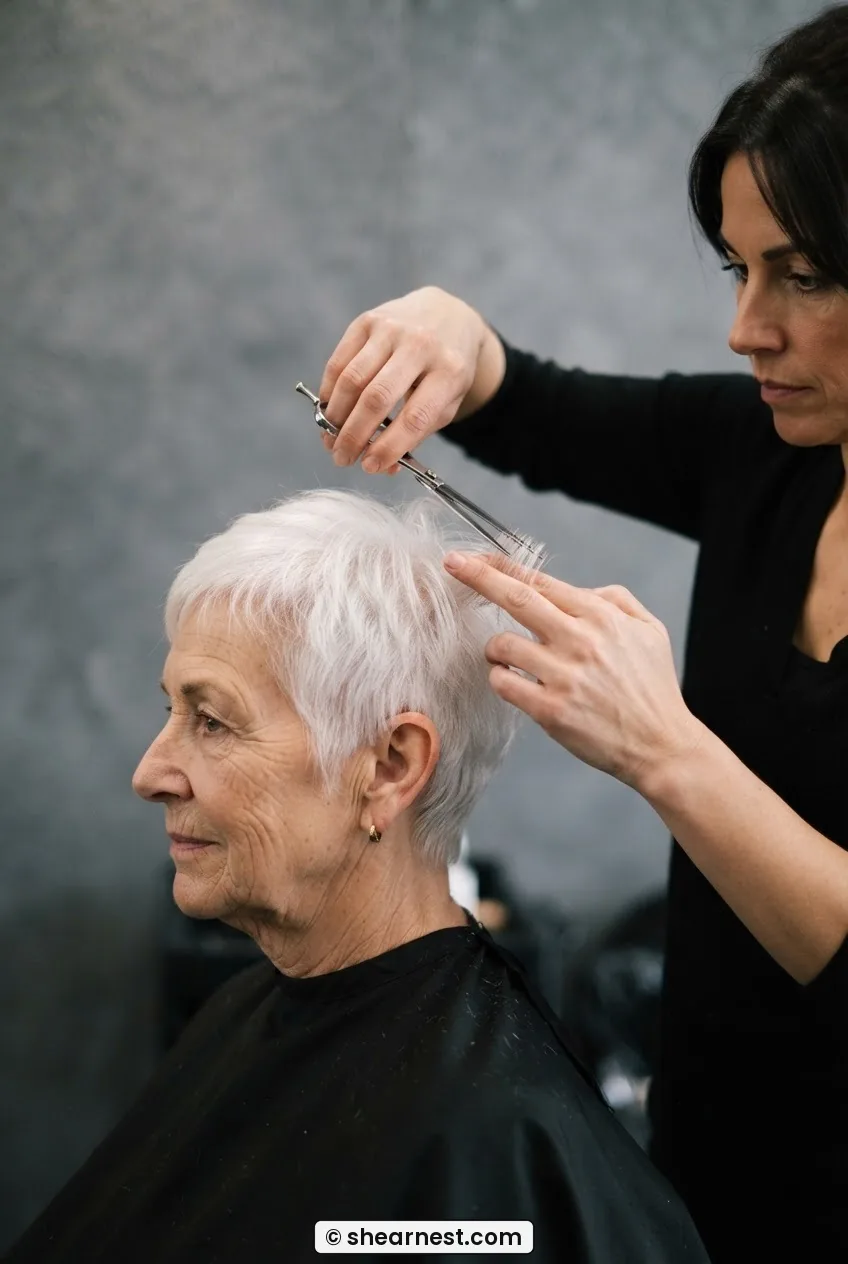
On the very front, just above the forehead, I like to cut very slightly longer — maybe an extra quarter inch — because that tiny bit of extra length at the hairline allows the front to sweep naturally without standing upright. It’s a small thing that pays off every single morning. See how she’s wearing hers in this photo — notice that the front sits at a gentle angle rather than pointing straight up at the ceiling. That’s the length doing the work, not product.
Step 4: Where the Weight Comes Out
This is the step where the cut either becomes genuinely low maintenance or stays a problem. Weight — bulk left in the wrong place — is what makes short hair on fine, older hair look heavy at the sides or flat across the back. Removing it correctly is where the whole shape shifts.
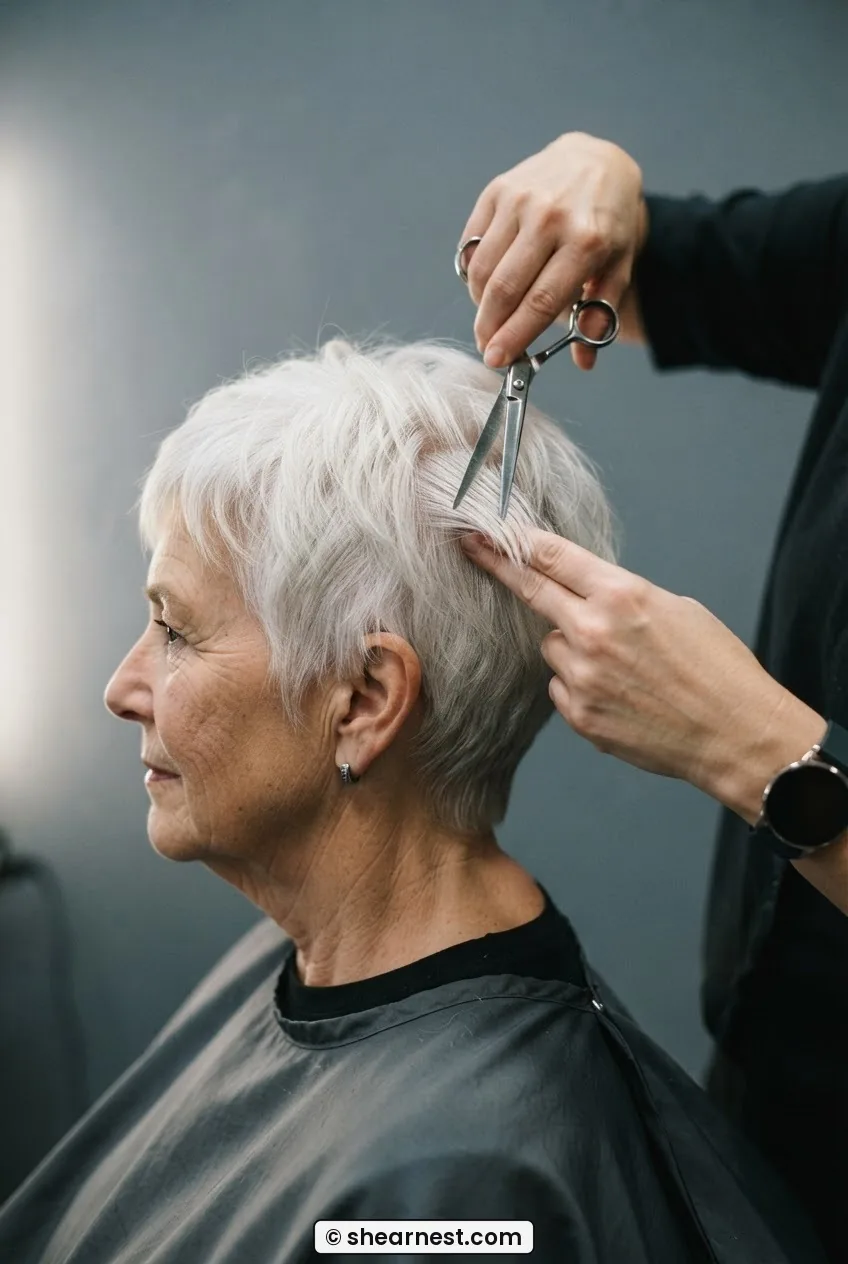
Let down your transition-zone section. Comb it smooth. Hold a small subsection between your index and middle fingers, pulled out horizontally from the head at about ninety degrees. The goal is to point-cut into the ends — don’t cut straight across. Aim the tips of your shears into the hair and make small, angled cuts rather than a blunt line. This removes bulk without removing length, which is exactly what you need where the crown meets the side.
Work around from behind the left ear, across the back, to behind the right ear. Keep the sections small — about half an inch wide at a time. Take a little off, comb through, assess. The sides of the head can tolerate having the hair held at a lower angle (about forty-five degrees instead of ninety) which will remove more length and reduce the weight further. If you’re working on temples that are already thin, keep the angle higher — you want to preserve what’s there.
Step 5: Tapering Through the Nape
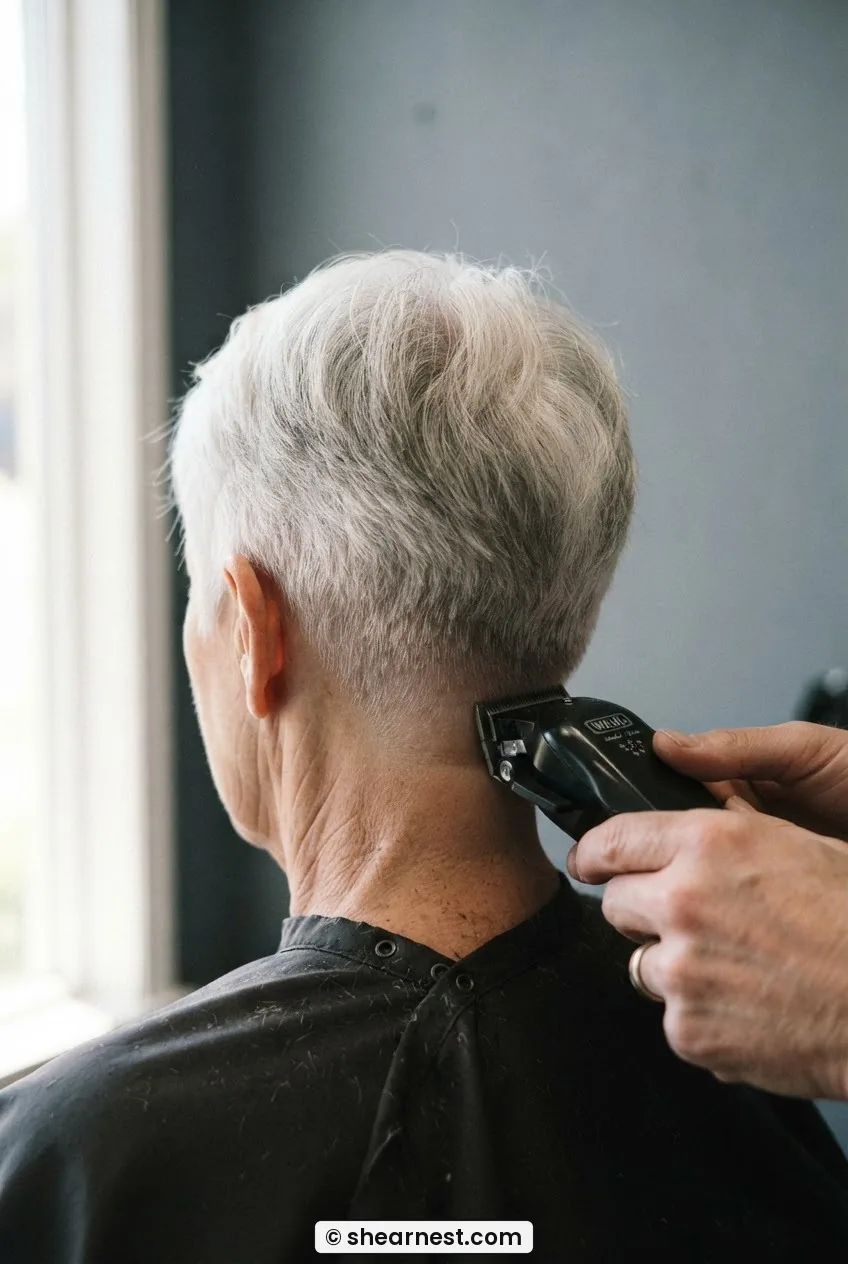
Now the clipper comes out. Attach the #2 guard (a quarter inch) and start at the very bottom of the nape, moving upward with the clipper in short, scooping strokes — not long raking passes. The scoop motion means you’re lifting the clipper away from the head as it reaches the top of each pass, which naturally creates a fade rather than a hard line.
Work across the nape with the #2, keeping all strokes below the occipital bone. Then switch to the #3 guard (three-eighths of an inch) and work the zone just above where you just cut — overlapping slightly into the same area, but extending your strokes about a centimeter higher. This layering of guards is what creates the gradual taper rather than a band.
The light catches a properly tapered nape beautifully on white hair — look at how the gradation reads in this photo, that soft fade from the skin up through the short growth. That’s what a taper looks like when it’s working. No harsh line, no shelf of hair sitting at an awkward length. Just a clean graduation that makes the neck look longer and the overall silhouette lighter.
Women with hair that’s thinning at the back often ask me whether to go even shorter at the nape. My answer: yes, if the thinning is visible, a tighter taper actually draws less attention to it than trying to keep length there. There’s good writing on this at guides covering what actually changes in hair styles for women over 70 — the nape taper principle holds all the way through.
A Clipper Taper Technique Worth Studying
Step 6: Trimming Around the Ear
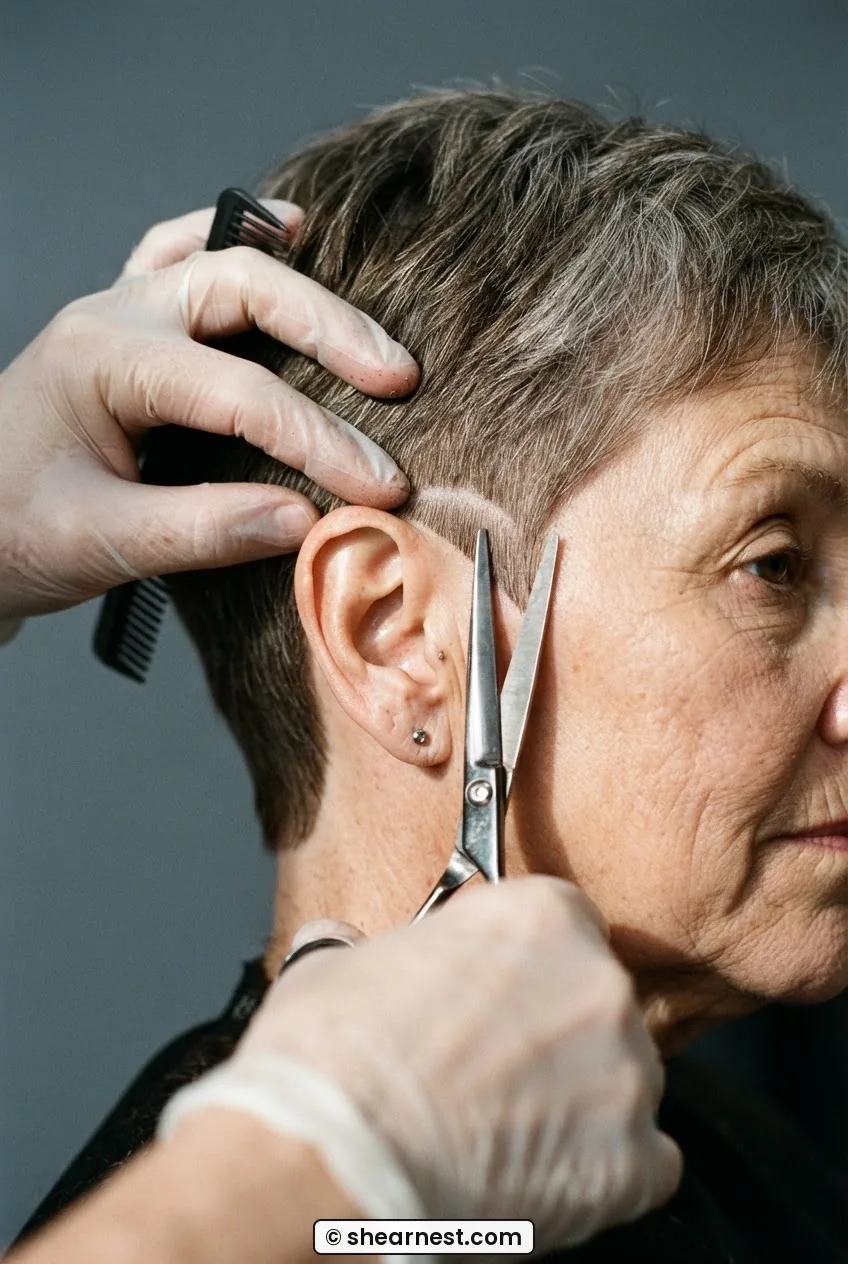
This section is fiddly, and doing it one-handed requires patience. Fold the ear forward gently with one hand and use the shears — not the clipper — to trim the hair immediately above and behind the ear. The clipper is too aggressive here; the shears give you control over the exact arc.
The line should curve: slightly higher in front of the ear (so the sideburn area is clean and short) and slightly lower behind the ear (allowing a tiny bit more length that connects to the nape taper). Think of it as a crescent shape when viewed from the side. A straight horizontal cut behind the ear creates a harsh line that draws attention to itself. The crescent is softer and far more flattering on a face that’s naturally softened with age.
After trimming with shears, go back with the clipper on the #1 guard (the shortest, an eighth of an inch) and clean just the very edge of the hairline around the ear — not the whole area, just the hairline itself. This is what makes it look finished rather than grown-in. Take your time. Fold the ear, trace the hairline, one small stroke at a time.
Step 7: Drying Against the Fall
You’ve made the cut. Now how you dry it either sets the shape or collapses it. This matters especially for fine white hair, which has almost no natural texture to grip volume on its own.
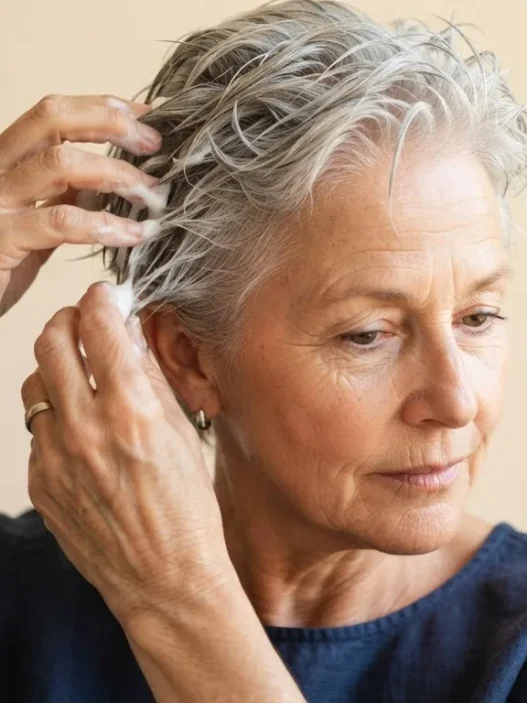
Press a towel gently against the head — don’t rub, press. Then use a hand dryer on medium heat and direct the airflow against the natural fall of the hair. On the crown, this means pointing the dryer forward and slightly downward as the hair grows upward — you’re pushing the root in the opposite direction to where it wants to go. Hold it for five or six seconds, move an inch, repeat.
On the sides, direct the air upward and slightly forward. This lifts the side hair away from the temple rather than letting it lie flat. At the nape, point the dryer upward from the base — this sets the taper and prevents the shortest hair from curling outward into a little shelf as it dries.
The whole drying process should take six to eight minutes. If you have very fine hair and want just a touch of extra body, apply the tiniest amount of mousse — half a grape’s worth, worked into the roots before drying, not the ends. That’s all you need. Anything more and you’re defeating the purpose of the whole cut. The point of a genuinely low maintenance short hair approach is that the shape does the heavy lifting, not the products on the shelf.

What It Looks Like When It Goes Wrong
My biggest mistake was removing the weight from the sides before establishing the crown length. I ended up with sides that were dramatically shorter than the top and couldn’t blend them backward. I had to cut the crown down further than I wanted to create any kind of proportional connection. Now I always do the crown first — even if it feels like working backward. The crown length is the number everything else reports to.
Beyond sequencing errors, here are the other failure modes I’ve seen (and experienced):
- A shelf at the occipital bone — this means the taper didn’t extend high enough and the #3 guard work stopped too early. The fix is to go back with the #3 and extend those strokes a full centimeter higher, then blend with scissors just above.
- Flat crown with no lift — this is almost always a drying error, not a cutting error. The hair was dried with the airflow going the same direction as the natural fall rather than against it. Re-wet and re-dry against the fall before concluding anything went wrong in the cut itself.
- The ears look pushed forward — the arc around the ear was cut too close in front, shortening that little bit of sideburn that softens the transition. Let it grow out two weeks, then re-establish the arc starting further back.
- Harsh line between taper and scissor work — the transition zone wasn’t point-cut, it was blunt-cut. This leaves a visible line where the guards stop. Use the tips of your shears to soften it, working vertically into the hair at the border of the two sections.
How Long It Holds and Day-Two Revival
Done correctly, this cut looks intentional and polished for four to six weeks before anything needs touching up. The nape and around-the-ear areas tend to show first — they grow out fastest and lose their clean line. I do a quick clipper pass on the nape at the four-week mark, which extends the full result to about six or seven weeks. That’s genuinely low maintenance by any standard.
Day two is almost always better than day one, in my experience. The hair has relaxed into the shape, any puffiness from the drying has settled, and the taper sits cleanly without effort. If you wake up with a flat patch on the crown, mist it lightly with the spray bottle and spend ninety seconds with the dryer going against the fall again. That’s the full revival routine. No dry shampoo required on hair this short — the sebum hasn’t had time or length to travel.
If you’re exploring what changes as hair continues to age and thin further, there’s useful grounding in reading about hair styles for women over 70 and what actually shifts — the short answer is that maintenance frequency goes up slightly but the technique itself stays the same. The taper just starts a touch higher as density at the crown reduces. Similarly, if you’re finding the pixie is working beautifully for you but your friends with wavy or textured hair want something similar, the principles around wavy haircuts for women over 50 will help them adapt the approach to their texture.
You can also look at the broader context of short haircuts for older women when you’re deciding whether to go even shorter or pull back slightly toward a longer pixie variant. The technique in this guide scales in both directions.
Questions I Get About This
Can I do this entire cut without a clipper?
Technically yes, but the nape taper will be harder to achieve precisely with scissors alone — you’d need to use a very fine comb and point-cut carefully in progressively shorter sections as you work downward. The clipper with guards is genuinely the easier, more consistent tool for that zone. If you don’t own one, they’re around twenty pounds for a decent basic set, and they’re worth it for this cut specifically.
My hair is very thin at the temples — should I skip the side taper?
Not exactly skip it — modify it. Use the #3 guard rather than the #2 at the temples, which keeps slightly more length and reduces the contrast between the sparse areas and the fuller zones. The goal isn’t to expose the scalp further but to create a uniform, intentional look. Keeping the side length just a fraction longer actually reads as fuller than trying to blend something that isn’t there to blend.
How is this different from a regular pixie cut I’d get at a salon?
The main difference is that this technique is built specifically for home maintenance on one’s own head — the sectioning order, the use of guards, and the drying method are all calibrated for a solo operator at a bathroom mirror. A salon pixie may use freehand scissors work at the nape that requires a trained second pair of hands and eyes. This version replaces that freehand work with clipper guards, which give consistent, repeatable results without needing to see the back clearly in real time.
Will this technique work on curly or wavy white hair?
The sectioning and drying steps translate across textures, but you’ll want to cut the crown a little longer to account for shrinkage as curly hair dries. Start at two inches on the crown rather than one and a half. The taper technique at the nape is actually slightly easier on curly hair because the texture disguises small inconsistencies in the blend — what reads as a harsh line on straight hair softens naturally on curl.
Three months in from learning this properly, my morning routine is: mist, ninety seconds of dryer, done. No pins, no clips, nothing to set overnight. I genuinely forgot what product-dependent hair felt like. The shape does everything, which is exactly what a real low maintenance haircut over 60 is supposed to do — it shouldn’t require effort to look like effort was made.