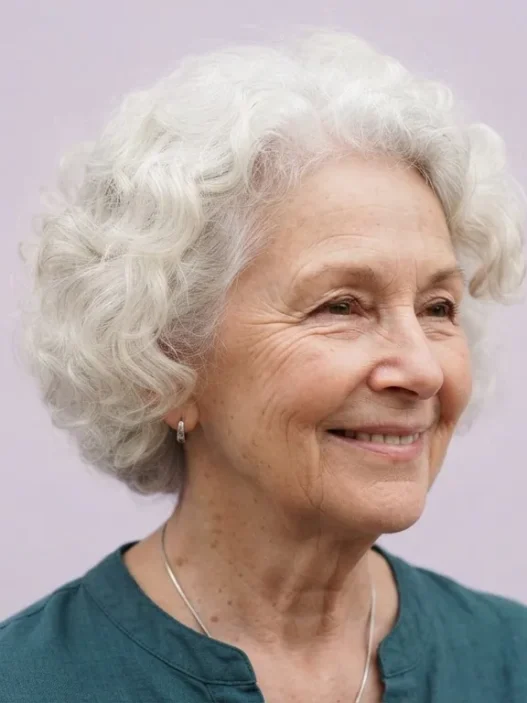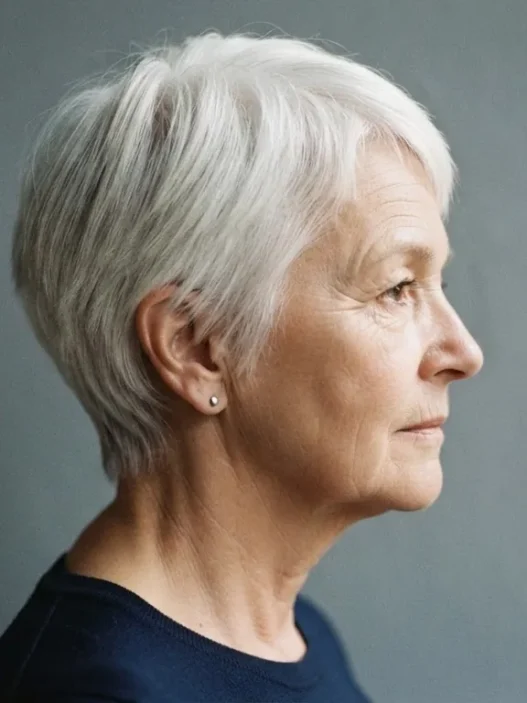




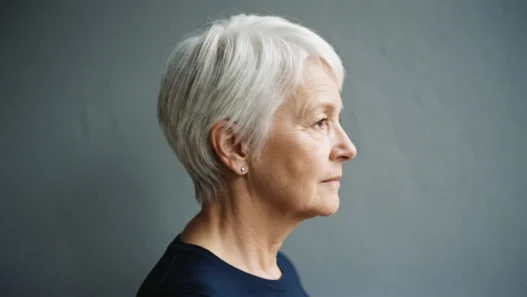

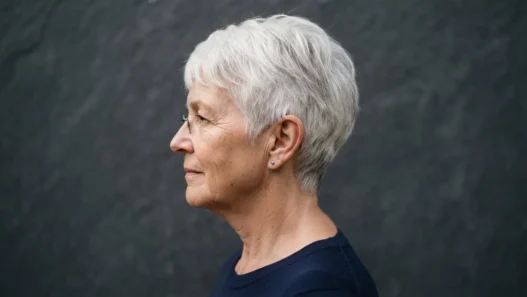



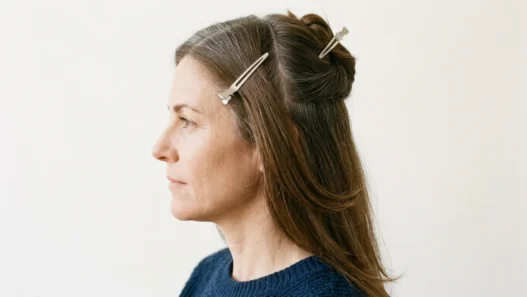
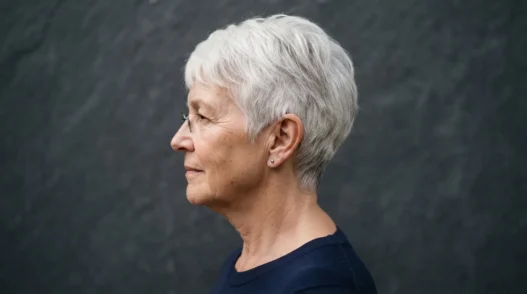

I spent about six months scrolling through short hair images for women over 50 before I actually did anything about it. I’d save them, screenshot them, even print a couple — and then sit in the salon chair and walk out with something that looked nothing like what I’d brought in. The weight always sat wrong. That flatness on top, that blunt heaviness around the ear — it just didn’t match the airy, textured cuts I kept seeing. So I started paying attention to what actually made those images work, and eventually I started cutting my own hair. This guide is what I learned, slowly.
Your Route Through This Tutorial
- Why I Needed This Guide
- What You’ll Actually Need
- Step 1: Sectioning the Crown
- Step 2: Taking the First Guide Cut
- Step 3: Removing the Weight at the Sides
- Step 4: Tapering the Nape
- Step 5: Cutting Around the Ear
- Step 6: Drying Against the Fall
- Step 7: Where the Weight Comes Out
- What It Looks Like When It Goes Wrong
- How Long It Holds — And Day Two Revival
- Questions I Get About This
Why I Needed This Guide
Fine hair over 50 has a particular problem that nobody really warns you about: it sits. It sits flat on the crown, it clumps at the sides, and when it gets even slightly long it pulls down under its own negligible weight. The cuts that looked edgy and chic in photos had something going on structurally that I couldn’t identify for a long time. Eventually I figured it out — the weight had been removed in very specific places. Not randomly layered. Not thinned with scissors all over. Deliberately taken out at the sides and through the occipital bone, while leaving some length and density exactly where the crown needed it.
If your hair is fine, you’ll know this problem. More length doesn’t give you more volume. It gives you more flatness. The right cut — and I mean the internal architecture of it, not just the silhouette — changes everything. I’ve also written about this in my notes on haircut for fine hair over 50, which covers ten specific cuts worth asking for if you’re still going to a salon. But this guide is for the bathroom mirror version. The one-handed, slightly terrifying version that actually works.
What You’ll Actually Need
Keep it plain. You don’t need a lot, but what you do need should be good quality. Cheap scissors are the single biggest mistake beginners make — they fold and crush the hair instead of cutting it cleanly, and you’ll see it immediately in the result.
- Sharp haircutting scissors — 5.5 inch is manageable one-handed
- A fine-tooth tail comb for clean sections
- Sectioning clips (four minimum)
- A handheld mirror for checking the back and nape
- A wall-mounted or suction mirror if your bathroom doesn’t have one already
- A lightweight volumising mousse or foam — nothing heavy
- A small diffuser or a regular nozzle dryer on low heat
- Texturising paste or wax — something with a matte finish
- A spray bottle of water to keep sections damp
That’s genuinely it. I used to think I needed thinning shears and a clipper and three kinds of mousse. You don’t. The cut does the work. The products just support what’s already there.
Step 1: Sectioning the Crown
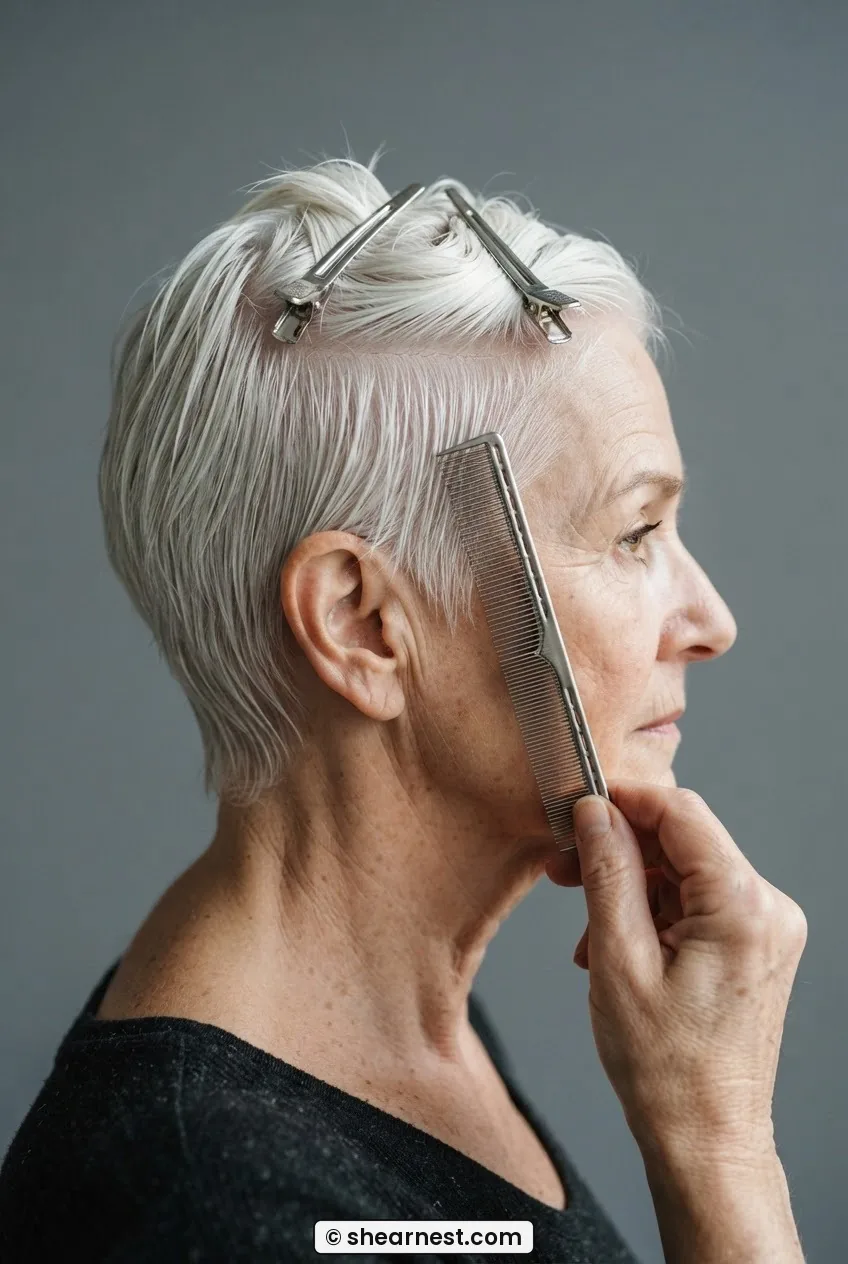
Start with damp hair — not soaking wet, just damp enough that it holds a section without springing around. Take your tail comb and draw a part from one ear across the top of the head to the other. Not a straight line — it should follow the natural curve of the skull, roughly parallel to the top of the ears. Clip everything above that line up and out of the way. This is your crown section, and you will not touch it until Step 7. I know that sounds counterintuitive. Do it anyway.
The hair you’re left working with below that line — the sides, the temples, the back — is where the weight lives. This is the section that makes a short cut look either elegant or heavy. The crown is where the volume and the length you see in those short hair photos comes from. Guard it.
Step 2: Taking the First Guide Cut
Take a vertical section from the centre back — about an inch wide, from the nape up to where your clip starts. Hold it out horizontally from the head, between your index and middle finger, and cut across it at the length you want at the back. For most pixie cuts, this is somewhere between half an inch and an inch, depending on how cropped you want the finish. This is your guide. Everything else you cut will reference this length.
The direction matters. Hold the section straight out — perpendicular to the head, not angled up or down. Angling upward creates a shorter undercut; angling downward leaves too much length at the nape. Straight out is your neutral starting position, and until you’re comfortable with the technique, neutral is exactly where you want to be.
Step 3: Removing the Weight at the Sides
Move to one side — whichever feels more natural to your dominant hand. Take a horizontal section at the temple, about half an inch deep, and hold it out from the head with two fingers. Cut it to match the length you want at the sides, typically a little longer than the back guide — maybe an inch and a half to two inches. The sides carry a lot of visual weight on fine hair, and this is the step where most home cuts go wrong by leaving too much.
Work your way down in horizontal sections, each one overlapping slightly with the last, using the previously cut hair as your guide. Keep your fingers parallel to the part line you’re cutting. Don’t let your scissors angle inward toward the head — that’s how you create a hole in the hair that you can’t fix without going shorter everywhere else. Flat fingers, horizontal sections, consistent pressure. Repeat on the other side, checking both sides in the mirror against each other before moving on.
If your texture leans wavy, you might want to look at how this technique adapts slightly for movement — there’s a good breakdown in my piece on wavy haircuts for women over 50 that covers how to account for curl contraction when you’re measuring your sections.
Step 4: Tapering the Nape
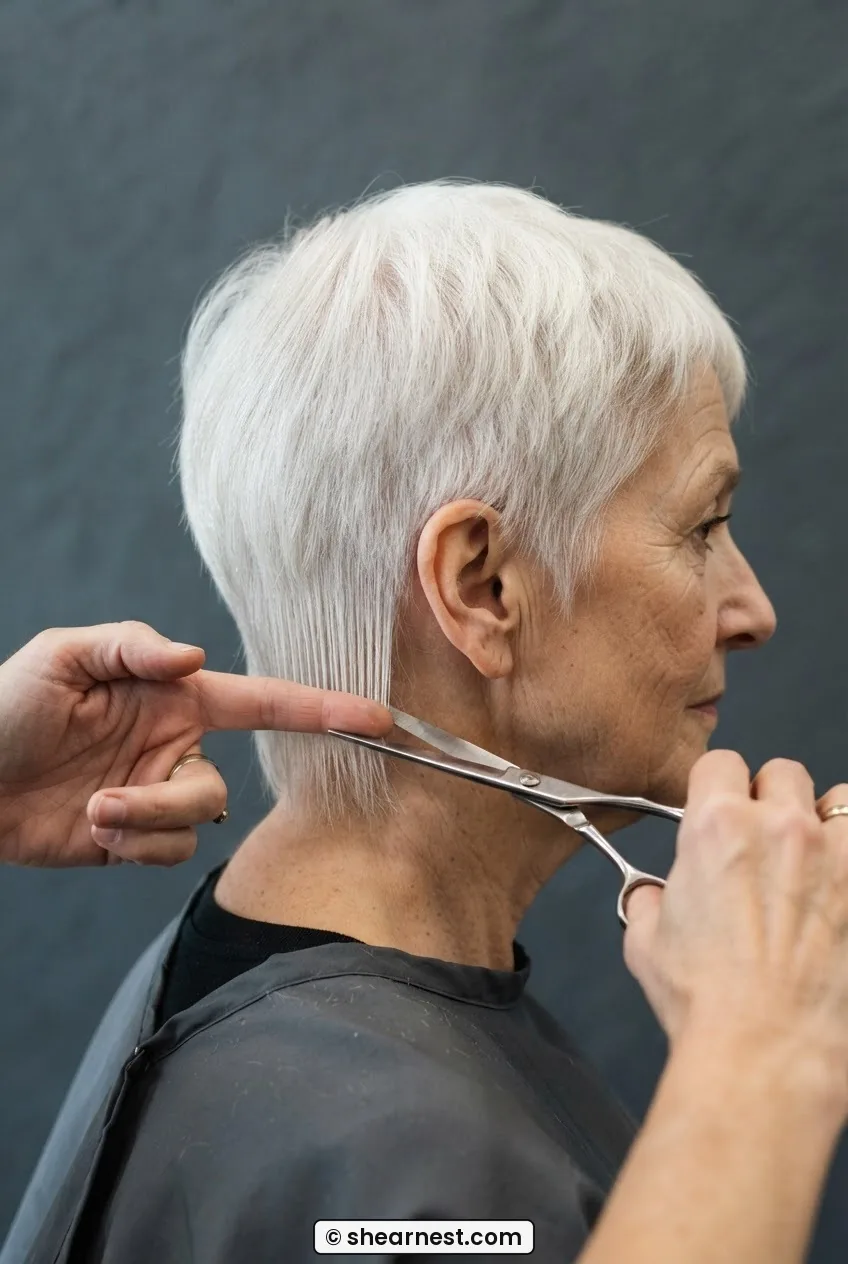
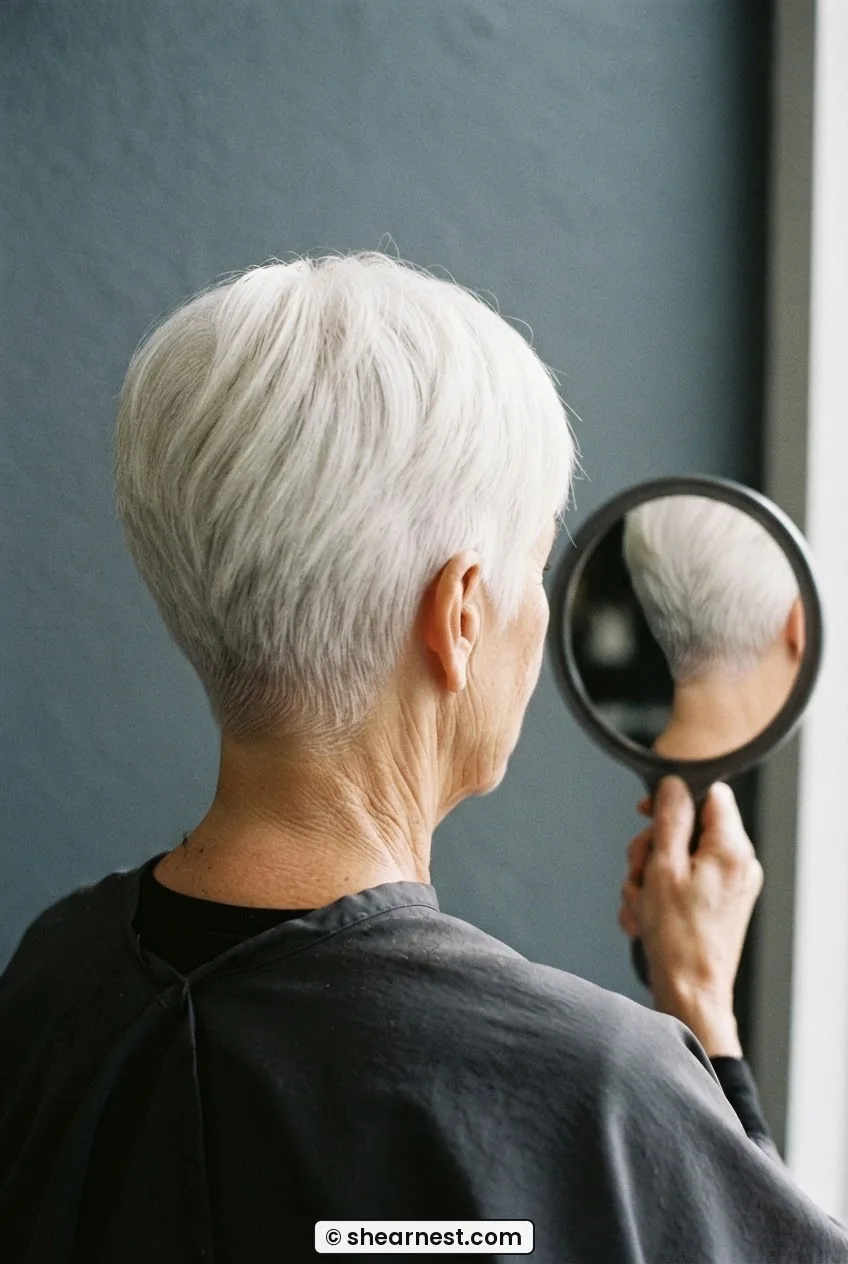
This is the step that separates a chic short cut from a blunt DIY one. The nape taper — that gradual shortening of the hair as it meets the neck — is what makes the back of a pixie look intentional rather than hacked. You need your handheld mirror here. Angle it so you can see the nape in your bathroom mirror. It takes a minute to get the reflection right. Don’t skip this.
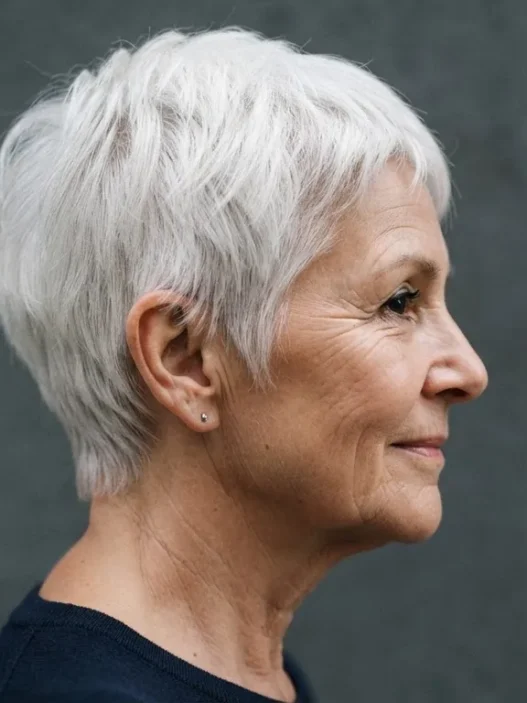
Take a thin horizontal section at the very bottom of the nape — the lowest hair at the hairline. Cut it shorter than everything above it, as short as you’re comfortable going, typically a quarter to half an inch. Then take the next section above it and cut it slightly longer. Then the next, slightly longer still, until you blend up into the length you established in Step 2. You’re building a gradient. Three or four sections is usually enough to create a taper that looks clean. Look at the woman in this photo — see how the hair shortens gradually as it comes down toward her collar? That’s exactly the effect you’re building, and the side light makes every graduation visible.
Step 5: Cutting Around the Ear
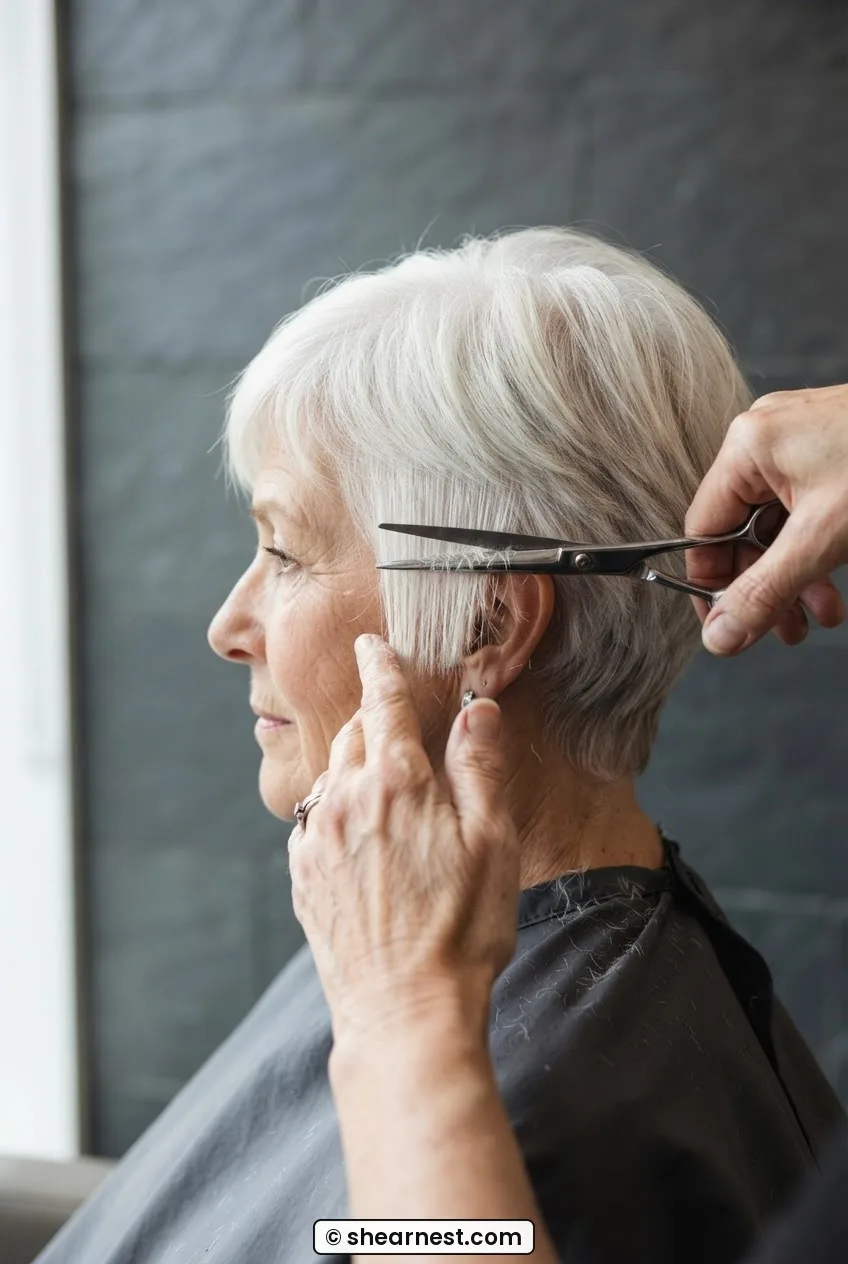
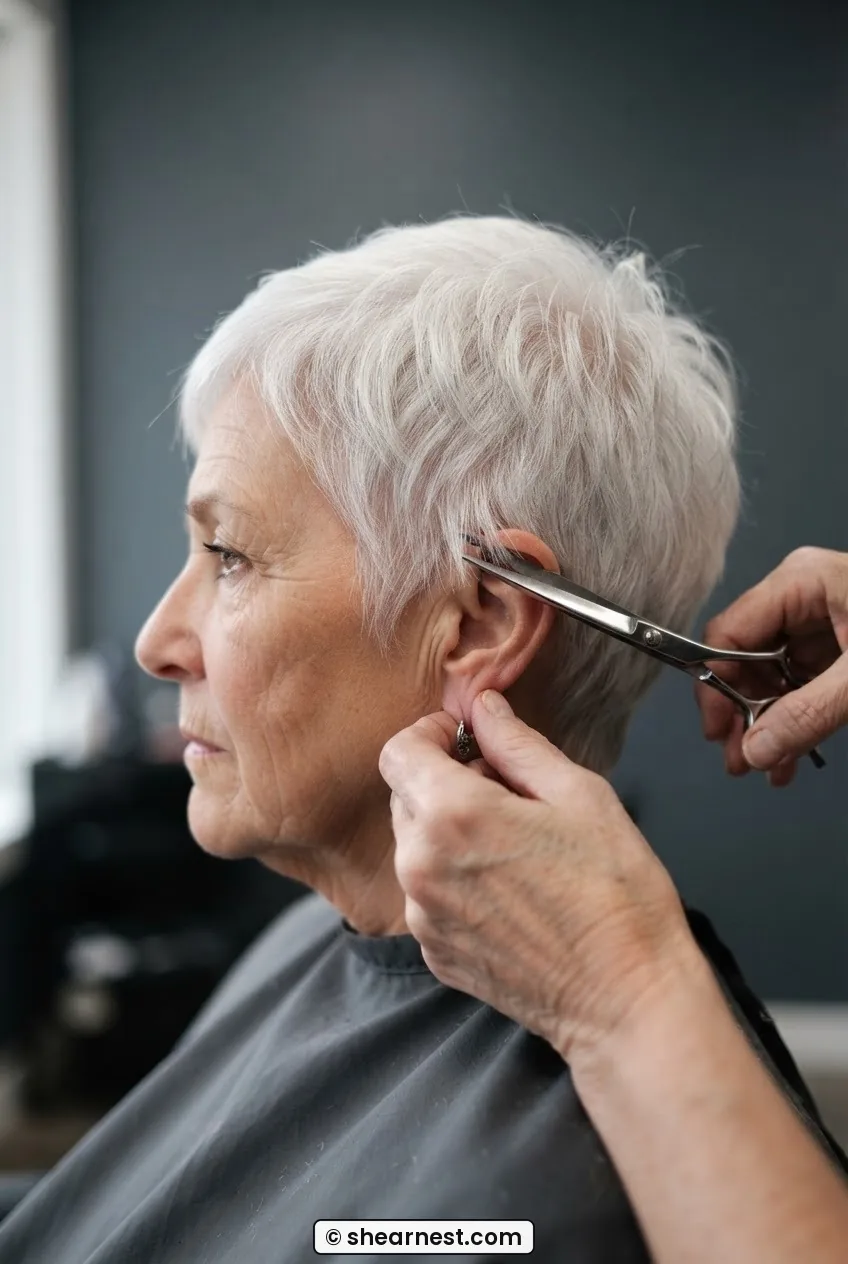
Fold the ear down gently with your non-cutting hand. Take a small section of hair that sits just above and in front of the ear — this is called the sideburn area and it gets ignored constantly, which is why home cuts so often look unfinished at the sides. Cut it close, following the curve of the ear, keeping the scissors pointed slightly downward so you’re cutting at an angle rather than straight across. A blunt horizontal cut here creates a hard line that looks abrupt against the face.
Then release the ear and look at the hair that falls just below the temple, in front of the ear. This piece should taper toward the face — it’s the framing section, and it should be the longest thing visible from the front on a short cut. Don’t cut this short. Leave it. I cannot tell you how many times I’ve over-cut here and then spent three months growing it back. Leave it long relative to everything else.
Step 6: Drying Against the Fall
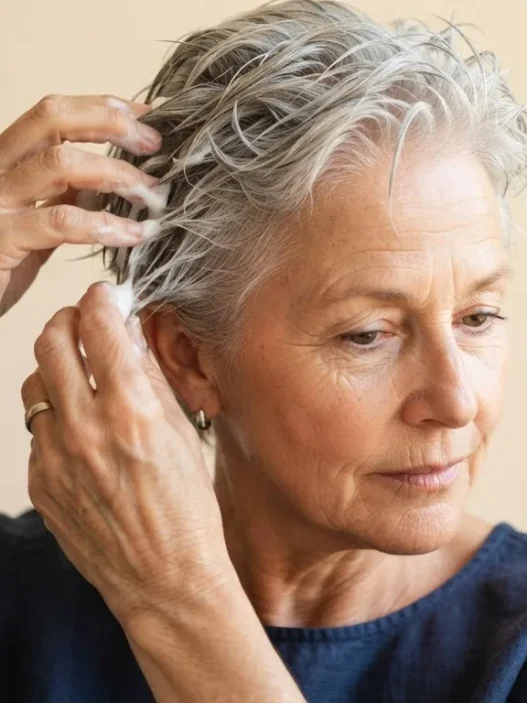
Now release the crown section. Spray it lightly if it’s dried out while you were working. Apply a small amount — and I mean small, a ten-pence-piece’s worth — of volumising mousse through the crown and top sections, scrunching it through rather than smoothing it. Then tip your head forward and dry the crown with a diffuser or a low-heat nozzle dryer, directing the airflow against the natural fall of the hair. This means pointing the dryer upward toward the roots, not downward following the hair length.
This technique — drying against the fall — is the single biggest difference between a flat pixie and a voluminous one on fine hair. The roots lift away from the scalp and set in that lifted position as they dry. Once they cool, they hold it. If you’ve been drying your short hair smoothed downward and wondering why it goes flat by eleven in the morning, this is why. Dry it upside-down, or at minimum angled forward. Let it cool fully before you touch it.
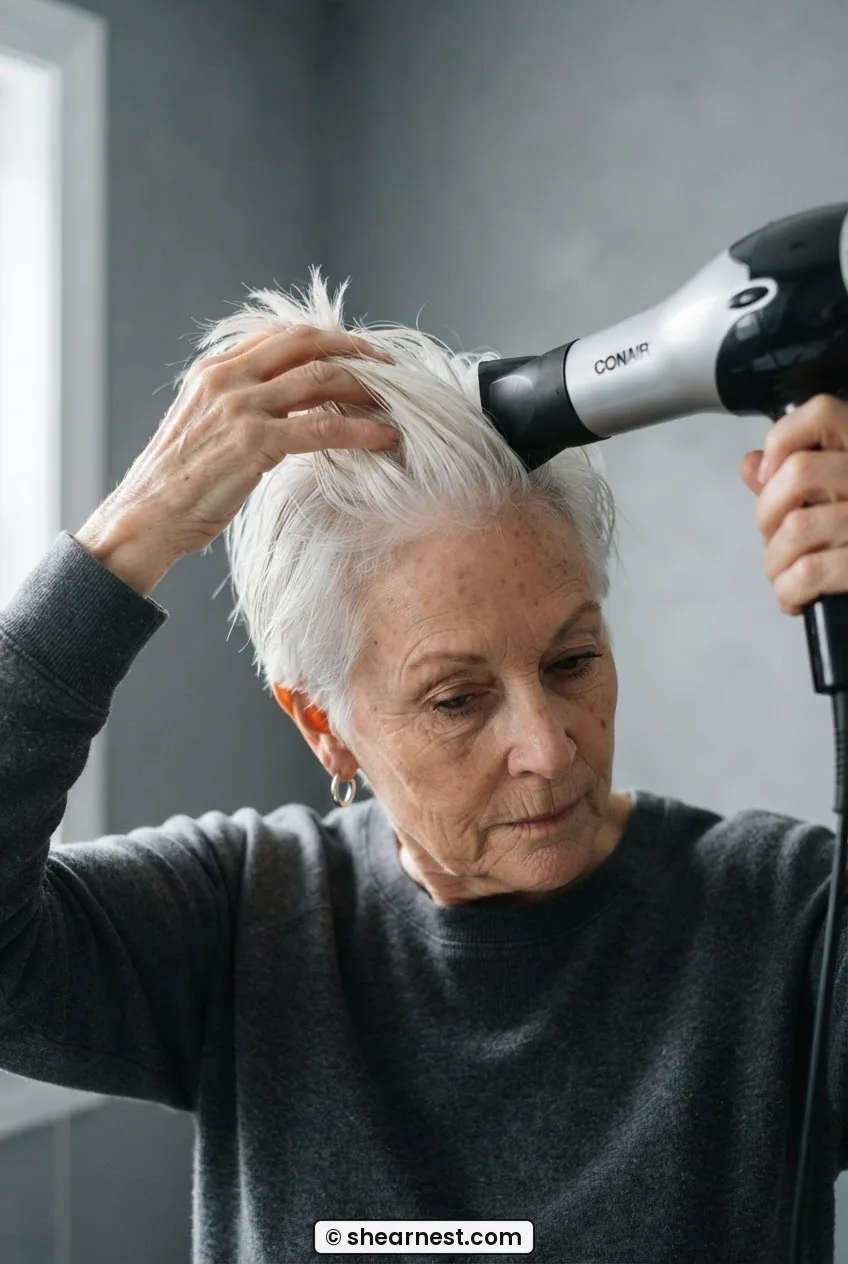
The Drying Technique That Actually Makes a Difference
Step 7: Where the Weight Comes Out
Once the hair is fully dry, this is your moment of truth. Look at the crown from the front — there should be visible lift, a slight roundness at the top that echoes the shape of the head without looking stiff. Now look at the sides. If there’s still a heaviness sitting at the temple — a little shelf of hair that makes the whole silhouette look blunt — this is where you do your final refinements.
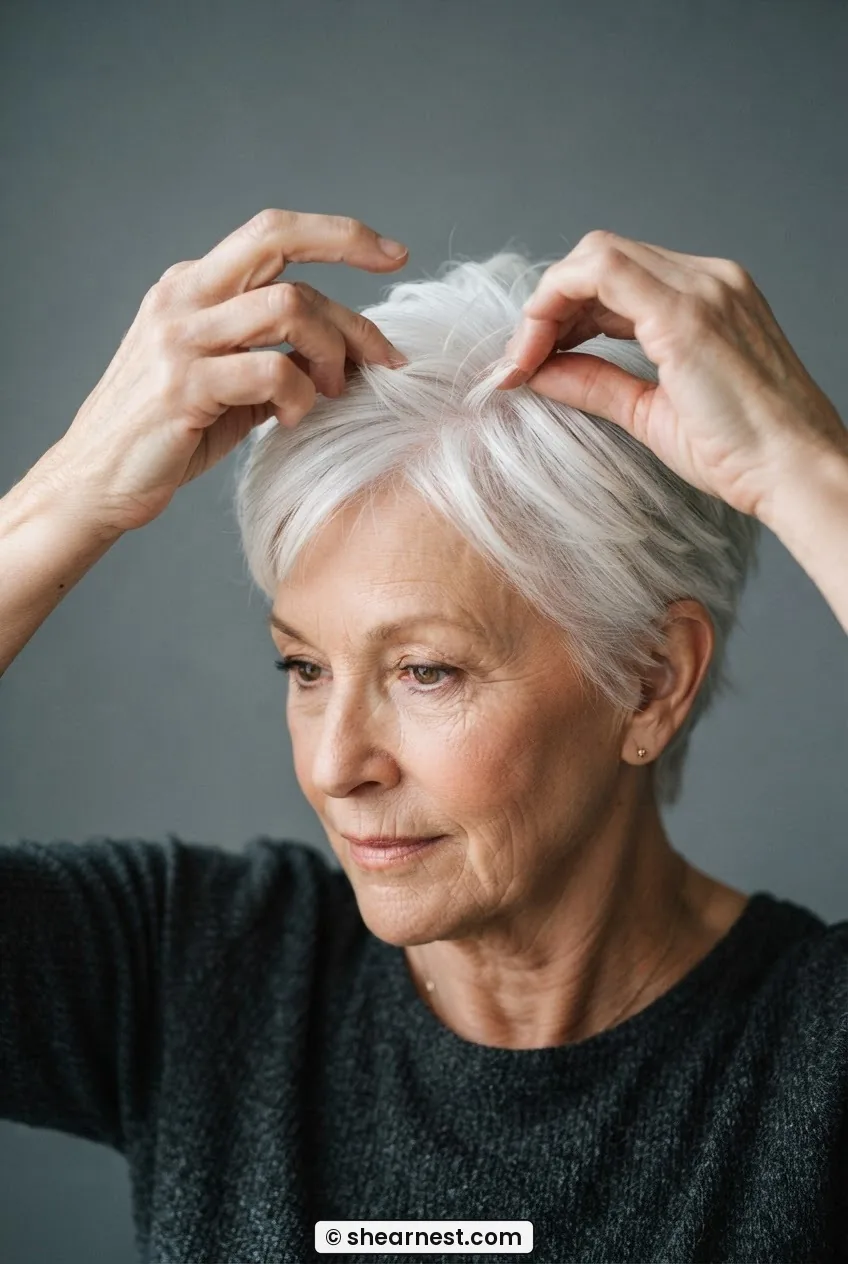
With the hair dry, take your scissors and point-cut into the ends of any heavy areas. Point-cutting means turning your scissors so the tips point into the hair at roughly a 45-degree angle, and making small snipping movements rather than a straight cut across. You’re breaking up the edge of the hair rather than cutting a clean line. This is what gives those photos their slightly undone, textured look — the weight isn’t just removed, it’s dispersed. Finish by working a tiny amount of matte texturising paste through the crown and sides, using your fingertips rather than a comb, and piecing the front sections apart very slightly.
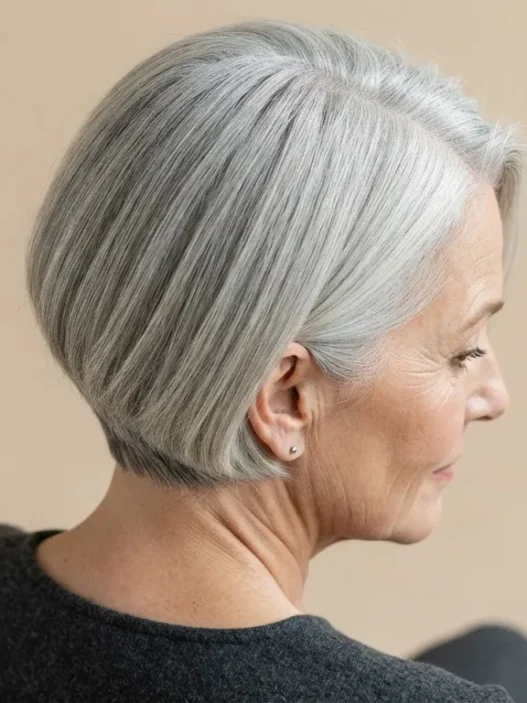
This is the result you see in those short hair images — the ones that look effortless. The separation at the ends, the lift at the roots, the clean taper through the nape. It’s a construction, not an accident. Understanding that is what changes everything.
What It Looks Like When It Goes Wrong
The first time I did the nape taper, I forgot to use my handheld mirror and cut freehand by feel. I ended up with a hard horizontal line at the lowest part of the nape — like a shelf — and no graduation at all below it. It looked fine from the front and absolutely chaotic from behind. My daughter pointed it out very gently approximately forty-eight hours later. I had to go significantly shorter to blend it out. Now I hold that mirror up before I make a single cut at the nape, every single time, no exceptions.
Other things I’ve gotten wrong: over-cutting the side framing pieces (takes forever to grow back and makes the face look stark), not checking both sides of the head against each other (one side sat noticeably higher than the other for two months), and drying with the heat too high, which made fine hair go frizzy and brittle at the ends. Low heat, slow dry. Always.
If you have straight hair and you’re finding the sides go flat even after cutting, it might be worth reading through the notes on straight hair cuts for women over 50 — there’s some specific guidance there about how straight texture interacts with short cut geometry that genuinely changed how I approach my own sections.
How Long It Holds — And Day Two Revival
A well-cut pixie on fine hair — properly tapered, properly textured — holds its shape for about four to five weeks before it starts to feel heavy again. You’ll notice it first at the sides, then at the nape. The crown usually stays manageable longest because you’ve left it longer relative to everything else.
Day two is actually often better than day one. The mousse and paste have settled, the roots have kept a little of that lift from the first-day dry, and there’s a natural piece-y texture that fresh cuts don’t always have. To revive it: dampen your hands very slightly — not dripping, just barely damp — and work them through the crown and sides to reactivate whatever product is still in there. Don’t add more product. Just redistribute what’s already there. Then hit the roots with a dryer on low heat for sixty seconds, again directing the airflow upward against the fall. That’s it. Two minutes, maximum.
If you’re over 70 and finding the technique needs adjustment — particularly around hairline recession or a finer nape area — there’s a more specific conversation about that in the guide to hair styles for women over 70, which covers what actually changes structurally at that stage and how cuts need to adapt.
Day three, if you need it: dry shampoo at the roots, fingertips to reshape, done. A good short cut doesn’t require much. That’s partly the point of it. You can also look into styling a short pixie on days when you want a slightly different texture — forward-swept versus back-swept changes the whole feel of the same cut.
The volume question is one I get asked constantly, and understanding volumising products for fine hair has genuinely helped me choose what to keep in the bathroom cabinet versus what to ignore. There’s a lot of noise out there about this. Not all of it is useful for hair that’s changed texture post-50.
And if you’re still deciding whether to go short at all — or which short cut suits your particular face — I’ve found that reading up on oval face short hairstyles is a useful starting point, though the oval face article on this site covers it specifically for women over 50 and is probably more directly useful: oval face hairstyles for women over 50.
Questions I Get About This
Can I use these steps on hair that’s already been coloured or highlighted?
Yes, though coloured fine hair can be slightly more fragile at the ends, so make sure your scissors are genuinely sharp — a blunt edge tears coloured hair rather than cutting it cleanly. If you’ve had bleach-based highlights, be particularly careful with the point-cutting step in Step 7, and don’t pull sections tightly. Use a loose hold with your fingers instead.
How short is too short if I have a round face shape?
This gets asked a lot. A round face actually suits a pixie very well, as long as you leave that framing piece in front of the ear (Step 5) and keep some height at the crown (which this method builds in). What doesn’t work on a round face is a cut that’s the same length everywhere — equal weight all the way around amplifies roundness. The taper and the crown lift in this method counteract that naturally.
What if my hair grows unevenly — faster in some spots than others?
Very common, especially post-50. The nape and sides usually grow faster than the crown. That’s actually fine for this method — the crown stays longer by design, so its slower growth doesn’t become an issue. Focus your maintenance trims on the nape and sides, and revisit Step 4 and Step 5 every three to four weeks if needed. You don’t need to redo the full seven steps each time.
Do I need to wet my hair before every trim?
For a full trim following all seven steps — yes, damp hair is easier to control and section accurately. For small maintenance snips at the nape or around the ear, you can do it dry. Just know that dry hair appears slightly longer than wet hair, so cut conservatively and check as you go. I’d rather trim twice than over-cut once.
Is this technique different for white or grey hair versus coloured hair?
The cutting technique is identical. What changes is the product choices afterward — white and grey hair can sometimes have a slightly coarser or wiry texture that doesn’t respond the same way to lightweight mousses. If your grey hair feels resistant to volumising products, try applying them to slightly wetter hair before diffusing. The extra moisture opens the cuticle a little and helps the product absorb rather than sitting on top.
After the first time I did all seven steps properly — mirror in hand, sections clean, crown guarded and then released at the right moment — I stood back and genuinely didn’t recognise the result as something I’d done myself. It looked like those photos I’d been saving. Not identical. But the same idea. The weight was gone, the shape was there, and it lasted five weeks before I needed to touch it again. That felt like a small miracle at the time. Now it just feels like Tuesday.