



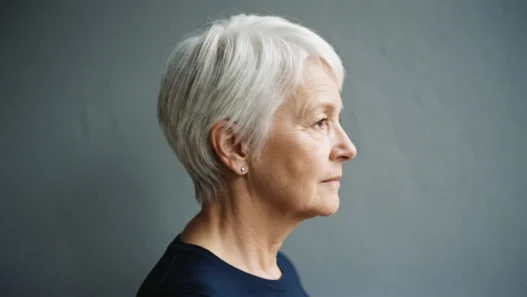

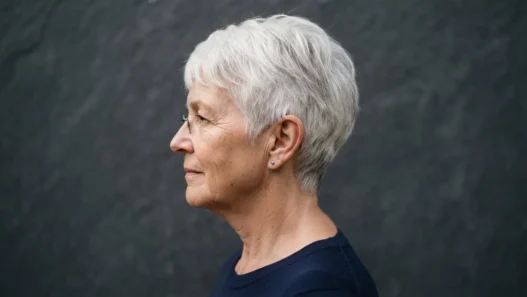



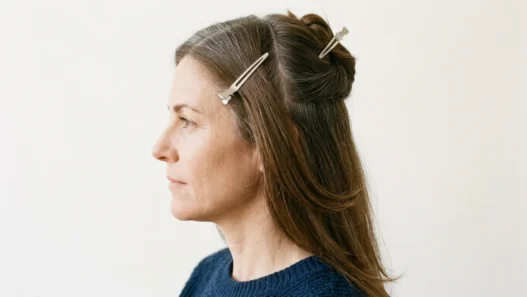


I spent three years asking for a shag and walking out with a layered lob. Not because my stylist wasn’t good — she was great — but because I couldn’t explain what I actually wanted, and she defaulted to safe. The problem is that a proper medium shag haircut for older women is a specific, deliberate thing. It’s not just “layers.” The sections, the angles, the amount of weight you actually remove — all of it matters, and none of it is complicated once someone shows you slowly.
So I learned to do this myself. Partly out of stubbornness, partly because my hair changed so much after fifty — finer in places, wavier in others, that greying auburn going silver at the temples — and I needed to be able to maintain it between cuts. What follows is the method I use, explained the way I wish someone had explained it to me.
How This Guide Is Laid Out
- Why I Finally Tried This Cut
- What You’ll Actually Need
- Step 1: Assessing How Much Length to Remove
- Step 2: Sectioning the Crown
- Step 3: Cutting the Interior Layers
- Step 4: Where the Weight Comes Out
- Step 5: Shaping the Face-Framing Pieces
- Step 6: Drying Against the Fall
- Step 7: Finishing and Day-Two Revival
- Quick Answers Before You Start
Why I Finally Tried This Cut
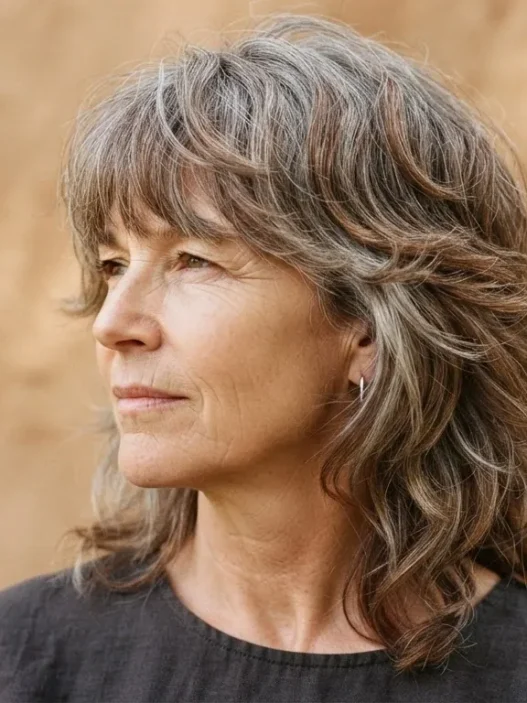
My hair sits just past my shoulders — that medium length that can go limp and shapeless by noon if I’m not careful. For a while I was getting my stylist to add soft layers, which helped, but the result always felt a bit polite. A bit tidy. And polite is not what I wanted. I wanted the cut that moves, that has that beautiful lived-in separation between layers when the light catches it. The one where you can see the structure even when the hair is air-dried.
That’s a shag. And specifically, for hair at this stage of life — mine is thinner than it was at thirty-five, with texture I never had before — it’s a medium shag haircut built around removing weight strategically rather than removing length dramatically. If you’ve been curious about wavy haircuts for women over 50, this cut crosses over beautifully; the technique is almost identical, and the layers behave especially well on hair that has developed any wave or movement with age.
What You’ll Actually Need
Nothing exotic. The list is short and the only thing worth spending money on is the scissors.
- Sharp haircutting shears — 5.5 inch is the most manageable one-handed
- Texturizing shears (optional but very useful on fine hair)
- A fine-tooth rat-tail comb
- At least 6 sectioning clips — duckbill style, not the tiny round ones
- A handheld mirror and a fixed mirror behind you, or a ring light on a stand angled behind your head
- A spray bottle with water
- A lightweight mousse or texturizing cream for finishing — something with hold that doesn’t stiffen
- A diffuser attachment for your dryer
I do this on damp hair. Some people prefer to dry-cut their shag because you can see how the texture naturally falls, but for a first attempt on yourself, damp is more forgiving — you can see your sections clearly, the hair doesn’t move around as much, and you can always check the result dry before you take any more off.
Step 1: Assessing How Much Length to Remove
Before you pick up a single section, stand in front of your mirror with your hair down, freshly washed and damp. Don’t style it. Look at where the heaviest bulk sits — that thick curtain of hair that drags everything downward. On most medium-length hair, it sits at the perimeter: the very ends and through the mid-shaft.
The medium shag haircut for older women is not about a dramatic chop. It’s about selective removal. A true shag removes more weight from the interior — the under-layers and the crown — than it does from the perimeter. The perimeter might only lose half an inch. The interior might lose two or three. This is the central idea and if you understand it going in, nothing that follows will feel confusing.
Decide on your perimeter length first. For most women with shoulder-to-collarbone length hair, I’d suggest keeping the perimeter where it is and doing your first pass purely on the interior. You can always take the perimeter up after — you cannot put it back. On fine or thinning hair especially, preserving the perimeter length creates the illusion of density. You can read more about this principle in my longer look at haircut choices for fine hair over 50, which covers which lengths and cuts genuinely add the most visual weight.
Step 2: Sectioning the Crown
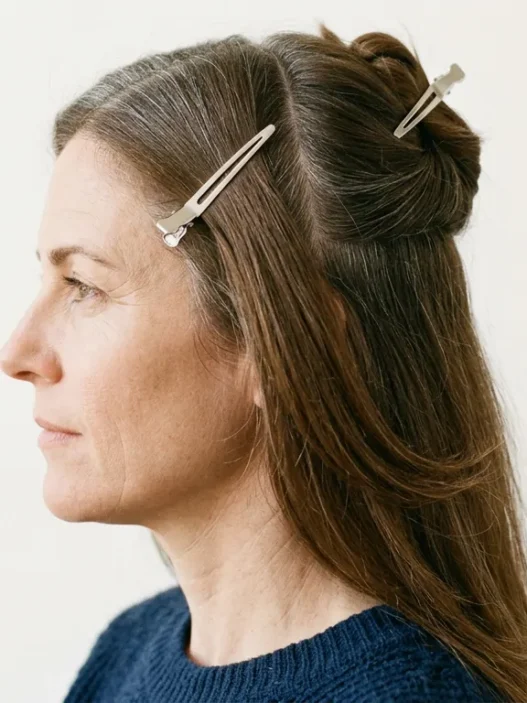
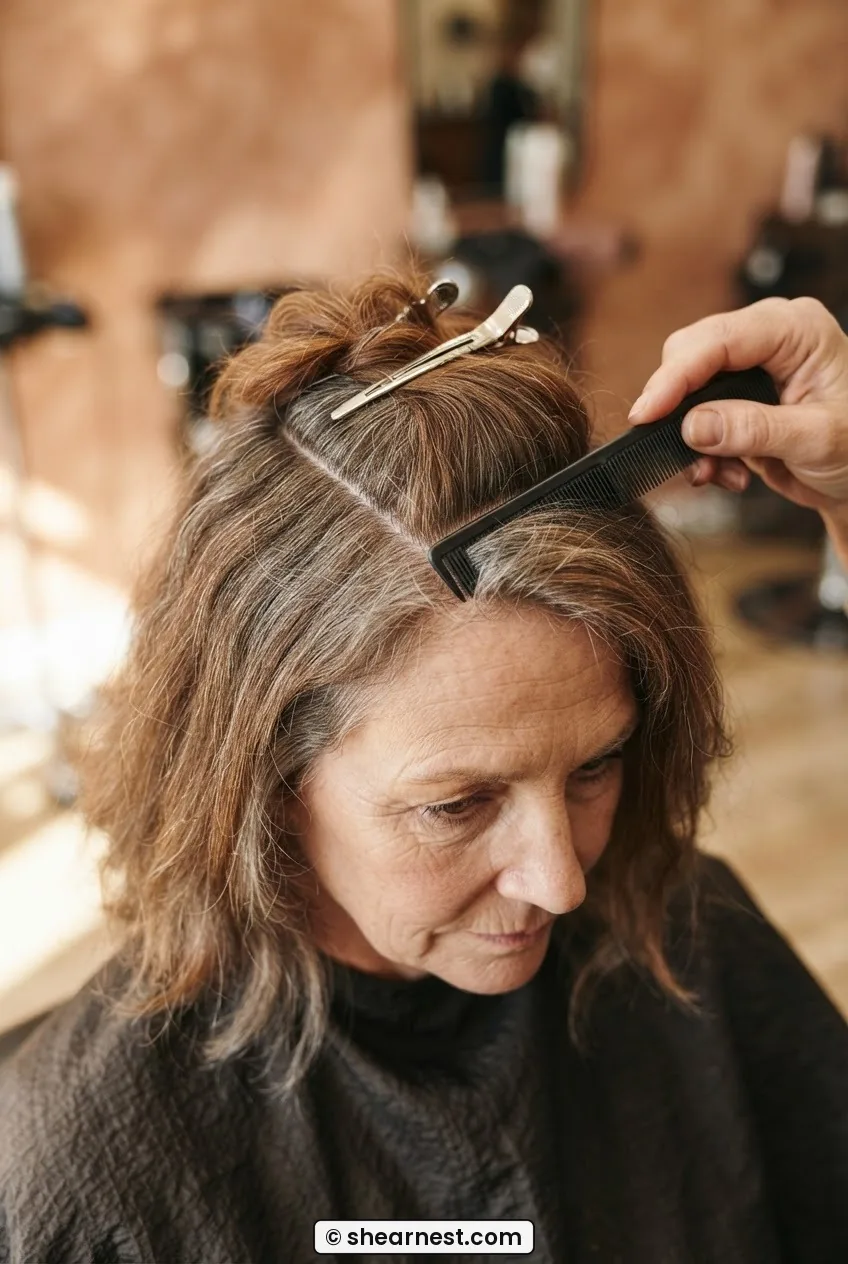
This is where the shag actually begins, and it’s the step most tutorials rush through. Take your rat-tail comb and create a horseshoe section at the crown. You’re parting from just behind the temples on one side, over the top, and down to the same point on the other side. This section should feel like a loose cap sitting on the top of your head — maybe four inches of diameter.
Clip this crown section up and out of the way with two duckbill clips. Then section the sides: clip each side panel (from your ear to just past the temple, running toward the back) up separately. What remains hanging free is your nape section — the under-hair that falls from the occipital bone down. This is your first working section.
The nape section is usually the longest and the heaviest. Many women over fifty find this section has become very dense, especially if hormonal changes have made the hair finer on top while the nape stays thick. You’ll come back to it in Step 4. For now, just leave it hanging and get clear on where each clipped section begins and ends.
Step 3: Cutting the Interior Layers
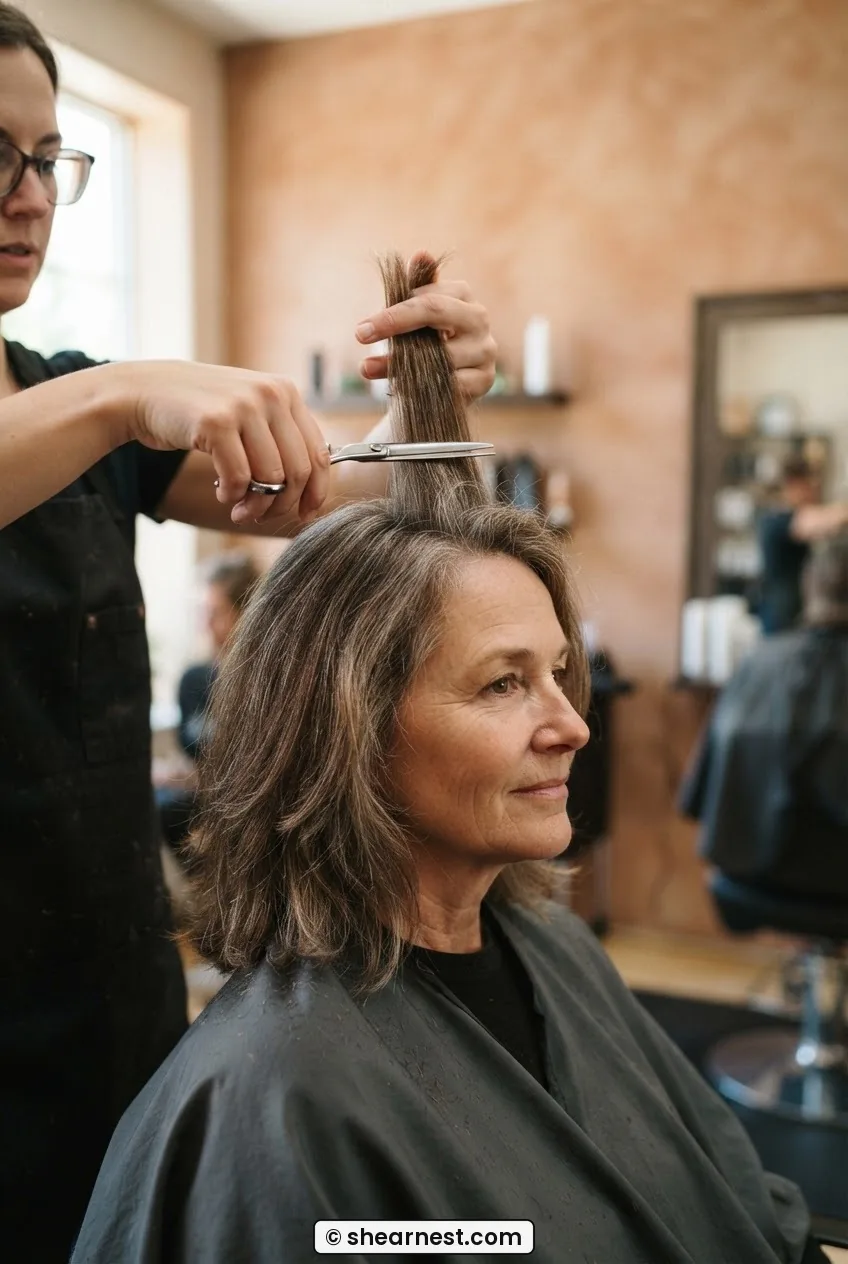
Release the crown section. Comb it smooth, then take a vertical slice about an inch wide from the very center of the crown, running front to back. Hold this slice straight up — perpendicular to the floor — with your non-dominant hand. Your fingers form the guide. Decide how short this guide layer will be. For a medium shag with good movement, this shortest layer usually falls somewhere between your chin and the tip of your nose when held straight up. That sounds dramatic but it creates the crown volume and separation that defines the look.
Cut horizontally across your fingers. This is your guide. Now work outward from this center slice in one-inch sections, each time holding the hair straight up and cutting to match your guide — slightly longer as you move toward the outer crown because the hair has further to travel. The goal is a graduated internal layer, shortest at the very top center, longer as it radiates outward.
The mistake I made on my first attempt: I pulled the crown hair too far forward — toward my face — when I held it up to cut. This means I was cutting on an angle that shortens the front layers more than I wanted. Hair should be held directly vertical, not scooped forward. If you’re at a bathroom mirror, check your posture — you’re probably leaning forward without realizing it, and your hand follows.
Step 4: Where the Weight Comes Out
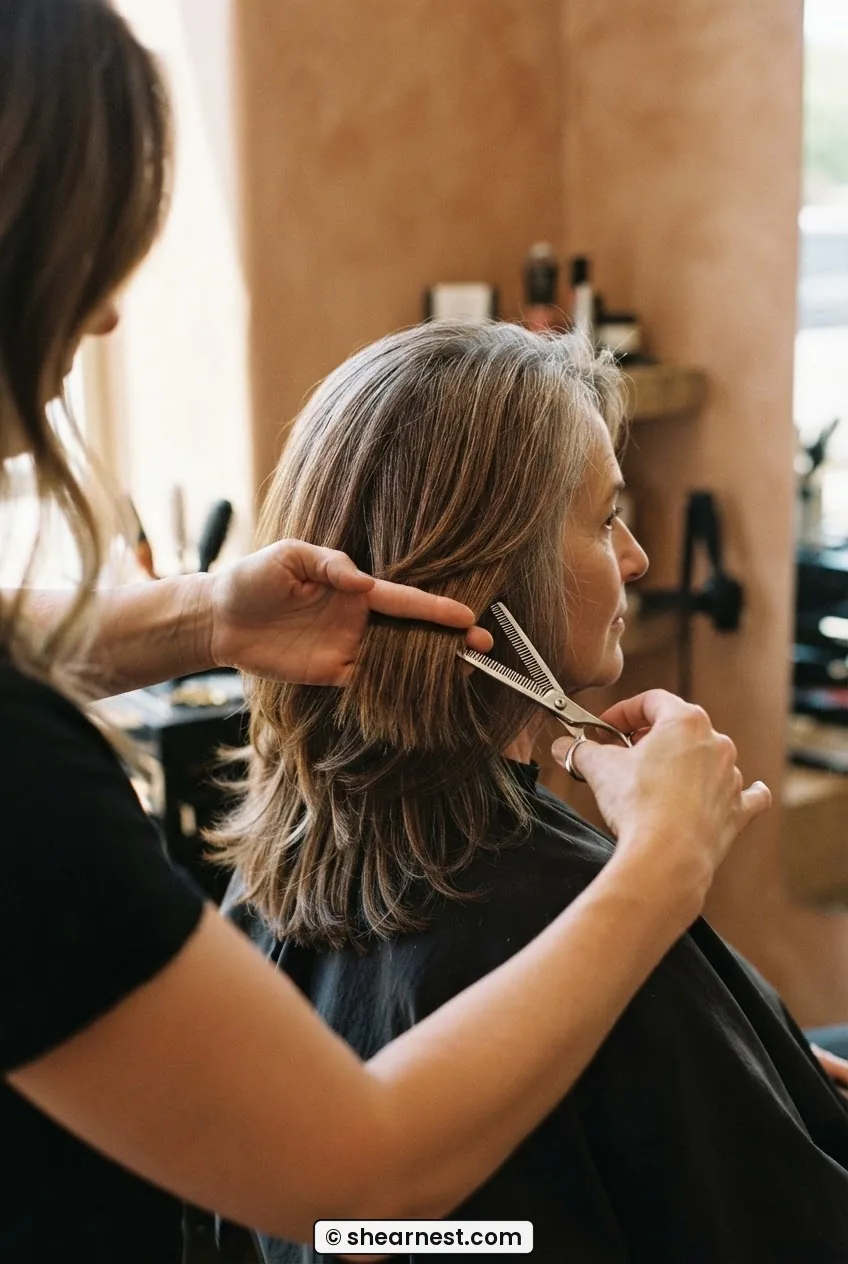
This is the step that actually makes a shag look like a shag and not just a layered cut. Release your side sections one at a time. Take a horizontal slice about an inch deep from the bottom of each side section. Hold it out at 45 degrees from your head — not straight out, not flat down, somewhere in between. Cut a slight downward angle (shorter toward the face, longer toward the back) to create the soft, face-framing separation.
Now the key part: working upward through each side section in horizontal slices, hold each slice out at 90 degrees from your head and cut to be progressively shorter as you approach the crown, so the topmost layers connect smoothly with the crown guide you cut in Step 3. This is called over-direction, and it’s how the weight is removed from the mid-shaft without you ever dramatically shortening the perimeter length.
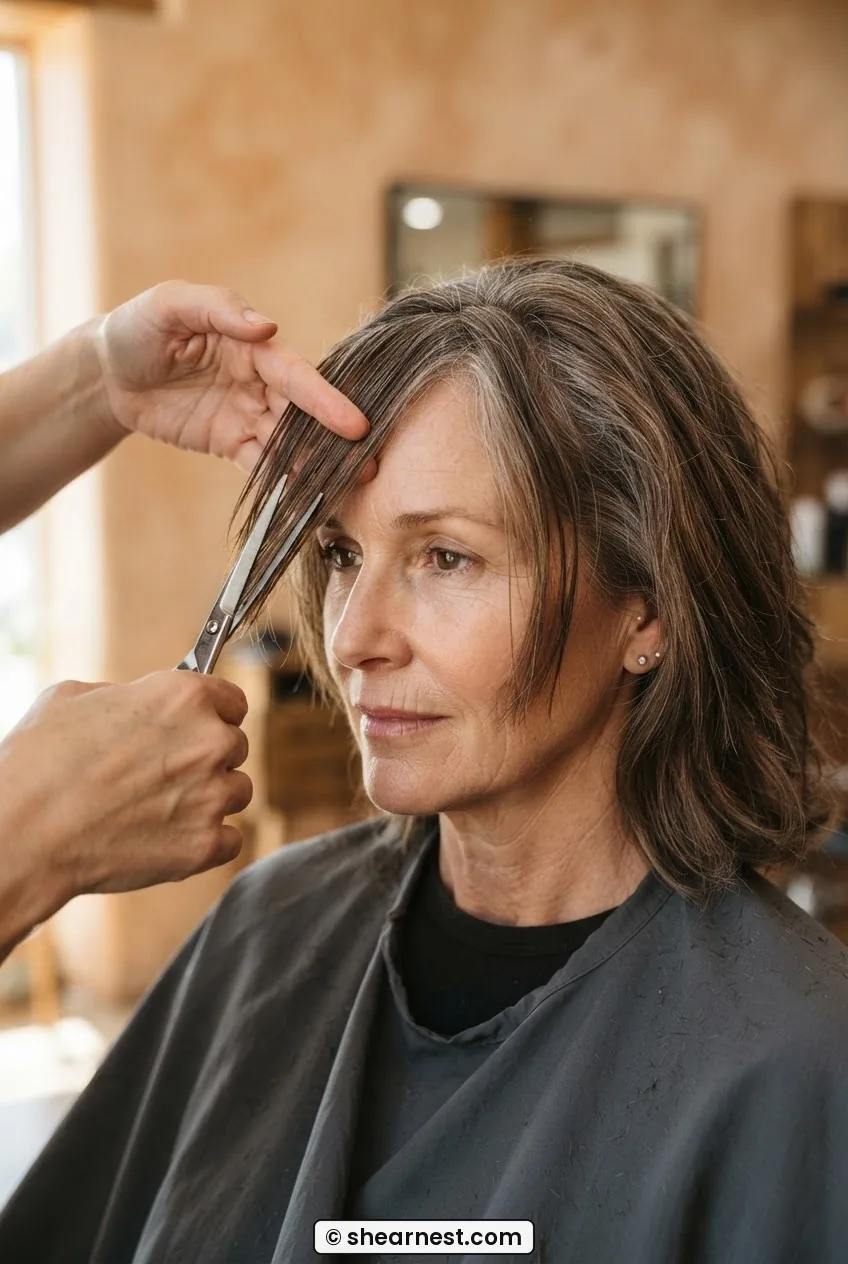
On the nape section, I use my texturizing shears rather than straight shears for the final pass. The nape hair on older women can be coarser or very fine, and texturizing here removes bulk without bluntly shortening. Point the shears vertically into the ends and work up about two inches from the tips. This is where the separation and the “lived-in” texture come from — look at how her layers are catching the light in the photo below, the sheer separation between each section creating that beautiful, airy quality.
Step 5: Shaping the Face-Framing Pieces
This is the most personal step and the one where you make the cut yours. Release the front sections — the hair from your temple forward on each side. These are what frame your face, and how you cut them changes the whole personality of the shag.
For a classic medium shag on older women, I prefer a curtain effect: longer pieces that fall past the cheekbone and tuck behind the ear, with a few shorter wisps at the front that sit at chin level or above. To get this, take a triangular section from the hairline — the base of the triangle is along your hairline from the center part to the temple, the apex points back toward the crown. Hold it forward and downward at about 45 degrees, and cut a soft angle, shorter at the front, longer as you move toward the temple.
If you’re working with naturally straight hair, check out the considerations around straight hair cuts for women over 50 — the face-framing angle that works on straight hair needs to be slightly more pronounced than on wavy hair, because straight hair doesn’t spring back and the layers can look flat if you’re too conservative.

Step 6: Drying Against the Fall
How you dry this cut determines everything. A diffuser is not optional — or rather, it’s optional in the same way sleep is optional. You can skip it, but you’ll regret the results.
Apply a small amount of texturizing mousse or cream to damp hair — work it in with a scrunching motion rather than raking through, which drags the layers flat. Then tip your head forward and diffuse from underneath, working section by section. “Drying against the fall” means you’re drying the hair upward, against the direction gravity wants it to go. This is what gives the shag its lift at the crown and the separation between the layers.
Keep the heat on medium — high heat on finer, colour-treated or greying hair can cause frizz and damage that no amount of product fixes. Dry to about 80% and then stand upright, toss your head back, and let the layers settle naturally for the final 20%. Don’t touch it. Don’t comb it. Let it fall.
She’s got beautifully diffused texture in the photo below — notice how each layer is distinct without looking crunchy or over-set. That’s the target. The diffusing technique for fine wavy hair that gets you there involves patience more than anything else; rushing the diffuser is the single fastest way to undo all your cut work.

See the Diffusing Technique in Real Time
Step 7: Finishing and Day-Two Revival
Once dry, check the cut in both mirrors. Look at the side profile and the back using your handheld mirror. The layers should show clearly as distinct bands of length, not one smooth graduated curtain. If anywhere looks too heavy or blocky, now is the time for a light point-cutting pass with your texturizing shears — never straight shears for a correction pass, because straight cuts create lines, and you want softness.
To finish, I use a tiny amount of a dry texture spray or a light pomade just on the ends, working it between my fingers and pinching the tips. This defines the layered separation and prevents the ends from blending together into that too-uniform look.
Day two and three are honestly when this cut is at its best. Sleep on it, wake up, and spritz with a water and leave-in conditioner mix. Scrunch. Diffuse for two minutes on low. Done. The natural oils from day-old hair actually help the layers hold their shape better than freshly washed hair. I stopped washing daily the moment I committed to this cut, and it was genuinely one of the better decisions I’ve made for my hair. For women wondering how their texture might shift further with age, the how hair texture changes after menopause is worth understanding — it affects how your shag behaves and how often it needs a refresh cut.
A well-executed medium shag haircut holds its shape for eight to ten weeks before it starts feeling shapeless. You’ll know it’s time for a refresh when the layers stop separating and everything starts falling into a single heavy curtain again. At that point, I repeat Steps 3 and 4 only — the interior layer refresh — without touching the perimeter at all. This extends the life of the cut considerably.
If you later want to explore what happens when you take the length shorter, or push the shag further into softer territory as your hair evolves, it’s worth reading about oval face hairstyles for women over 50 — the shag is one of the most forgiving cuts for oval faces, but how you adjust the face-framing pieces changes significantly at different lengths.
Quick Answers Before You Start
Can I cut a medium shag on myself with no experience?
Yes, cautiously. Start with just the crown and interior layers in Step 3 and live with it for a week before attempting Steps 4 and 5. That single interior pass will already transform the cut, and you can assess how the weight removal affects your specific hair before going further. The biggest risk is cutting too much too quickly, not cutting incorrectly.
Does this cut work for fine and thinning hair?
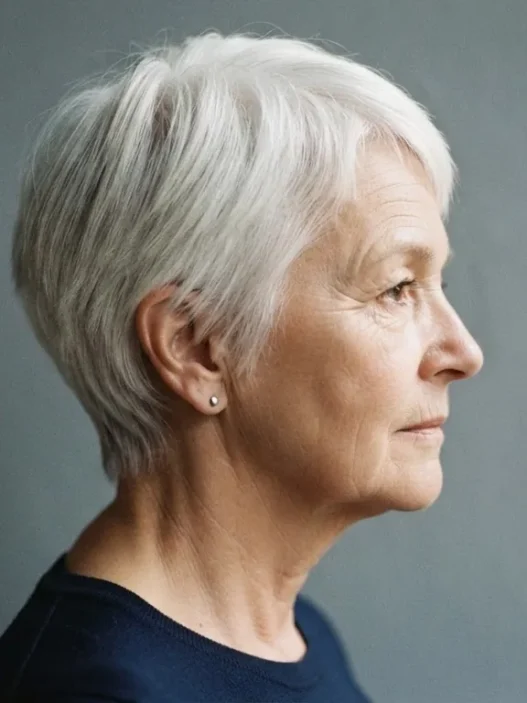
It’s one of the best options for fine hair, actually — the layers create the illusion of density and volume that flat fine hair can’t achieve on its own. The key is keeping the perimeter length intact and doing the weight removal through the interior only, exactly as described in Step 1. Avoid removing too much from the nape, which can make thin hair look stringy at the bottom.
How do I maintain a shag if I have very straight hair?
Straight hair shows every layer very clearly, which is actually an advantage — you can see your work easily and the cut looks precise and intentional. Use a round brush on the face-framing pieces when blow-drying to create the soft bend that wavy hair gets naturally. A lightweight texturizing spray on dry hair helps the layers read as separate rather than melting into each other.
Will a medium shag suit me if I’m over 60 or 70?
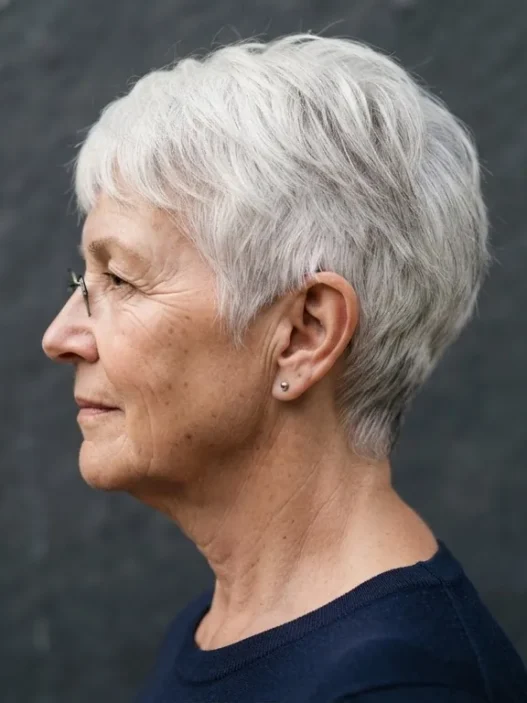
Absolutely — the shag doesn’t have an age ceiling, and in fact the soft movement it creates can be very flattering as the face changes. The adjustment is in the face-framing pieces: keeping them longer and softer avoids anything that reads as harsh. If you’re navigating hair changes further down the line, my piece on hair styles for women over 70 covers how the approach shifts when hair becomes very fine or the growth pattern changes significantly.
What if my shag goes wrong? What does it look like?
The two most common failures are a mullet (too much length at the back relative to the sides, usually from not blending the side sections into the nape properly) and a triangle shape (not enough weight removed from the sides, leaving a wide, heavy silhouette). Both can be fixed. A mullet needs the back perimeter softened with texturizing shears. A triangle shape needs more over-direction in Step 4, pulling the sides out further before cutting to remove more internal weight.