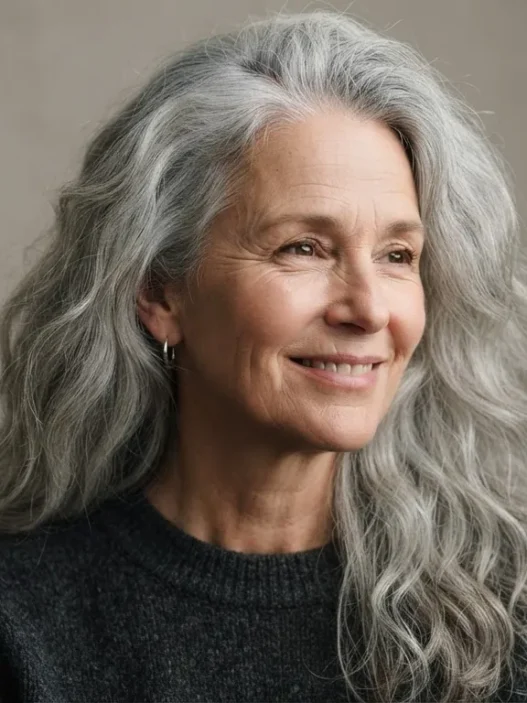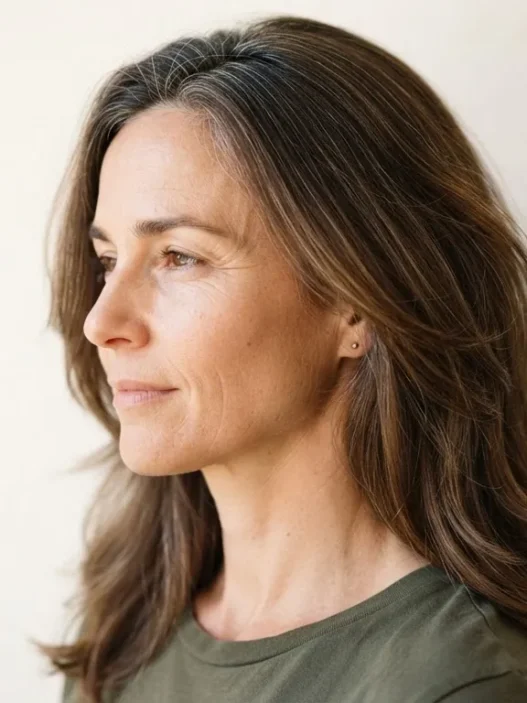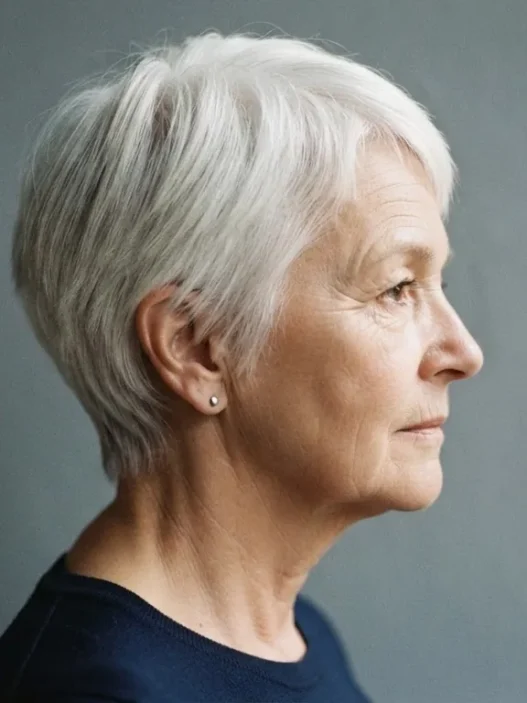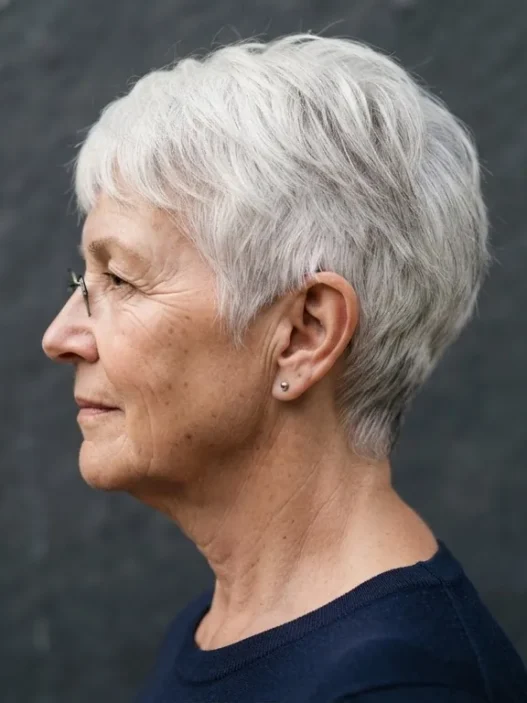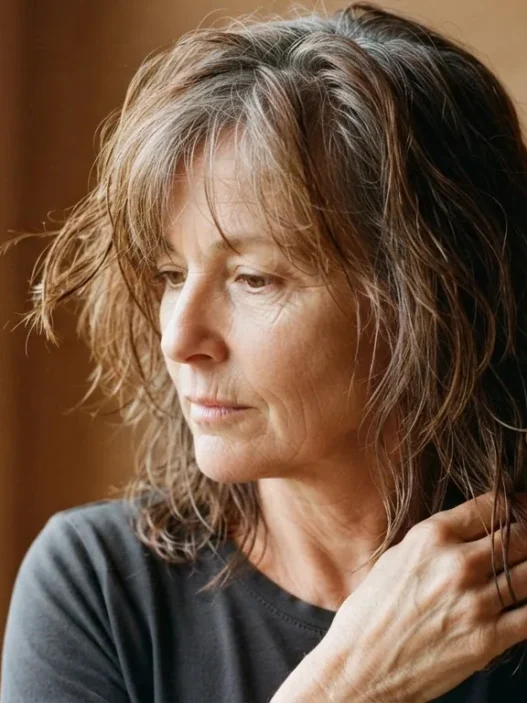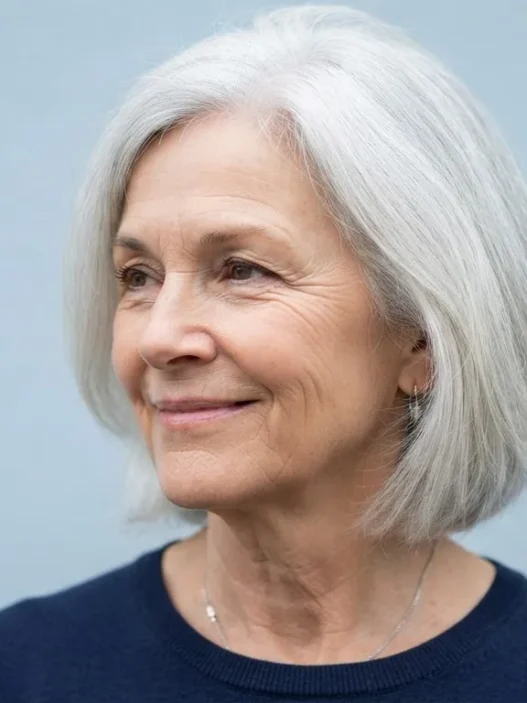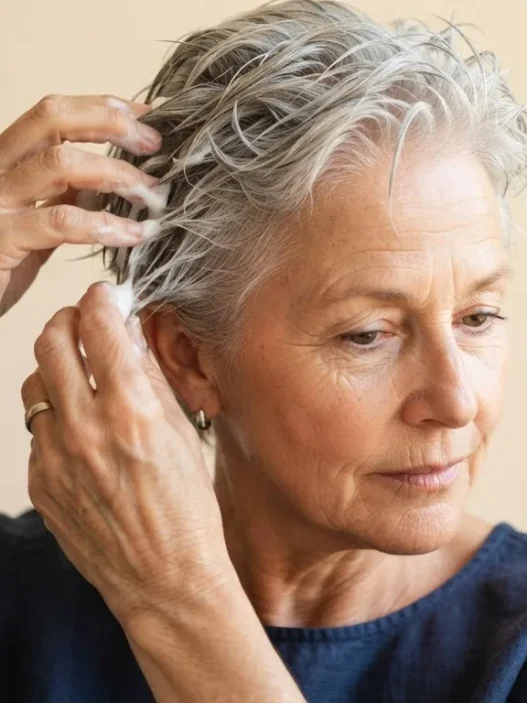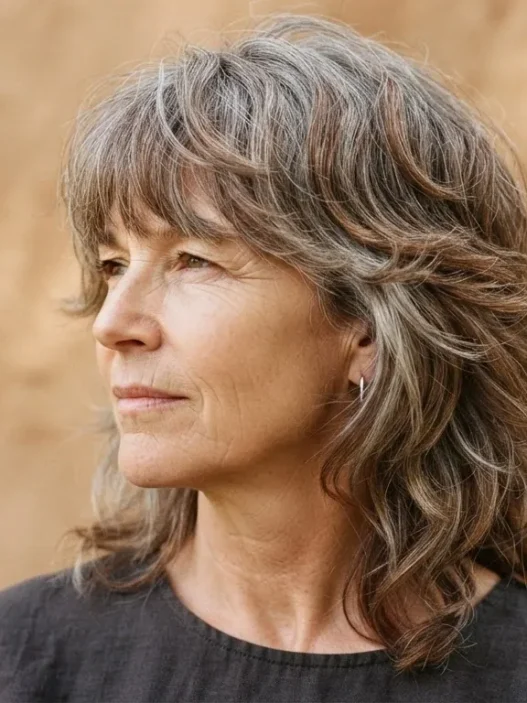




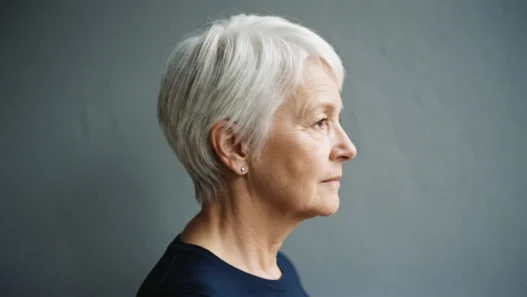

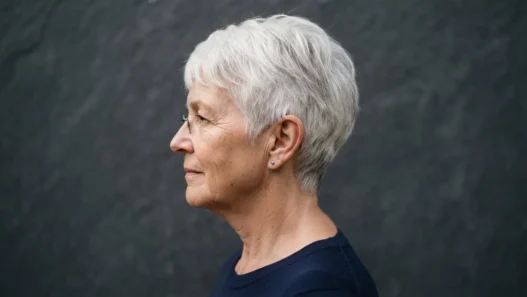

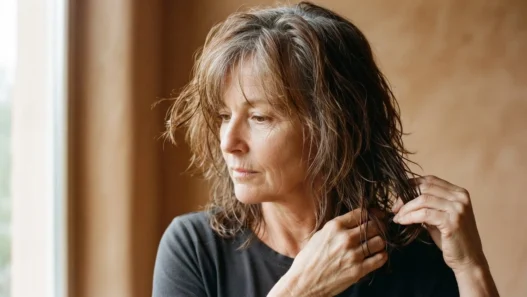

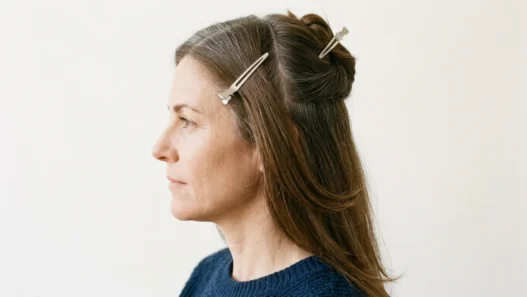
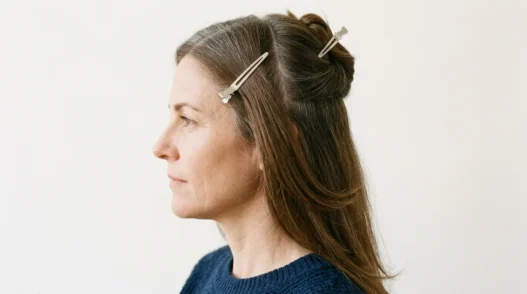
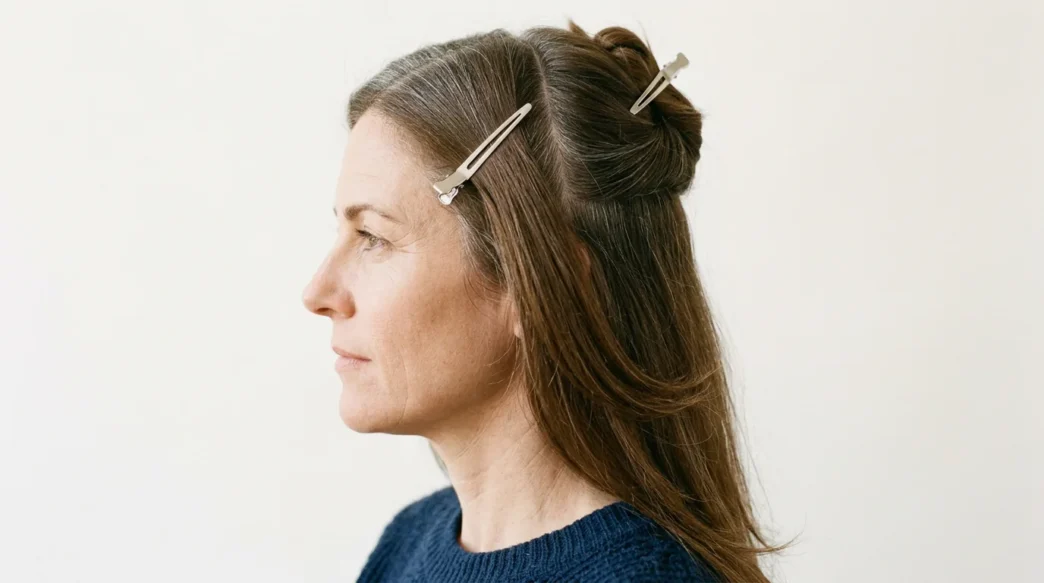
I stood at my bathroom mirror for about twenty minutes before I finally picked up the scissors. I had long hair that felt heavy and tired — not bad, just somehow wrong for where I was at fifty-three. Every time I went to the salon they wanted to take it all off, and I kept saying no. I wanted to keep the length. I just needed the weight redistributed, the movement back, the thing that makes long hair feel alive rather than just present. So I taught myself how to do it. This is what actually worked.
Your Map Through This Cut
- How Much to Actually Take Out
- What You’ll Need
- Step 1: Sectioning the Back Panel
- Step 2: Setting the Baseline Length
- Step 3: Building the First Layer — the Horseshoe Section
- Step 4: Working the Crown — Where the Weight Comes Out
- Step 5: Framing the Face
- Step 6: Drying Against the Fall
- Step 7: Checking the Layers in Motion
- Step 8: Finishing and Reviving on Day Two
- Questions I Get About This
How Much to Actually Take Out
This is the question nobody answers directly, so I will. For long hair over 50, you are almost never taking out length. You are taking out weight. The baseline — the very bottom of the hair — loses maybe half an inch to an inch, just to even things up. The real work happens inside the hair, in the layering. And those layers? The shortest of them typically land somewhere between the collarbone and the ear. Nothing above the jaw unless you specifically want face-framing pieces that short, which we’ll get to.
Hair over 50 changes texture. It gets finer near the temples, sometimes coarser at the nape, and it loses some of that elastic bounce. If you’ve noticed your hair sitting flatter at the crown or looking stringy at the ends, that’s not the length causing it. That’s weight distribution. Layers fix that. And understanding more about what actually changes in hair for older women over 50 helps you make smarter decisions before you cut a single strand.
One more thing: if you have gray coming in at the parting — and a lot of us do — layers are your friend. They create movement that integrates the two tones rather than drawing a hard line between them. More on that as we go.
What You’ll Need
Keep this simple. You don’t need a salon trolley.
- Sharp haircutting scissors — not kitchen scissors, not craft scissors. Actual cutting shears. If yours have been sitting in a drawer since 2019, get a new pair. Dull scissors crush the hair shaft instead of cutting it cleanly, and you’ll see it in the finish.
- A fine-tooth tail comb for sectioning
- At least six sectioning clips — duckbill style if you have them
- A handheld mirror for checking the back
- A spray bottle with water
- Good lighting. Natural light is best. A single overhead bulb will lie to you.
- Optional but genuinely useful: a texturizing shear or razor comb for softening the ends at the end of the cut
Do this on dry hair the first time. Wet hair appears longer, and if you’re working alone at a mirror, dry hair shows you exactly what you’re getting. You can always mist individual sections before cutting them if you need more control.
Step 1: Sectioning the Back Panel
Stand facing your mirror. You’ll need the handheld mirror propped somewhere behind you, or use a second mirror on the wall. Start by dividing the hair into four quadrants: a horizontal parting across the back of the head roughly from ear to ear, and a vertical parting down the center back. Clip the top two sections up and out of the way. These are your crown sections — you won’t touch them yet.
The bottom two quadrants are your back panel. Let these hang loose. Comb them smooth. This is your foundation — the length everything else will be built against. Do not skip this sectioning step even if it feels fussy. Working on unsectioned hair is how you end up with uneven layers you can’t explain and can’t fix without losing more length.
Step 2: Setting the Baseline Length
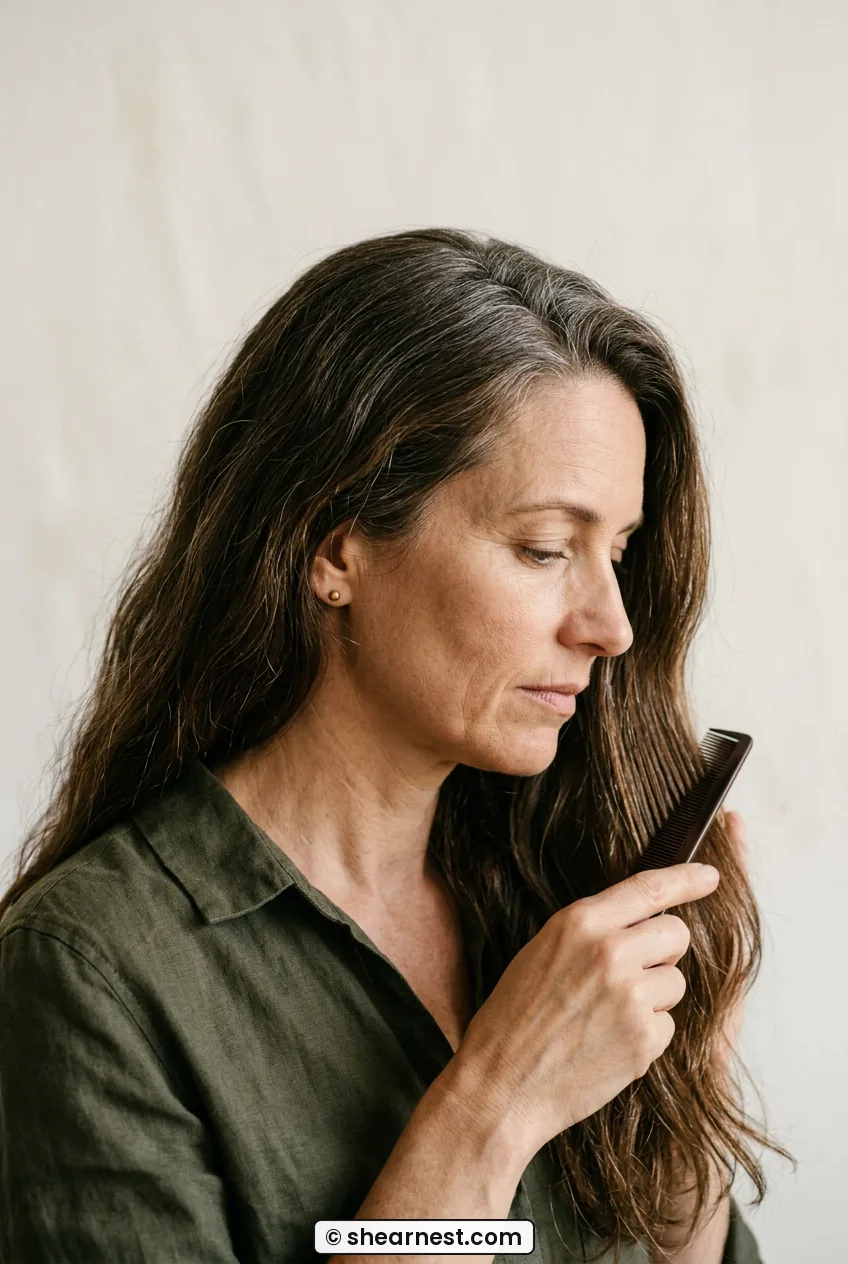
Take the right back quadrant. Comb it smooth and bring it forward over your right shoulder so you can see it in the front mirror. This is the most important trick for cutting your own back: you work section by section, always bringing hair forward to where your eyes can actually reach it.
Decide on your baseline. For most women keeping long hair, this is just a tidy-up — trimming split ends and evening the line. Hold the hair between your index and middle fingers, pull it taut (not tight), and cut straight across. The scissors should be horizontal. Take off half an inch to one inch at most. Then do the same with the left back quadrant, using the right side as your guide — hold a small piece of the already-cut right section alongside the left to match the length.
The mistake I made the first time: I pulled the hair too tightly before cutting, which stretched it. When it relaxed, the baseline was uneven — shorter on one side than the other. Now I pull with consistent, light tension only, and I check both sides hanging loose before I move on.
Step 3: Building the First Layer — the Horseshoe Section
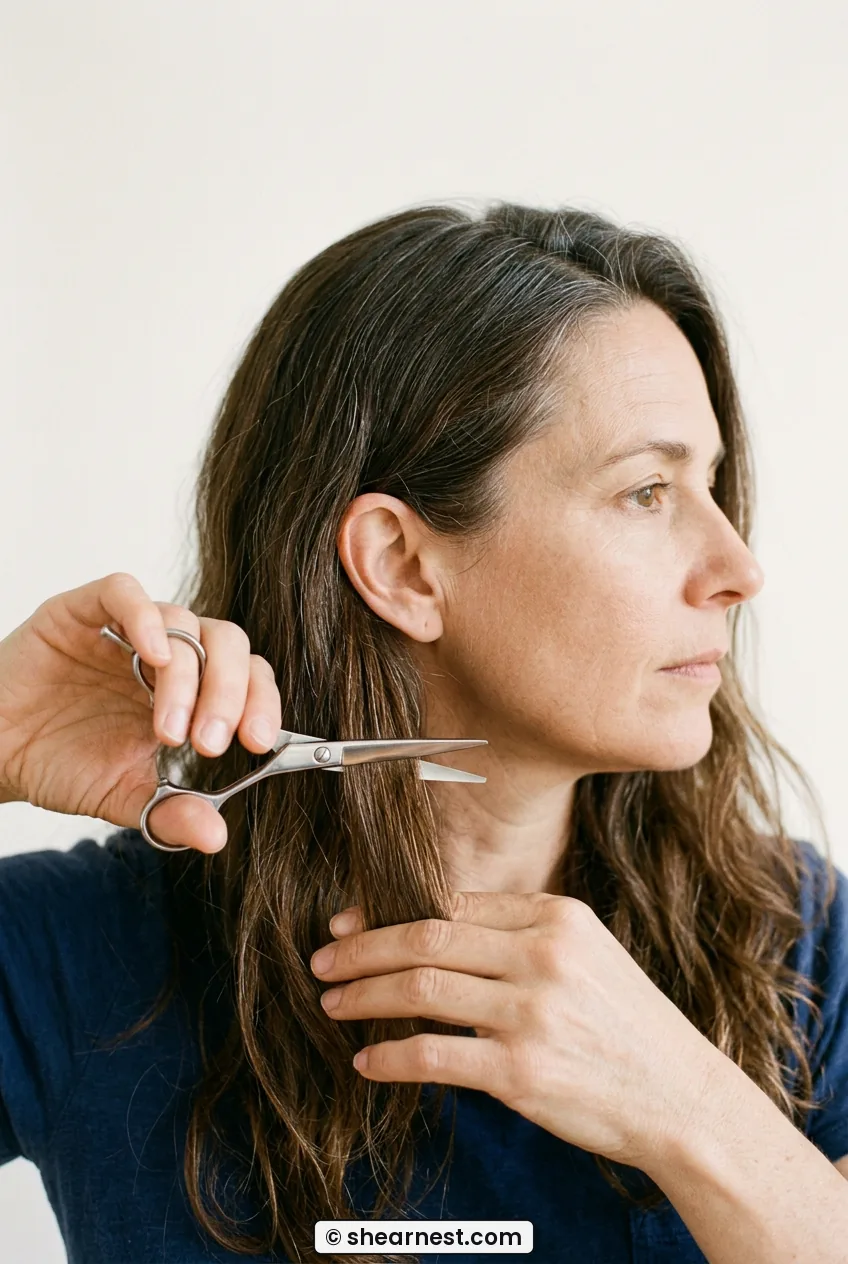
This is where the cut starts to feel like something. Unclip the top two back sections and let them fall. Now take a horseshoe-shaped parting across the back of the head — starting roughly two inches above the ear on one side, curving over the crown, and landing two inches above the ear on the other. Clip everything above this parting back up. What you have hanging is a middle band of hair.
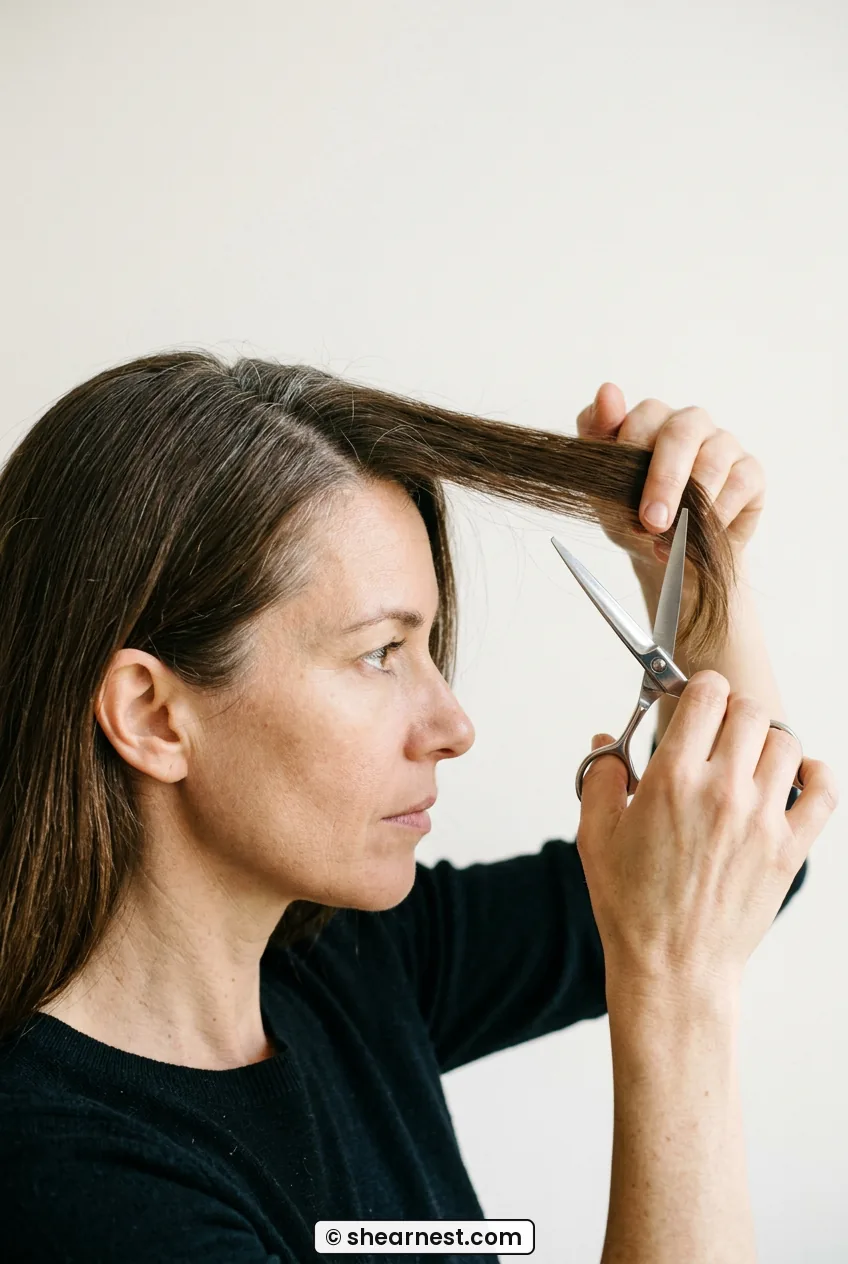
Take a one-inch subsection from this middle band on the right side. Hold it out from the head at 45 degrees — not straight up, not flat against the head, but diagonally out, like you’re pointing to a spot on the wall that’s slightly above eye level. That 45-degree elevation is the angle that creates a soft layer without a harsh shelf. Cut straight across. The hair that falls from this cut will be shorter than the baseline below it — that’s the layer beginning to form.
Work across the horseshoe section from right to left in one-inch subsections, holding each one at that same 45-degree angle. Keep checking: the angle is 45 degrees out from the head, not 90 degrees straight up and not parallel to the floor. If it’s too vertical, the layer will be too short. If it’s too flat, there’s barely any layer at all.
Step 4: Working the Crown — Where the Weight Comes Out
This is the step most people skip or rush, and it’s the one that makes the difference between long hair that looks like a curtain and long hair that actually moves. Unclip the top crown sections. Let them fall.
Take a one-inch section at the very top of the crown — centered on the parting. Hold it straight up from the head. Ninety degrees. Straight up, not tilting forward, not tilting back. The scissors are horizontal. You’re going to cut this section so that when it falls, it’s roughly the length of your collarbone to jaw — somewhere in that range. For many women with hair reaching mid-back, this means removing several inches from this crown section only. Do not panic. This is what creates volume at the top. This is where the weight comes out.
Now work outward from that center section in one-inch subsections, always holding straight up. Use the center guide section to determine the length — hold your new subsection alongside the already-cut center piece and match it. Move out toward the temples, then back toward the crown perimeter. Take your time here. This is the section that, if you rush it, gives you a visible step in the hair rather than a blend.
If you have thinning at the crown specifically, read up on what actually helps with a thinning crown in straight hair cuts for women over 50 — the approach shifts slightly depending on your density.
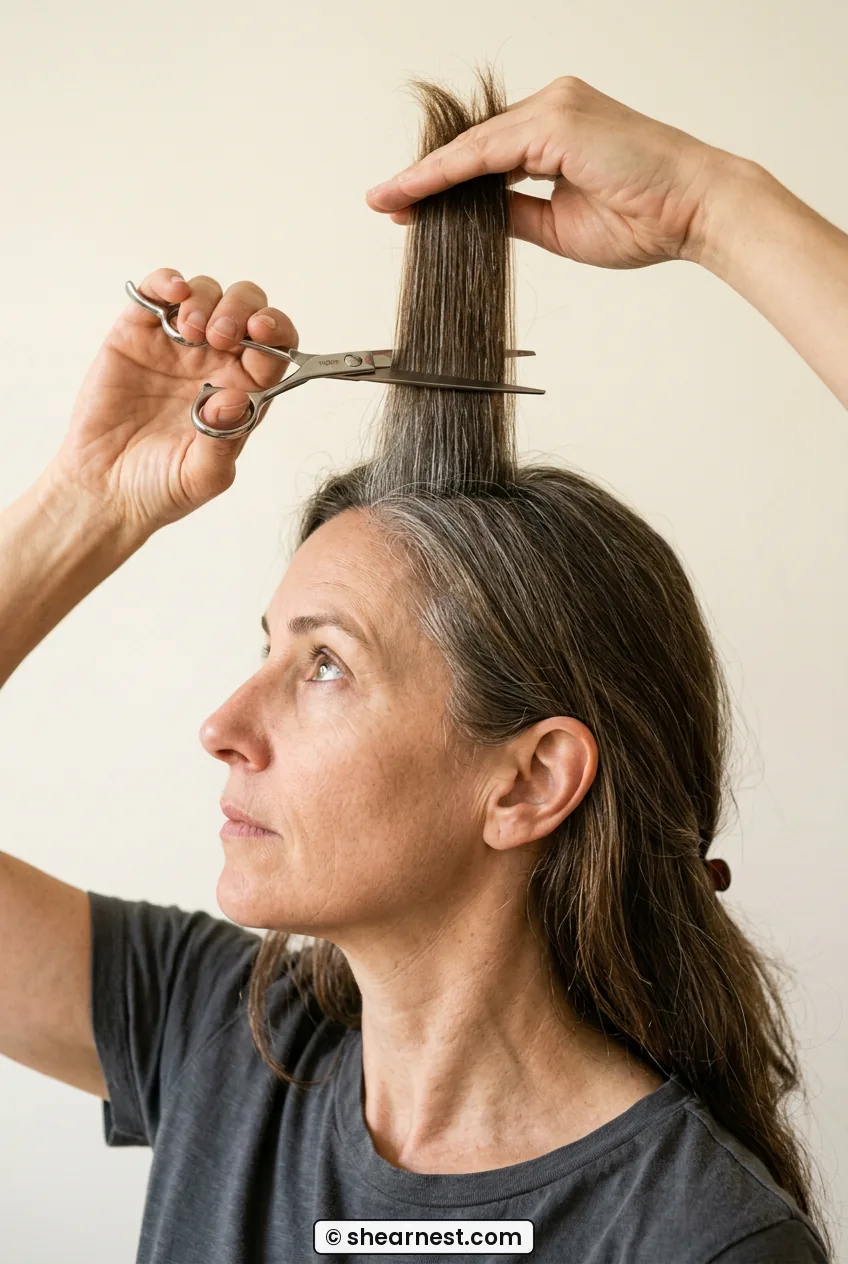
See the Crown Technique Up Close
Step 5: Framing the Face
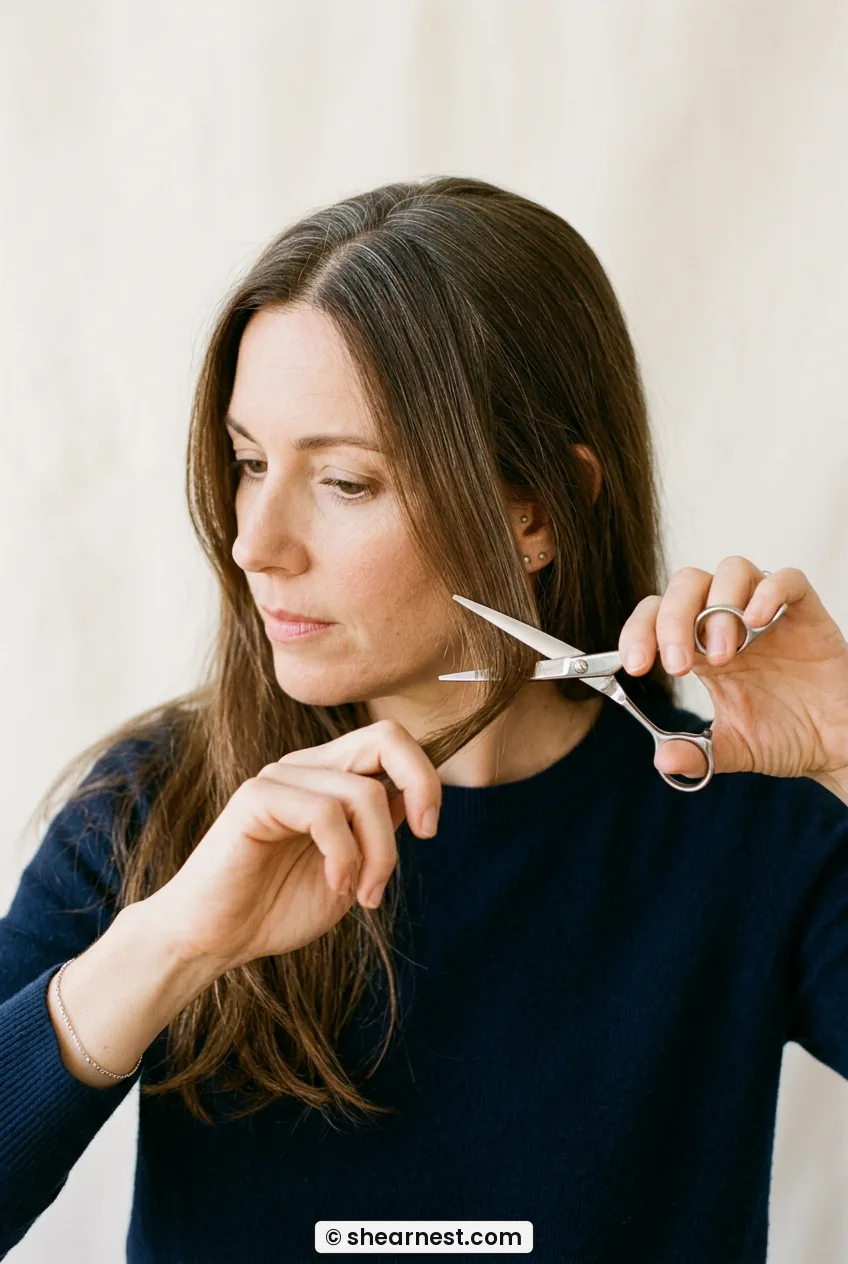
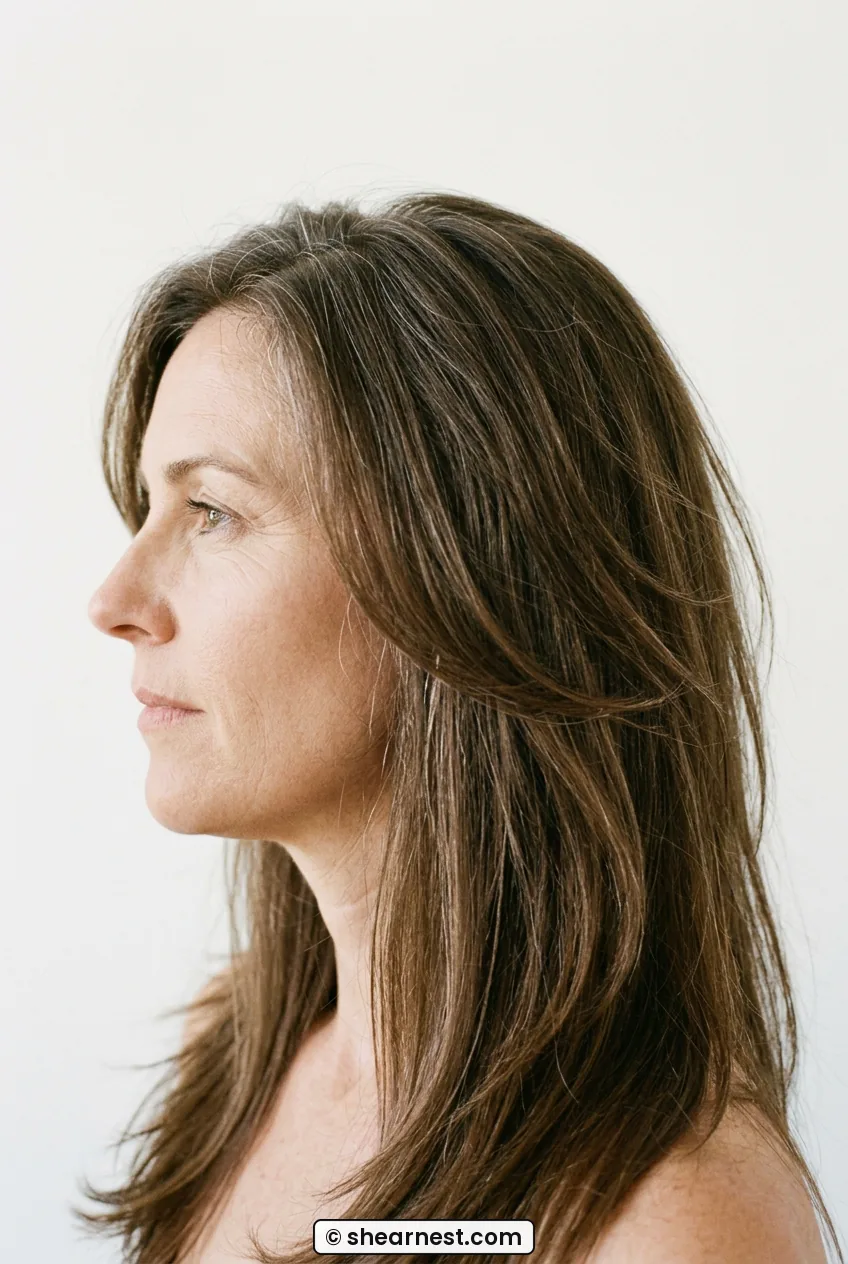
Face-framing pieces are optional but genuinely transformative. They soften the jaw, draw attention to the eyes, and — in women who are starting to see gray at the parting — they create a visual frame that makes the gray feel deliberate rather than incidental. Look at how she’s wearing hers in the photo below: the pieces fall just past the chin on each side, angled slightly forward. That angle is exactly what I mean about jawline framing.
Take a triangular section at each temple — roughly one inch wide at the hairline, narrowing as you move back. Hold this section straight out from the face, parallel to the floor. Cut at an angle: longer toward the back of the section, shorter toward the face. This creates that sweeping forward piece. Do both sides. Compare them in the mirror before you cut — hold each side forward and check that the length looks even from the front.
For oval face shapes, almost any length of face-framing piece works well — if that’s you, there’s a useful breakdown of face-framing approaches in this guide to oval face hairstyles for women over 50. For rounder or squarer faces, keep the face-framing pieces longer — at the jaw or below — rather than cutting them up to the cheekbone, which can widen.
Step 6: Drying Against the Fall
If you’ve been working on dry hair, mist the whole head lightly now. If you started wet, towel-dry to damp. Either way — you’re going to blow-dry in a specific direction that activates the layers.
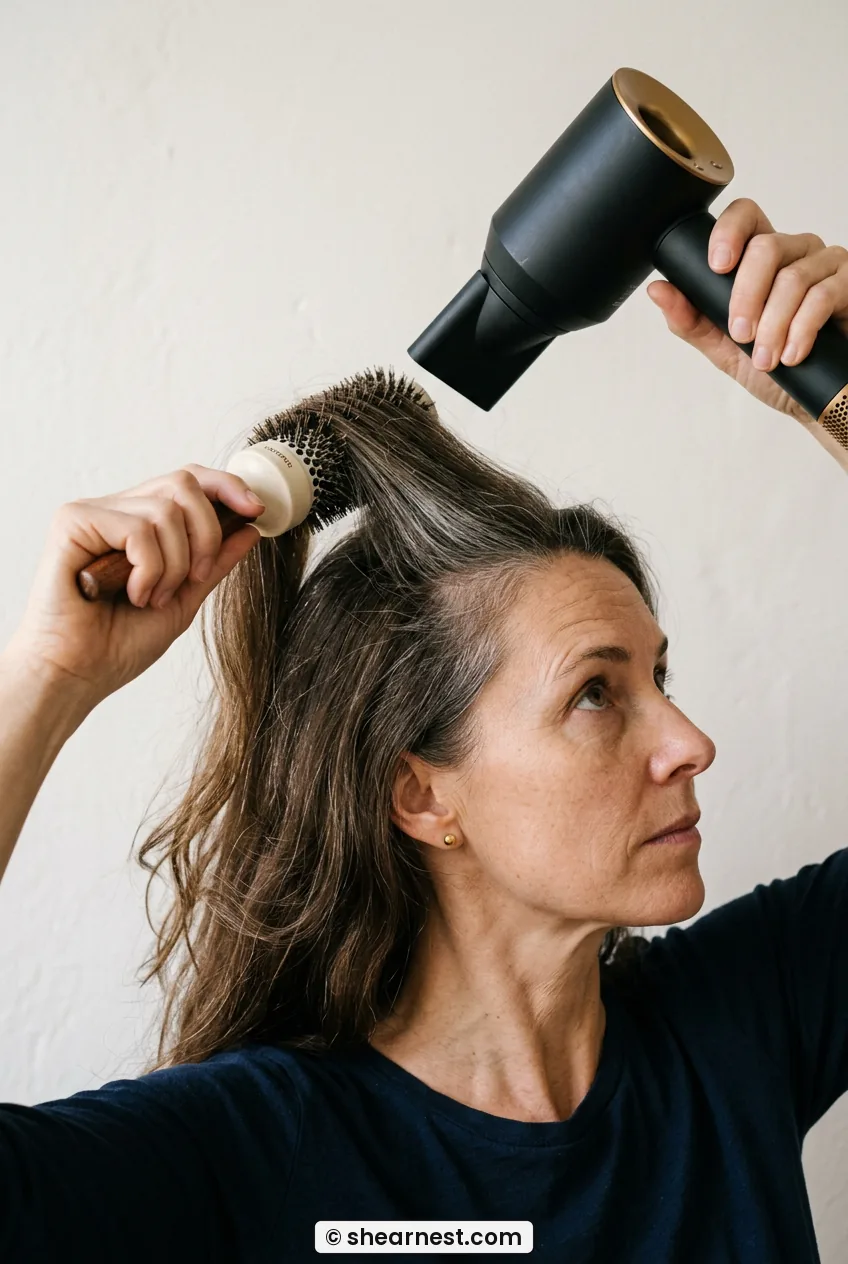
Section the hair the same way you cut it: bottom back first, then middle, then crown. Working with a round brush, lift each section as you dry it — the crown sections get lifted straight up as you dry, the mid sections get held out at that 45-degree angle, the bottom sections get directed slightly under for polish. Work against the natural fall of the hair, not with it. Drying with the fall just flattens everything down and shows you nothing about what the layers are actually doing.
The crown sections especially need this. Lift them straight up, hold the dryer above the brush pointing downward, and move slowly toward the end. When you release each section, it should fall with visible separation between the layers — a kind of controlled movement that you didn’t have before.
Step 7: Checking the Layers in Motion
This is not an optional vanity step. Flip your head upside down. Run your fingers through the hair. Flip back up. Shake the hair loose. Walk away from the mirror and come back. You are looking for two things: one, that the layers move independently when the hair moves — you should see visual separation, the shorter pieces lifting slightly while the longer baseline hangs. Two, that there are no visible steps or shelves where one layer ends abruptly and another begins.
If you see a shelf — a clear line where the hair suddenly changes length in a way that looks hard rather than gradual — take a small section that spans the shelf, hold it at 45 degrees, and point-cut into the ends with the scissors held vertically. Point-cutting means cutting upward into the hair with the tips of the scissors rather than across. This breaks up any hard line. You can also use texturizing shears here, running them lightly through just the ends of the offending section.
And if you are transitioning to gray and wondering whether the layers are helping with that specifically — they genuinely do. The movement integration is real. There’s a good honest look at this in the piece on long gray hair for older women, which goes into the tonal side of it more than I do here.
Step 8: Finishing and Reviving on Day Two
A fresh cut looks best on day two, not day one. On day one the hair is slightly too smooth, too controlled — the layers haven’t had a chance to settle into their natural fall. On day two, the hair remembers what to do.
To revive it: mist very lightly with water or a leave-in conditioning spray. Do not drench it. Scrunch the mid-lengths and ends upward — three or four times, just to encourage the layers to lift. Then let it air-dry or diffuse on low heat. If it’s looking a little flat at the crown, take a small section right at the top, twist it loosely, clip it at the root, and leave it for ten minutes while you do something else. Release it. That’s often all the volume you need.
The cut holds well for six to eight weeks before the layers start to feel heavy again at the bottom. At that point, you repeat only Step 2 — trimming the baseline — and Step 4 (a small refresh of the crown section). You don’t need to redo the whole cut every time. Understanding how to manage long layered cuts over time is something this guide to layered hair medium over 50 covers in detail, and many of those principles carry over to longer lengths too.
One product note: a light hair oil for fine hair worked through the mid-lengths on day two adds just enough definition without weight. Avoid the roots. Avoid anything that promises “sleek” — that’s the enemy of layers.
Questions I Get About This
Can I do this on wavy or curly hair, or is it just for straight hair?
You can absolutely do it on wavy hair — actually, waves make layers look even better because the movement is already built in. For curly hair, the same sectioning applies but you’ll want to cut each section in its natural curl state (dry and unmanipulated) rather than stretched straight. The amount you take off will look more dramatic on stretched hair than it actually is once the curl springs back, so go conservatively on curl.
What if my hair is very fine and I’m worried about removing too much?
Fine hair actually benefits enormously from this kind of internal layering because it removes dead weight that pulls the hair flat. The key is to keep your subsections smaller — half an inch rather than a full inch — and take less off the crown layer on your first attempt. You can always go back and remove more. You cannot put it back. Also: volumizing blow-dry tips are worth learning alongside the cut, because technique at the dryer step doubles the effect.
How do I know if the layers are right for my face shape?
The main variable is the face-framing piece length (Step 5). The internal layers in the back — Steps 3 and 4 — work for essentially every face shape because they affect volume and movement rather than outline. Face shape mostly matters at the front. If you have a rounder face, keep those front pieces below the jaw. Heart-shaped faces can go shorter on the framing pieces — to the cheekbone — without the widening effect. When in doubt, start longer and trim back.
Is there a point where long hair genuinely stops working over 50?
Honestly? No. Not because of age alone. It stops working when the hair becomes too thin or too damaged to carry the length — and that’s a health-of-hair question, not an age question. I’ve seen women in their sixties with genuinely beautiful long hair because they’ve kept it healthy and layered properly. Where it tends to go wrong is when long hair becomes an afterthought — heavy, unstyled, no movement. That’s fixable. This cut is how you fix it.
When I finished this cut on myself — standing in my bathroom, hair slightly damp from the drying step, checking the back with the handheld mirror — the first thing I noticed was not how it looked. It was how it moved when I turned my head. That lightness, that sense of the hair doing something rather than just hanging there. That’s the result. And it lasted, genuinely, for almost two months before I needed to touch it again. If you take your time on Step 4 especially — the crown, the weight — you’ll feel exactly what I mean.