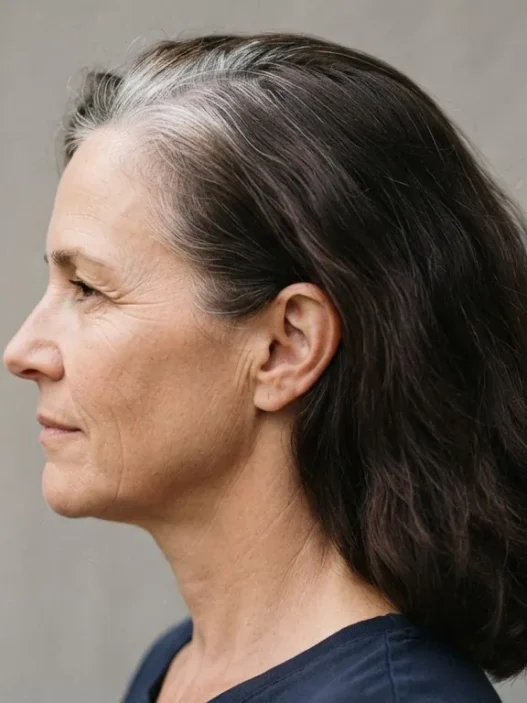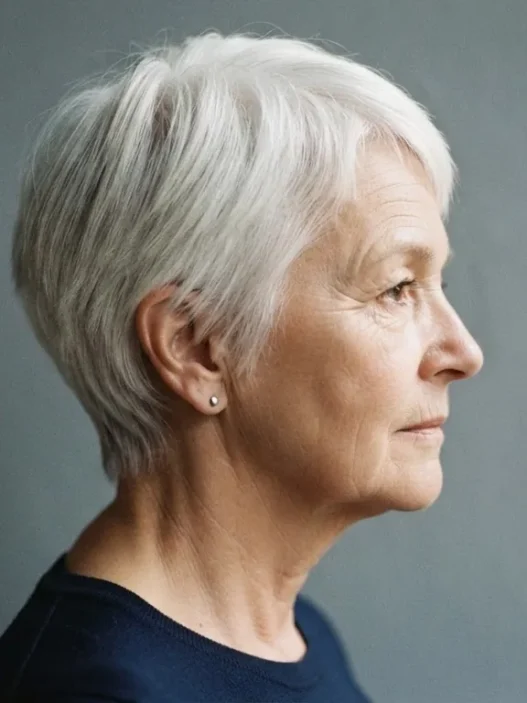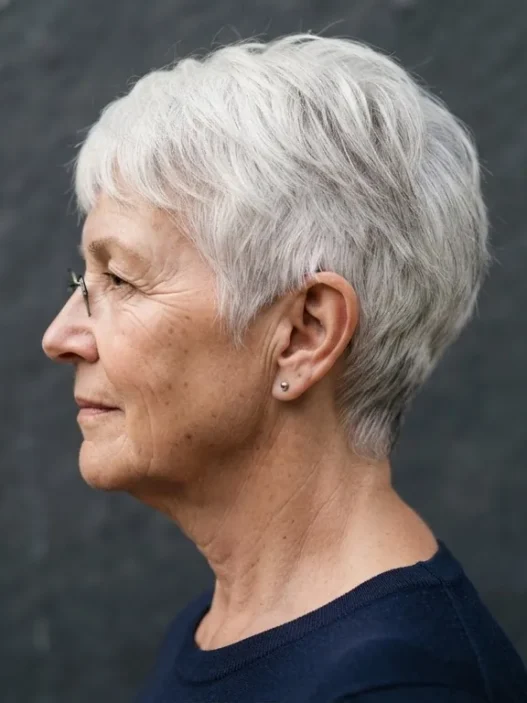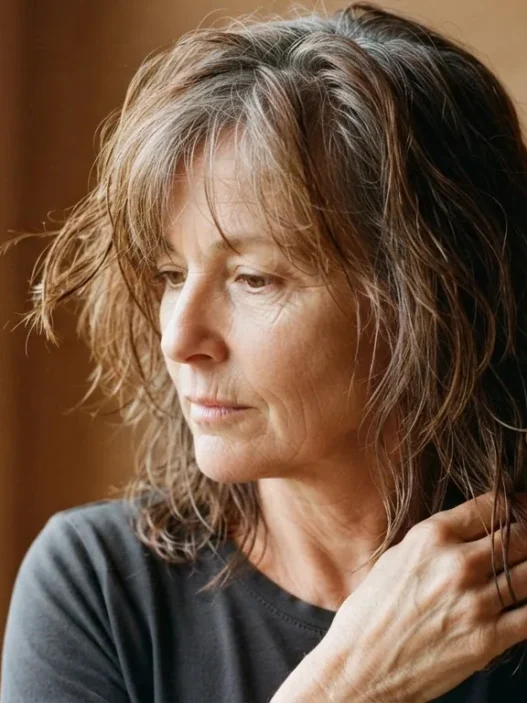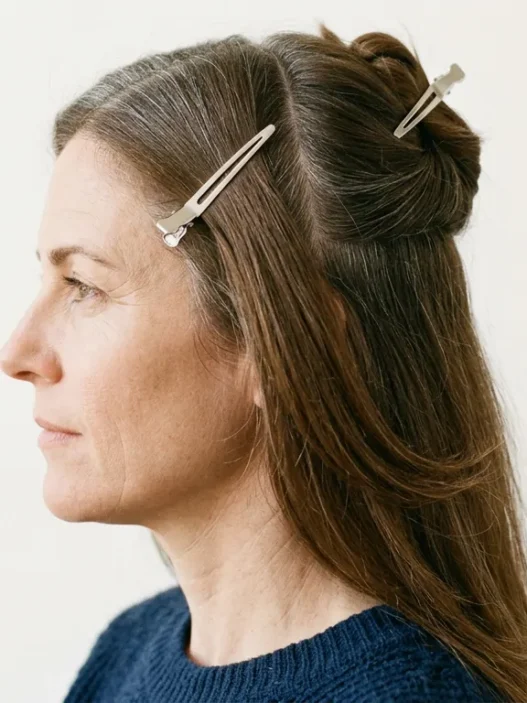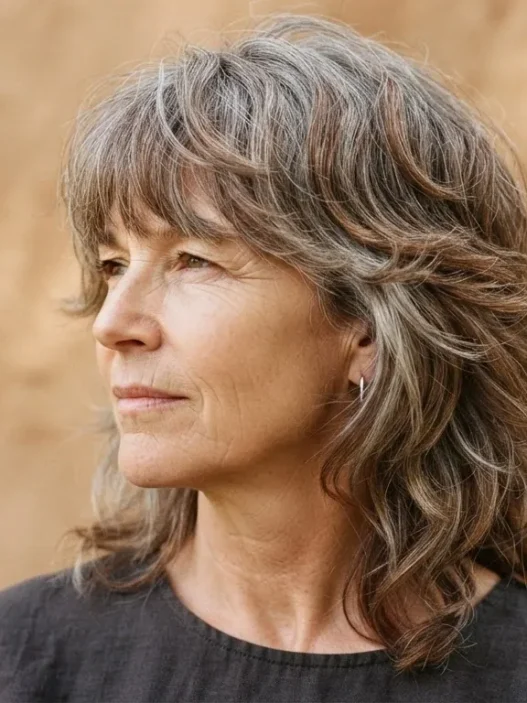






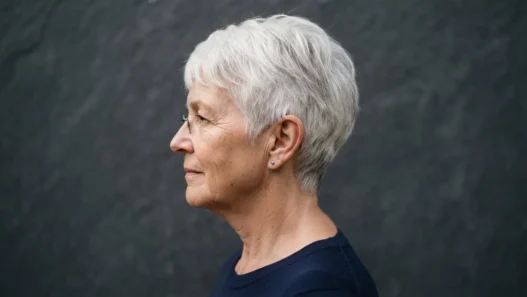

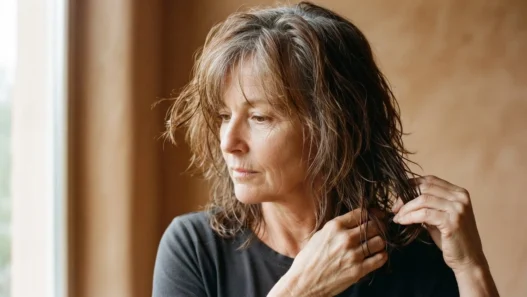

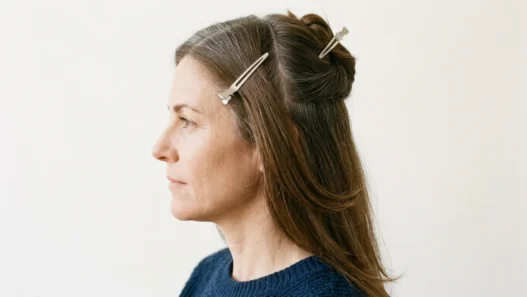


I avoided mirrors for about three months last year. The grey at my roots had grown out to a solid two-inch stripe — not silver, not soft, just a stark, contrasting band where my colour stopped and my natural hair began. A friend called it “the skunk line” and she wasn’t being cruel, she was being accurate. That was the moment I decided to stop fighting my grey and start blending it properly. This guide is everything I figured out — sometimes the hard way — about grey blending for women in their 60s who want to do at least part of this process themselves.
What We’re Working Through Today
- Why the Demarcation Line Is the Real Problem
- What You’ll Need Before You Start
- Step 1: Sectioning the Crown
- Step 2: Reading Your Regrowth Line
- Step 3: Mixing for a Seamless Tone
- Step 4: Painting the Transition Zone
- Step 5: Softening Into the Mid-Lengths
- Step 6: Processing and Rinsing Without Stripping
- Step 7: Toning and Finishing the Blend
- What It Looks Like When It Goes Wrong
- How Long It Holds and Day-Two Revival
- Questions I Get About This
Why the Demarcation Line Is the Real Problem
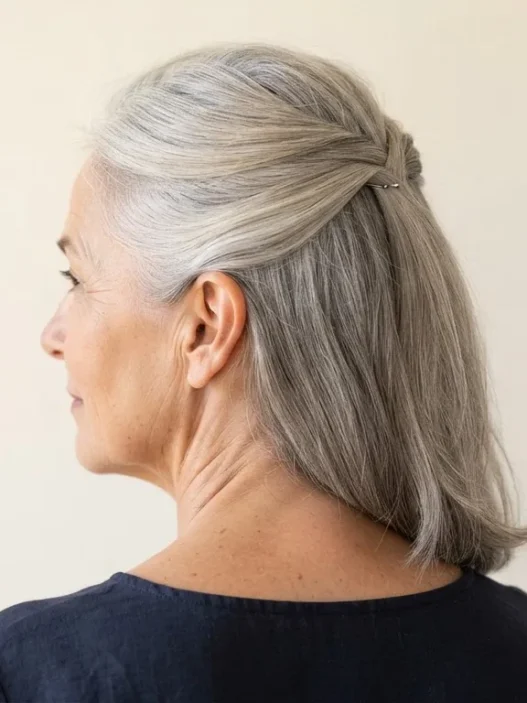
The issue isn’t the grey itself. Honestly, silver hair in your 60s can look extraordinary — think of the woman in the photo above, that jaw-length bob with pure bright silver that catches the light evenly. That’s not an accident. What kills the look is the hard edge where coloured hair meets natural regrowth. That line reads as neglect even when everything else about your hair is beautifully maintained.
Grey blending isn’t about covering the grey — it’s about dissolving that border. The idea is to create a gradient, so your eye travels along the hair and never lands on a single sharp line. Whether you’ve been colouring for years or you’re mid-way through a grey transition, the technique is the same: you feather colour into the regrowth zone rather than stamping it on at the root.
The approach I use borrows from balayage — freehand painting in irregular sections rather than uniform root application. It’s more forgiving than a box colour applied in a straight line, and it grows out in a way that doesn’t announce itself every six weeks. If you’re curious about where grey blending sits relative to a full colour change, there’s a thoughtful breakdown of what changes with hair colour over 50 on the page covering blonde hair over 50 — worth reading alongside this if your base has warm blonde tones mixed into the grey.
What You’ll Need Before You Start
Nothing exotic, I promise. But you do need the right things, not just whatever’s under the bathroom sink.
- A demi-permanent colour in your chosen blend shade — I use one that’s one to two levels lighter than my original colour, which softens the contrast rather than matching it exactly
- A 10-volume developer — not 20, not 30. You’re not trying to lift; you’re tinting and softening
- A colour mixing bowl and brush — the brush matters more than you’d think; a firm-bristled one gives you control, a floppy one gives you mess
- Sectioning clips — at least eight, proper butterfly clips not the little ones that fall out
- A wide-tooth comb and a tail comb — one for detangling before you start, one for making sections
- A purple or silver toning shampoo — for after, not during
- Old towels and a cape or old shirt — demi-permanent still stains
- Good lighting — a bathroom with a single overhead bulb is your enemy. Pull in a lamp or do this near a window
- A hand mirror — for the back. Non-negotiable if you’re working solo
One thing I didn’t expect to matter: timer. Set one on your phone. Processing time is the variable most people get wrong at home, and rushing or over-processing both show up as uneven colour.
Step 1: Sectioning the Crown
Start on dry, unwashed hair — ideally 24 to 48 hours after your last wash. The natural oils at the scalp protect the skin and actually help colour process more evenly near the root.
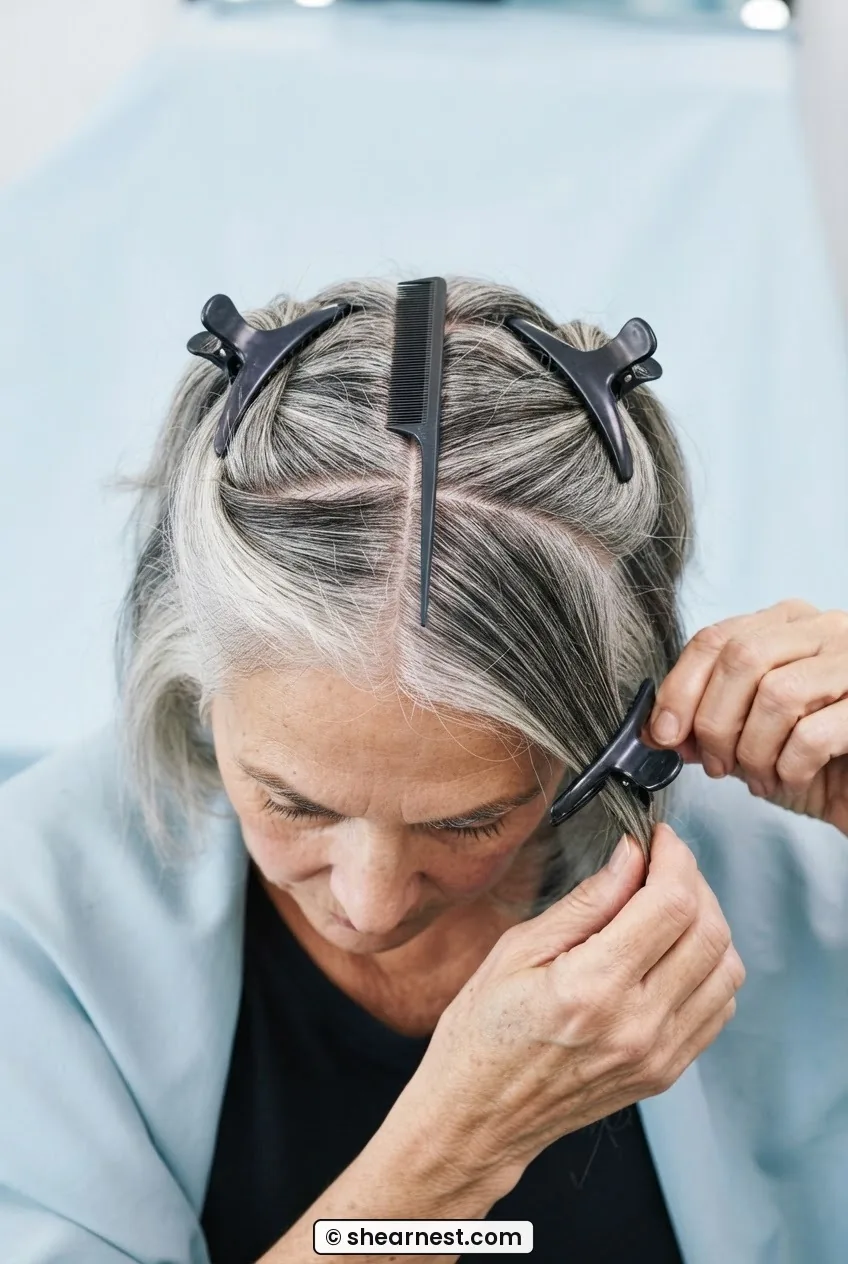
Part your hair straight down the centre from forehead to nape. Then make a horizontal parting ear to ear across the crown, so you have four sections. Clip the front two sections forward and the back two sections up and out of the way. You’re starting in the back because it takes the longest to paint and it’s the area where you’ll lose track of time if you leave it for last.
Within that back section, take a horizontal slice about a centimetre thick from the nape upward. Clip everything above it out of the way. This is your working section — one thin slice at a time, working upward. The discipline of working in thin sections is what separates a blended result from a patchy one.
Step 2: Reading Your Regrowth Line
Before you open a single tube, look at the regrowth line in good light. Not a quick glance — really study it. Is it a clean, straight edge, or is it ragged and uneven where the colour has faded? Are there areas where the grey is denser — typically the temples and the crown — compared to areas that are still mostly dark?
This matters because you’re going to paint the blend differently in different zones. Dense silver regrowth at the temples needs the blend to start further into the coloured section, maybe two centimetres below the line, to create enough transition. Sparse grey mixed into otherwise dark hair near the nape might only need a half-centimetre feather.
I mark these zones with a small clip in my hair before I start mixing — a visual reminder of where I planned to start the colour and where I planned to let it fade. It sounds fussy but it takes thirty seconds and it saves you from painting everything identically when the hair underneath is not identical.
Women whose grey has grown in unevenly — which is most of us — often find that reading the regrowth line carefully is the single step that changes everything. If you’re managing fine or thinning hair alongside your grey, the regrowth pattern can look even more pronounced. The post on haircuts for fine hair over 50 has a useful section on how density affects colour perception, which I found helpful when I was first figuring out what I was actually dealing with.

Step 3: Mixing for a Seamless Tone
Here’s where grey blending diverges from ordinary root touch-up. You’re probably not going to use one shade. I mix two.
My go-to formula: a demi-permanent in a cool ash-brown (one shade lighter than my original colour) mixed with a small amount of a silver or white-reflective demi — roughly 80/20. The ash-brown catches on the coloured mid-lengths and darkens them just enough to meet the grey. The silver fraction keeps the mix from going muddy on the actual silver regrowth at the root.
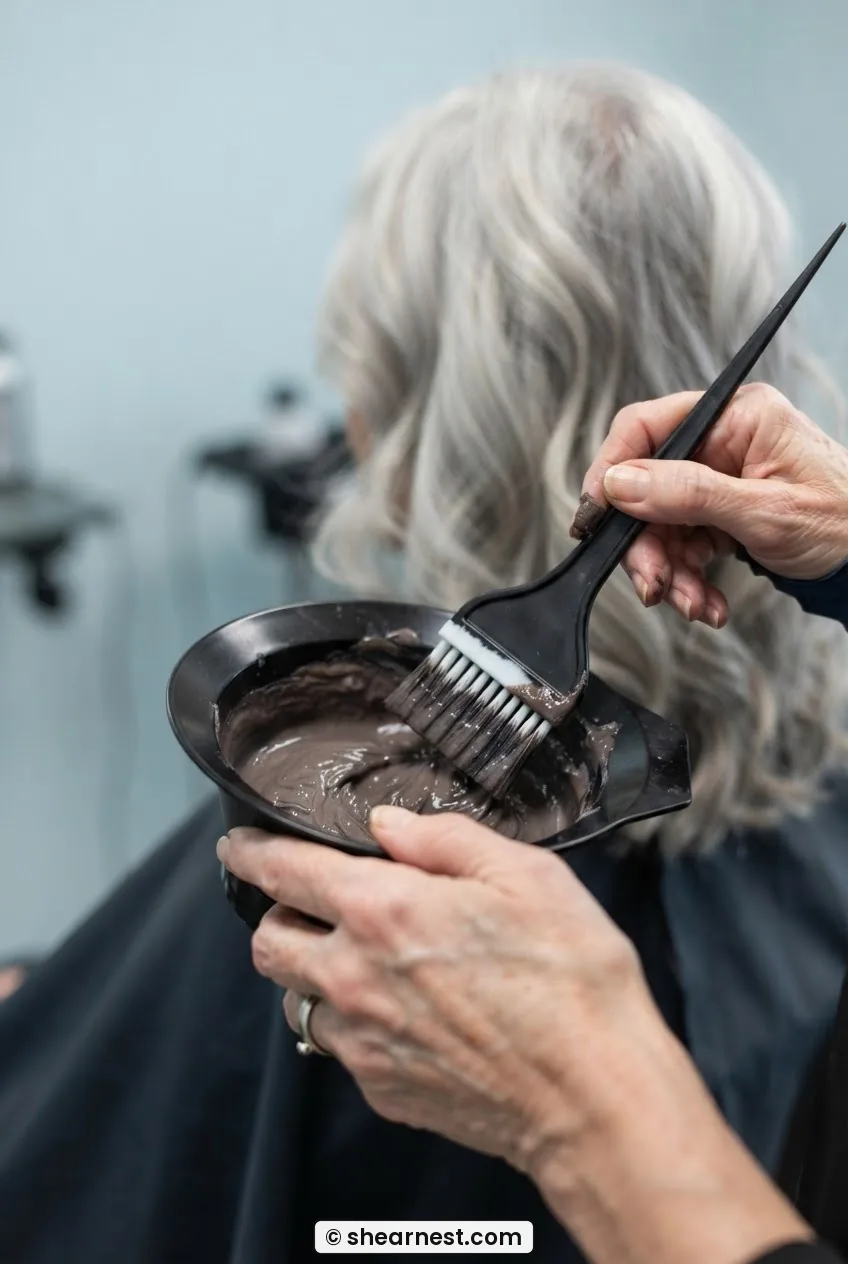
Mix with 10-volume developer at a 1:1 ratio. The colour will look darker in the bowl than it processes — that’s normal. Work quickly once it’s mixed; demi-permanent starts processing from the moment it hits developer.
A note on cool versus warm tones: if you have naturally warm brown hair, a straight ash mix can turn slightly green in certain lights. Add a tiny squeeze of a neutral or warm-neutral demi to the bowl to counteract that. Choosing the right colour tone is worth understanding before you commit to a formula, especially if your grey skews yellow rather than silver in daylight.
Step 4: Painting the Transition Zone
This is the actual blending stroke — the part that takes the most practice but also produces the most visible result.
Take your bottom working section (that one-centimetre slice from the nape). Hold it taut between two fingers of your non-dominant hand, angled slightly away from the scalp. With your brush in your dominant hand, apply colour starting about two centimetres below the regrowth line — not at the root, not at the ends. Then use short, upward feathering strokes to bring the colour up into the regrowth zone, getting progressively lighter with your pressure as you approach the root.
The goal is that you never press the brush flat against the hair in the upper half of the section. You’re stippling it in — almost like painting watercolour onto paper, building tone in layers rather than laying it down in one stroke. This irregular application is what creates the broken, natural-looking transition rather than a band of colour.
Don’t fully saturate the root. Leave some of the natural grey untouched right at the scalp — especially at the temples. That’s not a mistake. Those wisps of pure silver catching the light are what makes blended grey look intentional rather than faded.
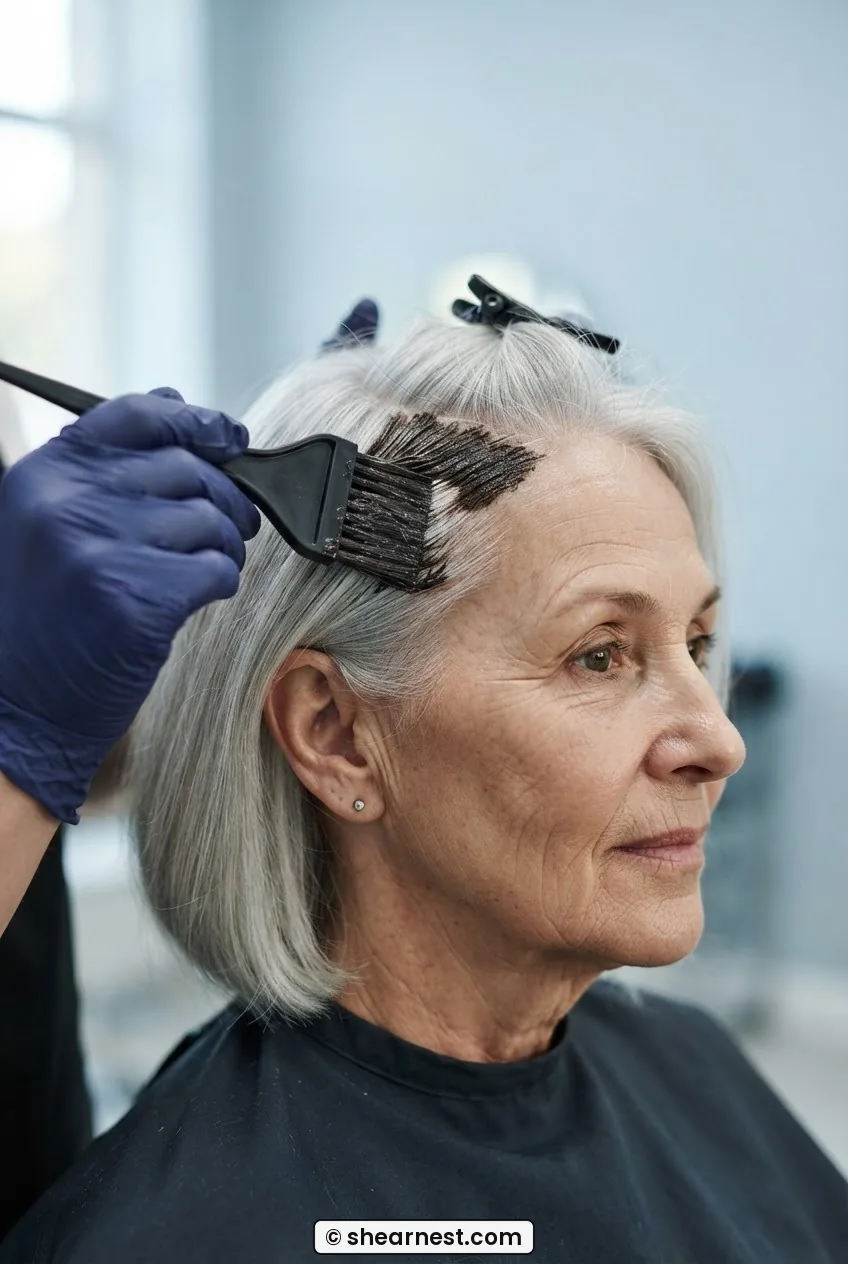
Seeing the Feathering Stroke in Real Time
Step 5: Softening Into the Mid-Lengths
Once the transition zone is painted, you need to bring the colour down into the mid-lengths — but very lightly. This is where most home colourists make the application too heavy and end up with a solid band of colour rather than a gradient.
With whatever is left on the brush after painting the transition zone (don’t reload), drag it loosely through the mid-lengths of each section in long, sweeping strokes. You’re depositing the dregs of the mix, not a full application. The result should look almost too subtle when wet — that’s correct. It deepens during processing.
Work through all your sections in this way — back sections first, then front panels, then the crown slices last. The crown gets the most attention visually so I save it until I have a feel for the stroke from the sections where nobody can see me working.
If you have wavy or curly hair, the painting stroke changes slightly — you follow the curl rather than cutting across it. A detailed look at how texture changes colour application is covered in wavy haircuts for women over 50, and though it’s primarily about cuts, the section on how wave pattern affects perceived colour depth is genuinely useful here.
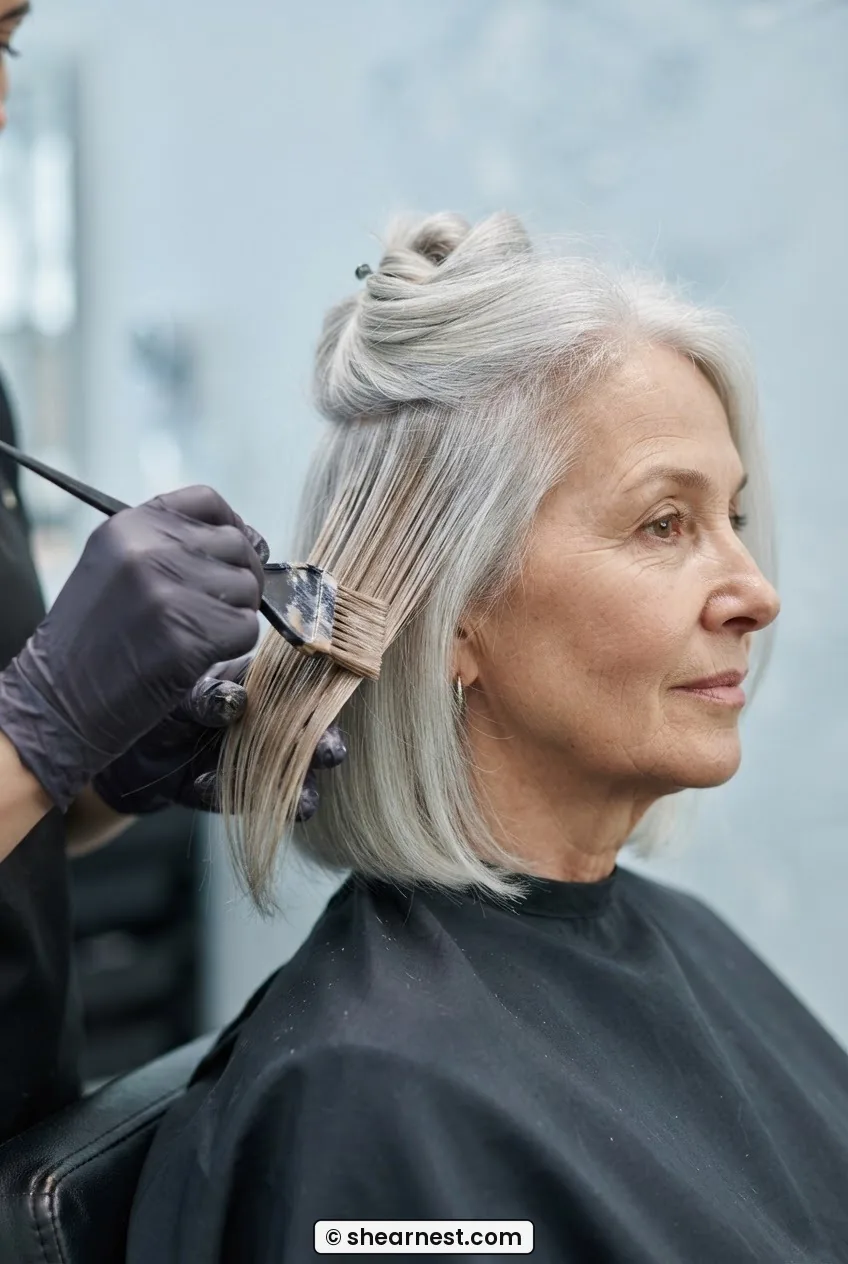
Step 6: Processing and Rinsing Without Stripping
Set your timer for 20 minutes. Not 30, not 25. Demi-permanent colour on grey hair processes faster than on pigmented hair because the grey cuticle is more open. Over-processing makes the tone go flat and the transition loses its softness.
While you’re waiting, check your sections in the mirror every five minutes. Look for the colour to shift from the applied shade to a deeper, richer version of itself — that’s processing happening correctly. If you see any areas that look patchy or uneven, you can dab a little extra mix onto them with your brush now, giving them a few more minutes than the rest.
Rinse with lukewarm water — not hot. Hot water opens the cuticle and lets colour molecules escape before they’ve fully set. Rinse until the water runs completely clear, then condition generously from mid-length to end. Do not apply conditioner to the root zone; you want those colour molecules sitting tightly at the cuticle, and conditioner interferes with that immediately after processing.
Skip shampoo entirely on rinse day. I know it feels wrong. But shampooing right after a demi-permanent strips a measurable amount of deposit, and since you’ve worked hard for a precise tone, you want to keep it. Caring for colour-treated hair properly in the first 48 hours makes a genuine difference to how long the blend holds.
Step 7: Toning and Finishing the Blend
Once the hair is rinsed and towel-dried, this is the moment to tone. I use a purple shampoo left on for five minutes — no more — to knock back any warmth in the demi that the developer might have kicked up. This is especially important if your original hair colour has red or orange undertones, because the ash mix occasionally shows a slight brassy hue as it processes near the ends.
Rinse the toning shampoo, apply a leave-in treatment to the mid-lengths and ends, then blow-dry. The blowdry is part of the assessment — you can only really see the blend properly once the hair is dry. Wet hair always looks darker and more uniform than it is.
Look at it in sections. Run your fingers along the parting at the crown. Is the line gone — or significantly softened? Does the colour seem to melt from the mid-length up into the regrowth without an obvious starting point? If yes, that’s a successful blend. If you can still see a distinct edge, you’ll need to go back in on a specific section at your next session (not today — give the hair 48 hours to rest).

What It Looks Like When It Goes Wrong
The first time I tried this, I painted the transition zone too close to the root on one side and barely touched it on the other — I was distracted, one-handed, working with the hand mirror. The result was a visible demarcation line on the right side and an over-dark stripe on the left. I’d basically created a new version of the problem I was trying to solve. What fixed it: I went back in with just a light balayage stroke of the leftover mix on the underdone side, waited ten minutes, and rinsed. Lesson: paint each side as a mirrored set before you move to the next section, not one side at a time.
The other common failure mode is going too dark in the blend zone. If the demi shade you chose is too close to your original colour — or if you use 20-volume developer instead of 10 — you’ll end up with a band of very dark colour sitting between the grey regrowth and the lighter mid-lengths. This is actually harder to fix than an underdone blend, because you’d need to lift the dark band before reblending. Safer to go lighter than you think you need on the shade and darker on the developer is never the answer.
Patchy result near the temples is another one. The temple hair is finer and more porous than the rest of the head — it absorbs colour faster and processes first. I now apply the temples last within each section, giving them about three minutes less processing time. Small adjustment, big difference.
How Long It Holds and Day-Two Revival
Realistically, a well-done demi-permanent grey blend lasts six to eight weeks before the regrowth becomes visible again. The good news is that because you’ve softened the demarcation rather than created a hard root-to-length contrast, the grow-out looks intentional for longer. You’re buying yourself an extra two to three weeks compared to a straight root touch-up.
In between sessions, use a root spray in a shade close to your blend colour — not to cover the grey, but to blend the new regrowth into the painted zone visually. It’s a ten-second step that extends the life of the colour by weeks.
Day two, the hair often looks even better than day one. The colour has had time to oxidise and settle, and the tone looks more natural and dimensional. If it looks slightly flat on day two, a small amount of dry shampoo worked into the roots adds texture and makes the blend read as more three-dimensional in the light.
If you’re heading toward a full silver transition rather than maintaining colour indefinitely, this same technique works beautifully as a bridge. The blend grows out softly enough that you can keep extending the regrowth zone session by session until the colour is fully gone. I’ve seen women do this over twelve to eighteen months with barely a difficult stage — it’s a much kinder grow-out than stopping cold. There’s a good read on that longer journey and what to expect on the page about hair styles for women over 70, which covers what changes as the silver becomes your full picture rather than part of a blend.

And if you’re thinking about occasion styling once the blend is looking its best — a soft updo can look genuinely stunning against well-blended silver. The French twist updo method for women over 60 is one I’ve come back to repeatedly, and the way silver hair catches in a twist is something else entirely.
Questions I Get About This
Can I do grey blending on hair I’ve been box-colouring at home for years?
Yes, but with one caveat: years of box colour can create layered, unpredictable pigment buildup, especially near the ends. Do a strand test on a small piece first to see how the demi processes on your specific colour history. You may find the ends go darker than expected — in which case, keep the mid-length application even lighter than you planned.
Will this work if my grey is more yellow-silver than bright white-silver?
Absolutely — and it actually makes the toning step more important. Yellow-leaning grey is more porous and absorbs warmth from the developer easily. Use a slightly cooler shade in your blend mix and be a little more generous with the purple toning shampoo at the end. Five to seven minutes instead of five will help neutralise the warmth without going purple-toned overall.
How is this different from just doing highlights to blend the grey?
Highlights add lightness to specific strands, which creates dimension but doesn’t soften the root-to-length contrast — it can actually emphasise it on very dark bases. Grey blending works by adding tone to the regrowth zone rather than lightening the mid-lengths, so the gap between the two colours shrinks. Many colourists actually combine both: highlights through the mid-lengths for dimension, and this blending technique at the root. Balayage for grey blending is a term worth searching if you want to see examples of the combined approach.
How often should I be redoing the blend?
Every six to eight weeks is typical for demi-permanent. But if you’re leaning into your natural silver, you can stretch it — let the blend zone widen and add a slightly lighter shade each session to keep walking the colour toward your natural tone. You’ll know it’s time when you can see the edge of the painted zone in natural light with no squinting required.
My own result after the first proper session: the demarcation line was gone. Not softened — gone. My husband noticed without being told, which is a higher bar than I usually set. The silver at my temples now looks like it belongs, and the brown through the mid-lengths has enough warmth to still feel like me. I still go to a colourist every third session to catch anything I’ve missed, but doing the maintenance rounds myself has halved my colour spend and, honestly, made me understand my own hair better than I ever did when I was just handing it over and hoping for the best.