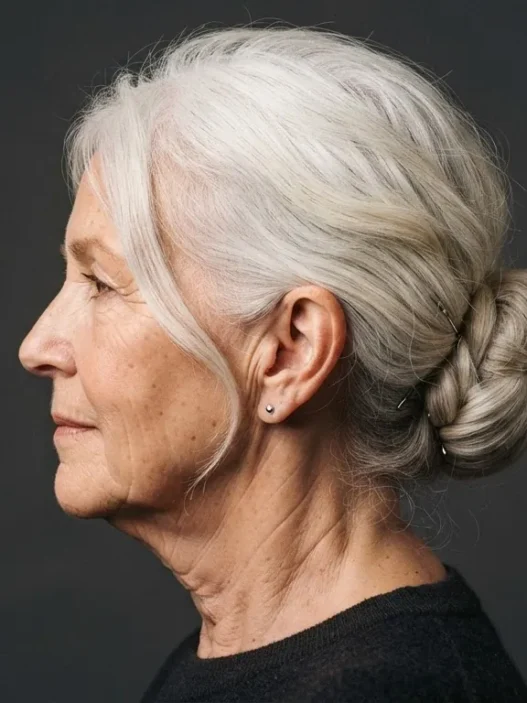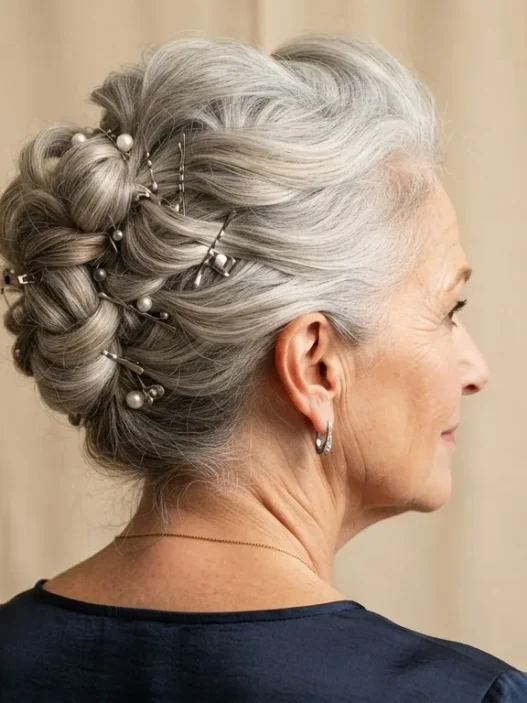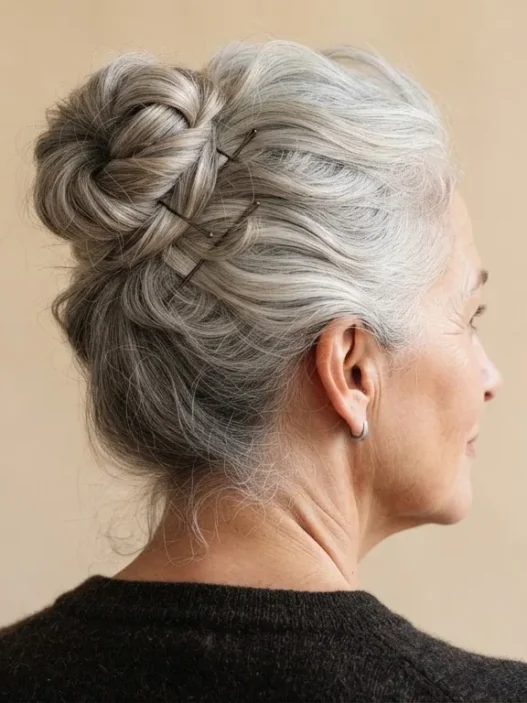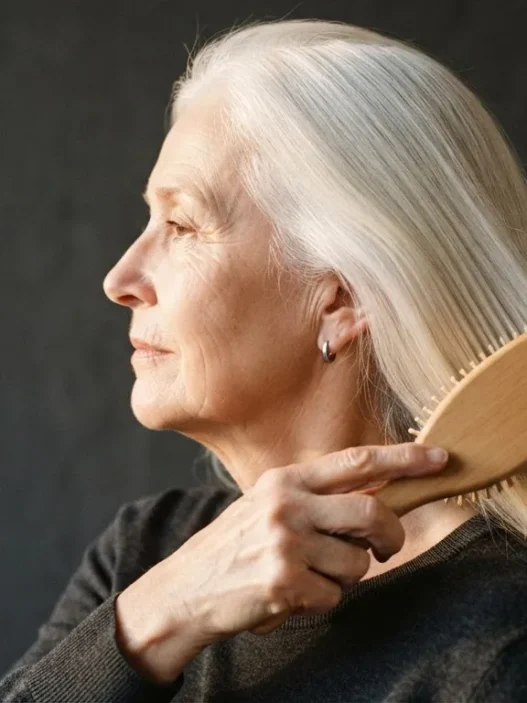










My daughter’s civil ceremony was six weeks away and I had absolutely no idea what to do with my hair. I’d been growing out my silver since 2023 and the texture had changed in ways I hadn’t anticipated — finer at the temples, slightly coarser at the back, and prone to slipping out of anything I tried to pin. I spent an evening watching tutorials aimed at twenty-year-olds with thick, heat-styled hair, and none of it translated. So I started experimenting on myself, one-handed at the bathroom mirror, until I finally worked out a version of the French twist updo that actually holds on hair like mine.
This is that method. It’s for women over 60 whose hair has shifted in density or texture. It assumes you’re doing this yourself. And it goes slowly — because the details that make the difference are small.
What’s In This Guide
- Why This Twist Works Differently on Older Hair
- What You’ll Need (No Fancy Kit Required)
- Step 1: Preparing the Hair So the Roll Has Something to Grip
- Step 2: Sectioning the Crown
- Step 3: Gathering and Tensioning the Back Panel
- Step 4: Rolling the Twist Against the Head
- Step 5: Pinning the Spine of the Twist
- Step 6: Dressing the Crown and Smoothing the Edges
- Step 7: Setting It So It Holds Past Hour Three
- What It Looks Like When It Goes Wrong
- How Long It Holds and Reviving It on Day Two
- Questions I Get About This
Why This Twist Works Differently on Older Hair
Hair after 60 isn’t just ‘thinner’ — that’s an oversimplification that leads to terrible advice. The shaft diameter actually changes, silver and white hair tends to be more porous and can feel simultaneously silkier and coarser, and the scalp produces less sebum, which means hair that used to have natural grip now feels almost frictionless. Pins that once held for hours just slide straight out.
The French twist works on this hair type better than most updos because it doesn’t rely on elastics or excessive product. It’s a structural technique — the roll itself creates the tension that keeps things in place. Shape does the work that product cannot. The trick is knowing how to build that structure correctly when you’re working with less density than you once had.
If you’ve been looking at guides on wavy haircuts for women over 50 and feeling like updo advice never accounts for texture changes — you’re right, and this guide tries to fix that. The same logic applies whether your hair is straight silver or has a wave pattern.
What You’ll Need (No Fancy Kit Required)
Nothing on this list is expensive or hard to find. But the specifics matter — bobby pins, for instance, vary enormously in quality and the cheap ones are genuinely useless on fine hair.
- Sectioning clips — two or three large duckbill clips, the kind that actually hold a section without slipping
- Bobby pins — at least ten, ideally the kind with a ridged or wavy texture on one side (they grip far better than smooth pins); silver or grey ones look invisible in silver hair
- Fine-tooth comb or tail comb — for back-combing the base section (just two or three gentle strokes, nothing aggressive)
- Light-hold hairspray — not a freezing lacquer, something that adds grip without crunch; I use mine sparingly throughout
- Texturizing spray or dry shampoo — a small amount through the back panel before you begin; this is the friction the hair needs
- A second mirror — or your phone propped up at an angle so you can see the back; you can do this blind but a reference point helps enormously at first
- Optional: a soft-hold pomade or edge control — just a tiny amount for the front hairline if flyaways are a concern
That’s genuinely all of it. I don’t use a rat-tail or a twist tool — once I understood the hand position, my fingers did everything.
Step 1: Preparing the Hair So the Roll Has Something to Grip
Start with day-two hair if you can. I know that sounds counterintuitive when you’re getting ready for an occasion, but freshly washed silver hair is too slippery to roll reliably. If you’re doing this the morning of an event, wash the night before and sleep on it loosely braided — the slight texture that builds overnight is exactly what you need.
Mist the texturizing spray through the back section — from about two inches behind your ears down to the nape. Not saturated, just a light pass. Work it in with your fingers, not a brush. You want a very slight roughness to the surface of the hair — that’s the friction that stops the roll from collapsing when you get to Step 4.
Don’t brush the whole head smooth at this stage. A light comb-through to remove tangles is fine, but if you brush until it shines, you’ve removed the texture you just created. You’re building grip here, not a blowout finish.
Step 2: Sectioning the Crown
This step is the one most tutorials either skip entirely or describe so vaguely it’s useless. Where you section the crown changes the entire shape of the finished twist.
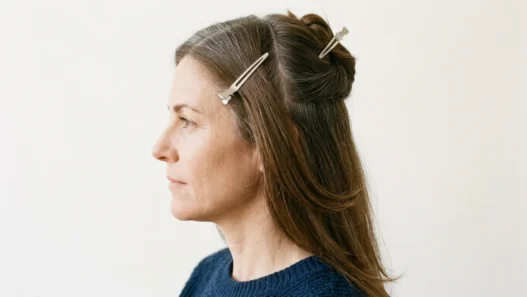
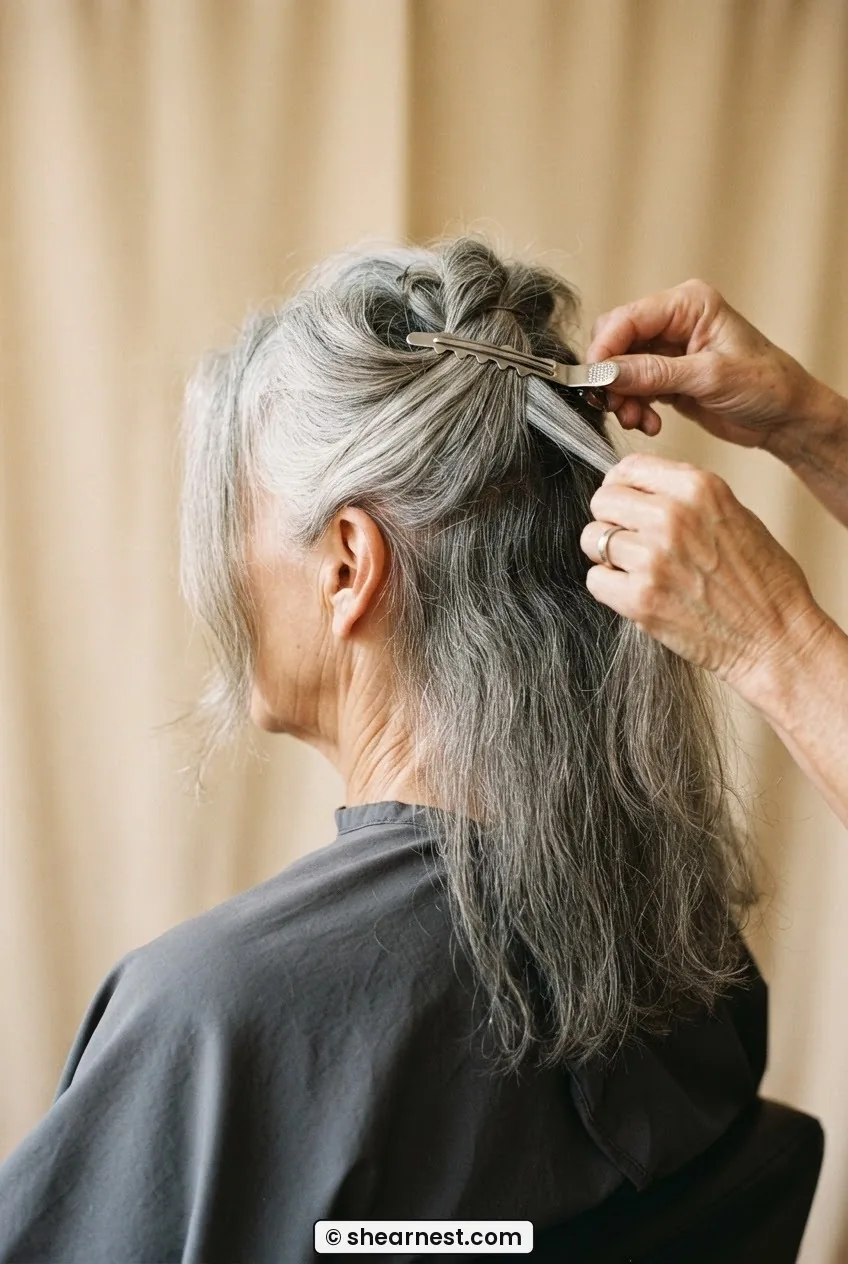
Using your tail comb or just your fingers, take a horizontal section across the top of the head — from roughly temple to temple, starting about two inches back from the hairline. This top section gets clipped forward and out of the way for now. It’s the section you’ll use to dress the crown in Step 6, and treating it separately from the start means you have real volume to work with later instead of trying to stretch scraped-back hair across the top of your head.
Clip that top section forward over your face (yes, over your face — it frees your hands for the back). Everything below that clip is your working section for the next three steps.
If your hair is on the shorter side — say, just grazing your shoulders — the French twist still works, but your back panel will be narrower. Don’t try to compensate by taking a smaller crown section. The proportions matter more than the length.
Step 3: Gathering and Tensioning the Back Panel
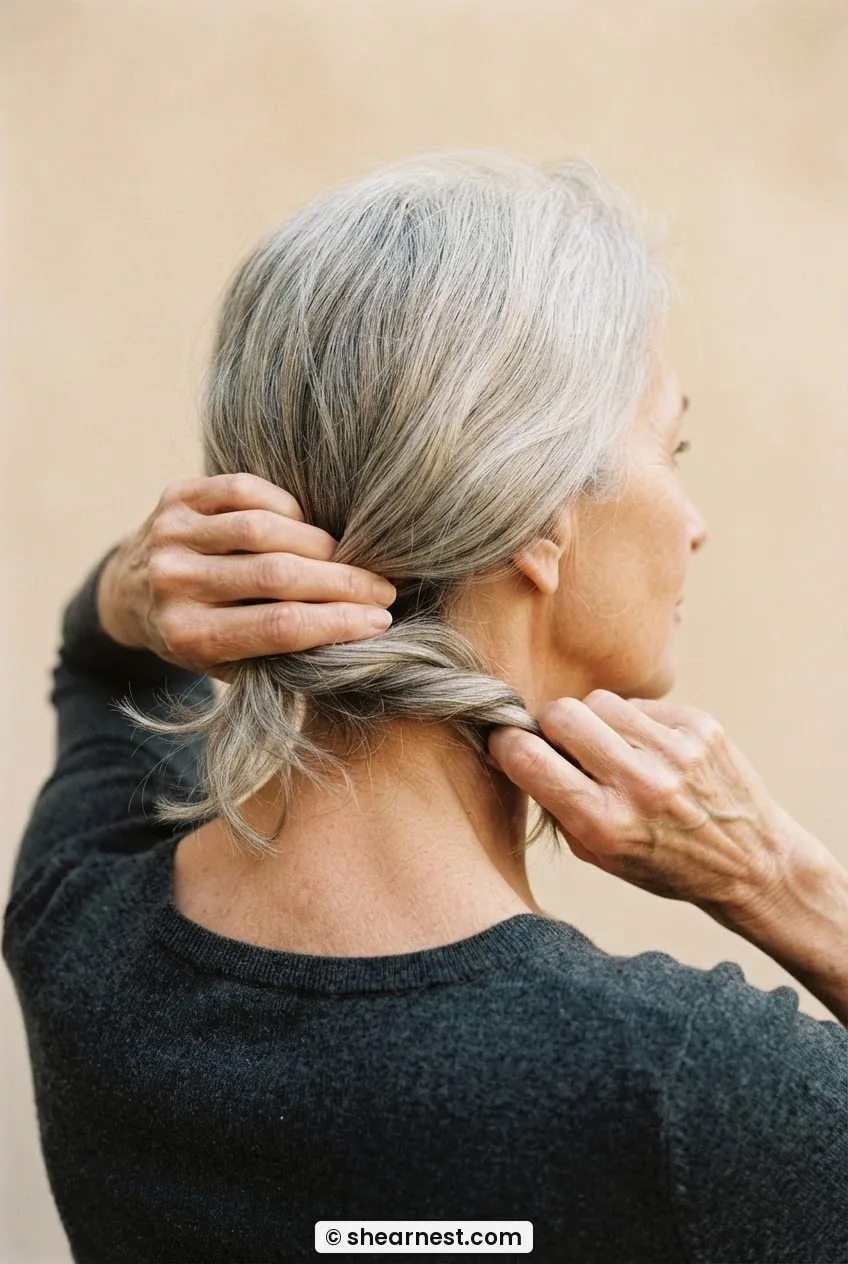
Gather the back panel — everything below your clip — into one loose ponytail hold at the center of the back of your head. Don’t use an elastic. Just hold it in your non-dominant hand, fingers pointing down, with a steady but not tight grip.
Now sweep the entire gathered section to one side — I go to the right — and hold the ends with some tension. Not yanking it, just a firm, controlled pull. You’re creating the direction the roll will travel. This matters: whichever direction you pull here is the direction the twist will spiral, and you need to commit to it before you start rolling.
With your dominant hand, give the gathered hair one clockwise twist from root to end — like you’re wringing out a cloth, but gently. This pre-twist is what makes the eventual roll compact and even rather than lumpy. If you skip this, the twist tends to puff unevenly on one side and the spine sits crookedly up the back of the head.
Step 4: Rolling the Twist Against the Head
This is the move. Read it twice before you do it.
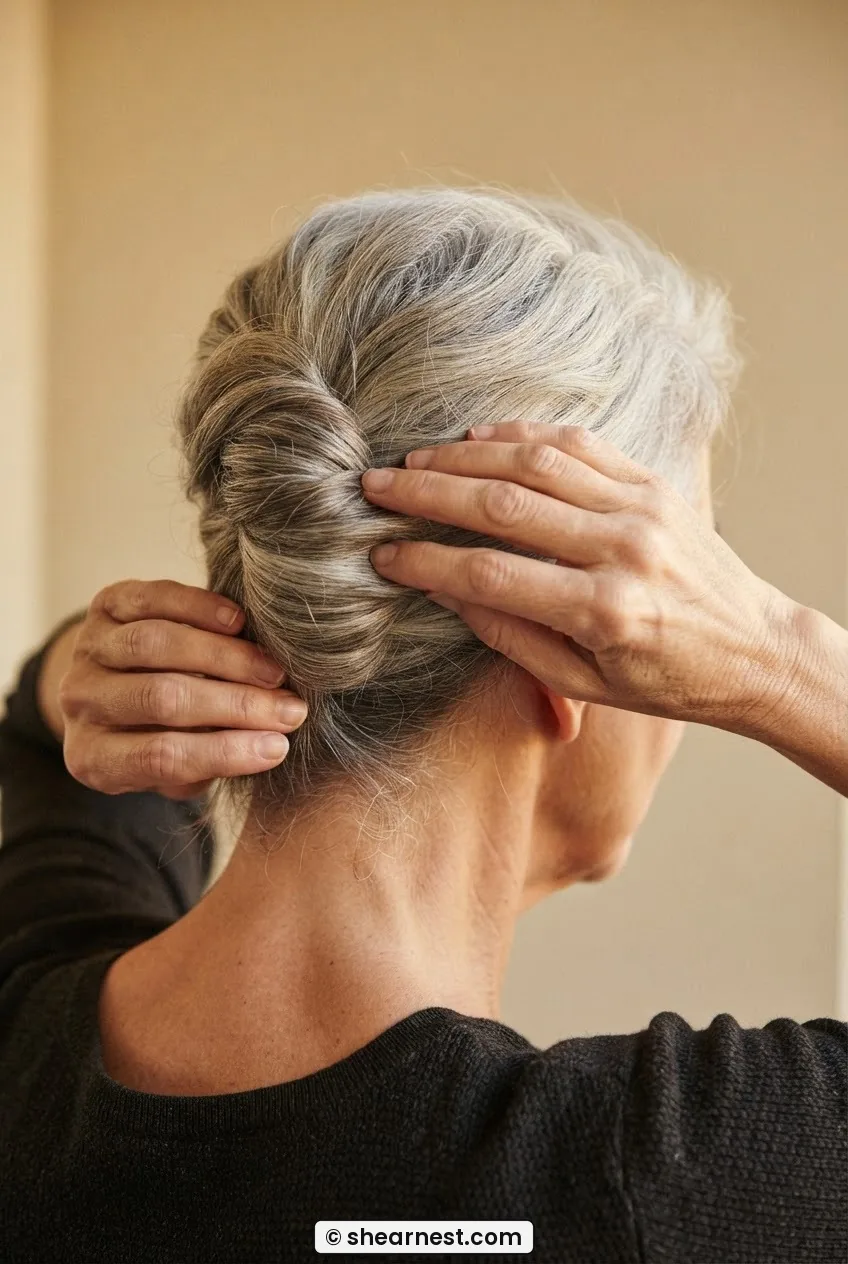
Keeping that light tension on the pre-twisted section, roll the whole thing upward and toward the center back of your head — like a cinnamon roll lying on its side. The roll moves toward the head, not away from it. This is where most video tutorials filmed by younger stylists go wrong — they demonstrate on hair with enough density to hold the roll outward, but for finer hair, pressing the roll flush against the head as you turn is what gives it structural integrity.
As the roll reaches the center-back of your head, your fingers should be flat against your skull, pressing lightly inward. The top of the roll should sit roughly at the level of the crown clip — you’ll tuck the ends under or fold them inside the roll as you go. If you have longer hair, the ends naturally fold inside. Shorter ends can be tucked upward and held while you pin.
Mistake I made: My first three attempts, I rolled away from the head — the roll sat proud of my skull like a sausage, and it fell down within an hour. The direction feels unnatural at first because you can’t see what you’re doing, but once I felt the roll sitting flush, the whole structure changed. Press in, not out.
Seeing the Roll Direction in Real Time
Step 5: Pinning the Spine of the Twist
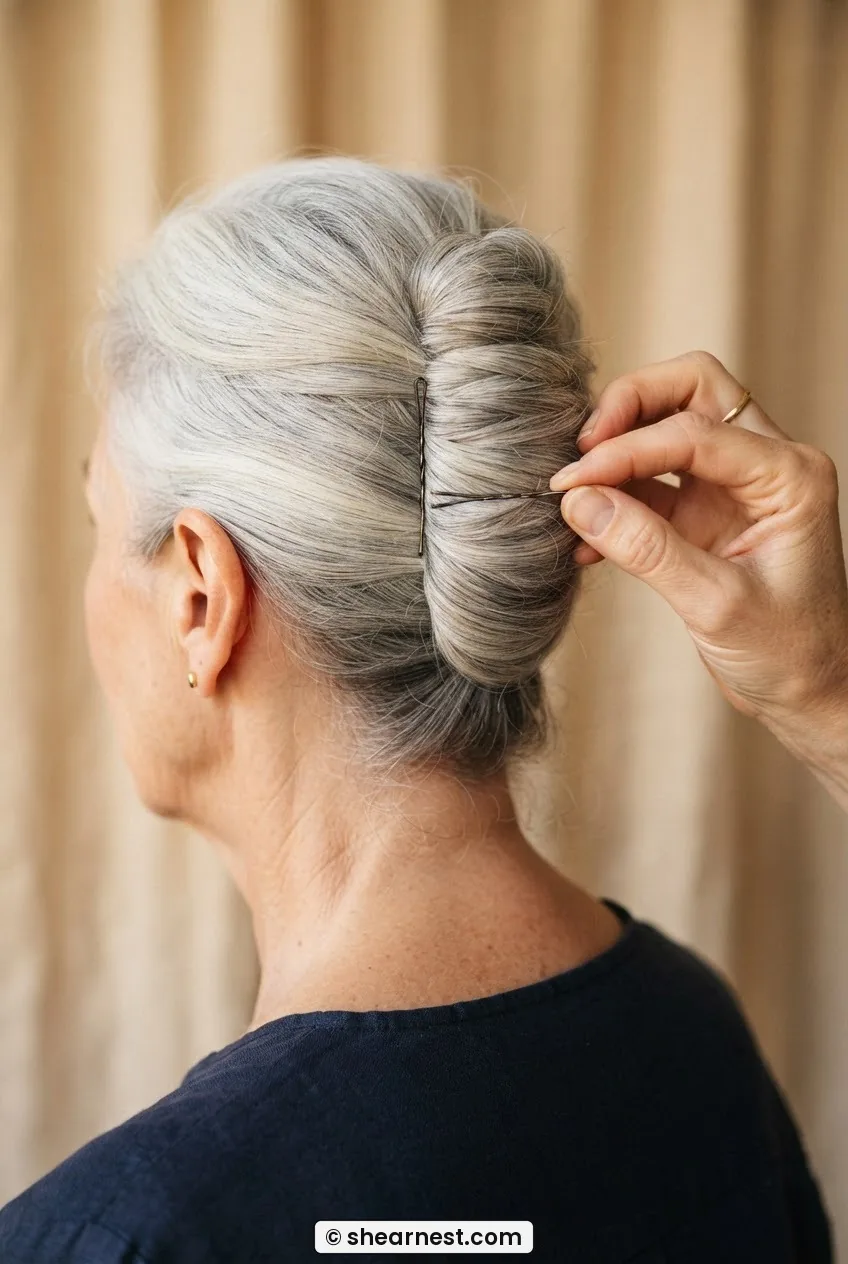
Hold the roll steady with one hand. With the other, take your first bobby pin and insert it horizontally into the spine of the roll — the fold running up the center of the back of your head — pushing through the roll and into the hair beneath it. Not just through the roll, but anchoring into the base hair underneath. That’s the grip point.
Place your pins in a line up the spine, roughly an inch apart. Five to seven pins for most head sizes. Open each pin before inserting it (slightly spread the two tines apart), push it in closed-side first, then rock it slightly downward as you push — this catches more hair inside the pin and dramatically improves hold.
The roll should feel stable now when you release your holding hand. If it’s slipping to one side, you have one pin placed at the wrong angle — it’s threading parallel to the spine rather than perpendicular through it. Remove it, reposition, reinsert. It takes a moment but it’s worth it before you move forward.
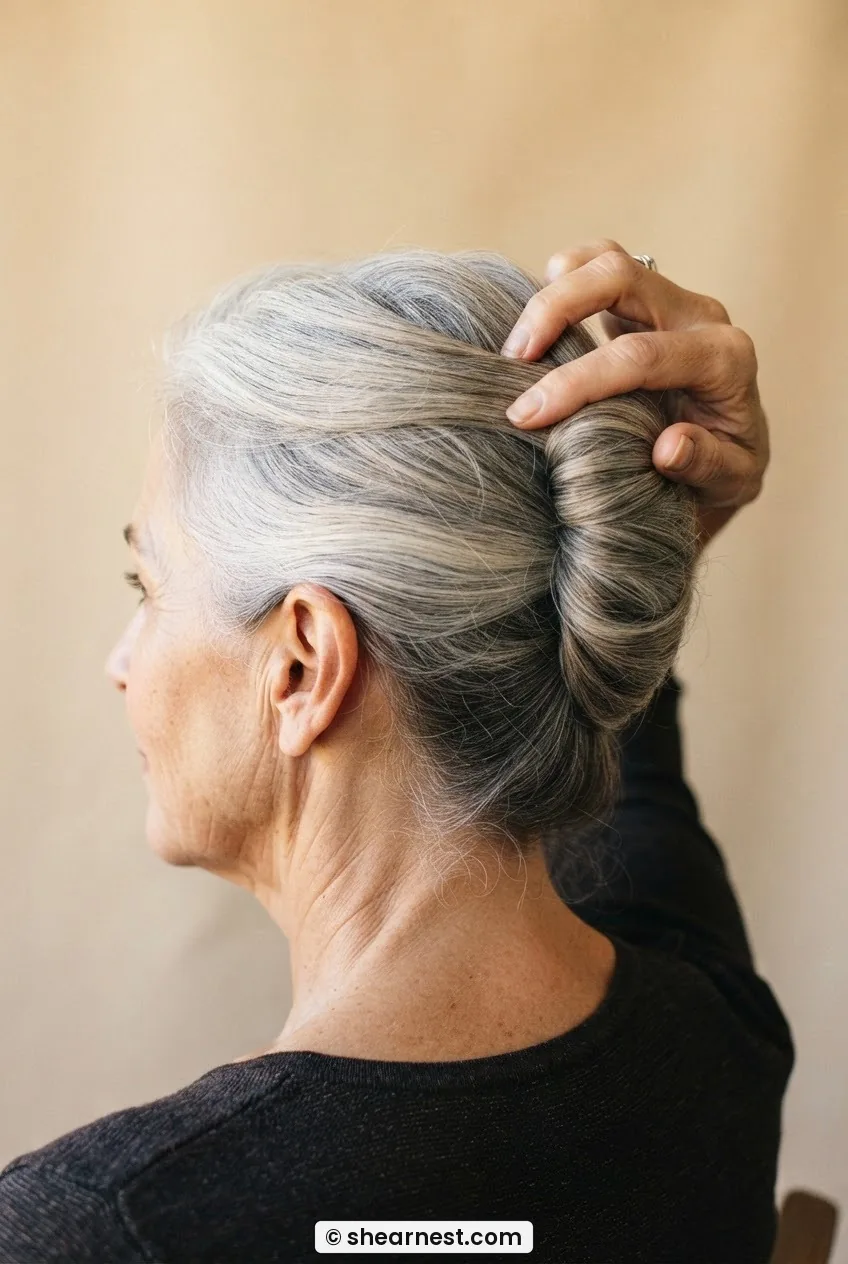
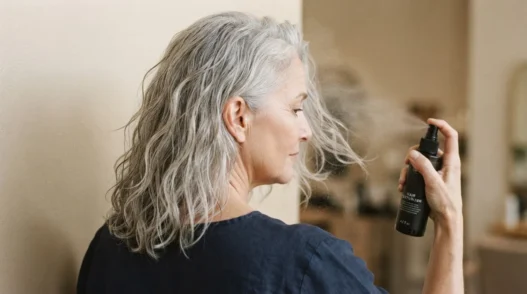
Once you’re happy with the spine, mist a small amount of light-hold hairspray directly at the roll from about eight inches away — not saturating it, just settling it. This also helps with the silver hair I mentioned, which can be prone to lifting in a warm room. You can look at how to apply hairspray to fine hair for general principles here — but for the twist specifically, a small amount right at the base of the spine makes a real difference.
Step 6: Dressing the Crown and Smoothing the Edges
Release the crown section you clipped forward at the start. This is the good part — this is where the style actually looks finished rather than just functional.
Gently backcomb just the roots of this section — two or three light strokes with the tail comb, not enough to tangle, just enough to lift the roots away from the scalp. Then smooth the surface of the section with your palm, directing the hair back and down toward the top of the roll. The ends of this section get tucked under or folded into the top of the roll, secured with one or two more pins placed horizontally across the top of the twist.
Look at how she’s wearing hers in this photo — see how the crown section sweeps back softly without being pulled taut? That gentle lift is what separates a French twist that looks polished from one that looks severe. The hair should follow the shape of the head, not fight it.
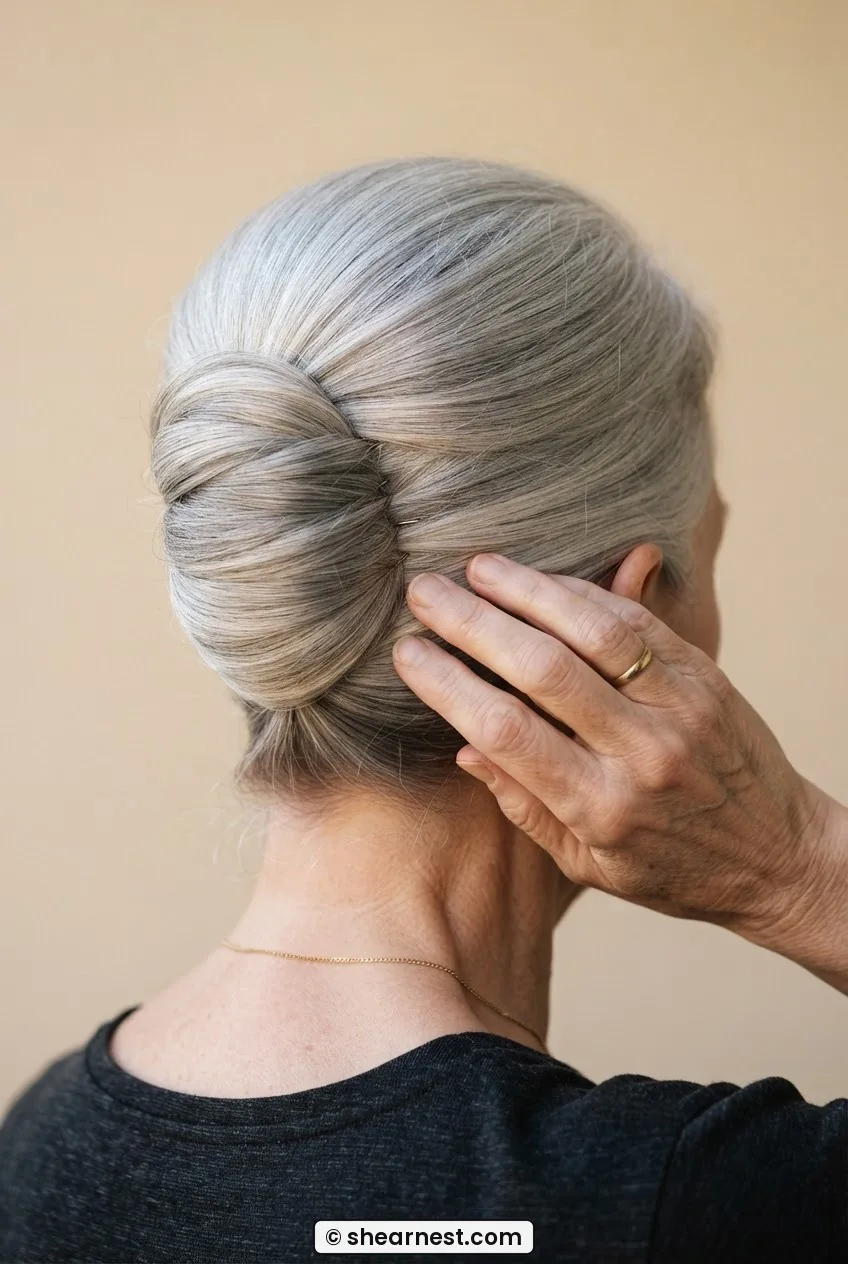
For the sides and front hairline: this is where a tiny amount of pomade on your fingertips, smoothed lightly over any short pieces or flyaways, earns its keep. I use about half the size of a pea, warmed between my palms. Any stray pieces near the temples can also be left deliberately loose — a few soft pieces framing the face actually look intentional and elegant on silver hair, rather than like something escaped.
Step 7: Setting It So It Holds Past Hour Three
The last step is the one most people skip because the style looks done — and then they wonder why it softens by the time the main course arrives.
Hold the hairspray about ten inches from your head and do one final pass over the whole twist — the spine, the crown, the sides. Keep the can moving so it doesn’t land heavily in one spot. Then, and this is the part I was skeptical about until I tried it: gently press your palm flat against the roll for about ten seconds. You’re warming the product slightly and encouraging the hair to set in that compressed shape.
If you’re going to be in warm or humid conditions — a wedding marquee in summer, say — a light-hold flexible spray rather than a firm-hold one actually performs better over time. Firm-hold sprays can become brittle in warmth and the twist cracks rather than flexing slightly with movement. Flexible hold moves with you and recovers. You can read about best hairspray for fine hair to compare formulas — the distinction between flexible and firm hold matters more than most labels tell you.
What It Looks Like When It Goes Wrong
The roll collapses to one side. This means the spine pins aren’t anchoring into the base hair — they’re floating in the roll. Remove the pins, re-roll, and push the pins at a steeper angle downward.
The roll sits proud of the head and looks bulbous. You rolled outward rather than against the skull in Step 4. There’s no fixing this with more pins — you need to start the roll again with the inward pressure in place from the beginning.
The top of the twist gaps open and shows your scalp. The crown section didn’t fold down far enough — it’s sitting on top of the roll rather than being tucked into it. Gently lift the crown section, add a tiny amount of texturizing spray to the ends, and tuck them more firmly down into the top of the roll before re-pinning.
The front hairline looks severe and stretched. Your gathering tension in Step 3 was too tight. The face-framing effect of a French twist should feel like the hair is swept, not stretched. If you’re starting over, try gathering slightly looser at the sides.
How Long It Holds and Reviving It on Day Two
Done correctly on day-two hair with the pinning method above, this twist holds for six to eight hours comfortably. The silver hair I mentioned — more porous than pigmented hair — actually benefits from the flexible hairspray precisely because it absorbs product differently.
If you want to wear it again the next day (say, the ceremony was day one and there’s a family lunch day two), don’t fully unpin it the night before. Loosen the spine pins enough to release the roll, gently unravel it, and finger-comb rather than brush. Sleep with it in a loose low bun. The next morning the hair will have a beautiful soft wave from being held overnight, and the same technique re-pinned takes about five minutes because the hair already knows where it wants to sit.
A light mist of texturizing spray at the roots before re-rolling restores the grip without making hair look or feel dirty. This is worth knowing if you’re planning a multi-day event — the style genuinely improves on day two.
If you’re thinking about other occasion-ready styles for silver or white hair beyond the twist, the broader guides on hair styles for women over 70 and on hairstyles over 70 cover what changes in texture and density at different stages, which informs updo technique more than most people realise. And the notes on straight hair cuts for women over 50 are also useful context if your silver has gone quite smooth — the grip principles translate directly to how you prep for this twist.
Questions I Get About This
Can I do a French twist on a bob or shorter hair?
Yes, but the back panel needs to be at least three to four inches long for the roll to have enough hair to fold over itself. If your bob is chin-length or longer at the back, it usually works. Very short nape sections — a close-cropped nape below an inverted bob, for example — won’t roll. The crown section can compensate to some degree, but there’s a minimum length threshold.
My pins keep showing through the twist. How do I hide them?
Two things: insert each pin at a slightly steeper downward angle so the head of the pin disappears into the roll rather than sitting flat on its surface, and use pins that match your hair color. For silver hair, silver-toned pins with a matte finish are nearly invisible. Shiny black pins on silver hair catch light in the worst possible way — ditch them entirely.
Is a French twist the same as a chignon?
They’re related but not the same shape. A chignon typically sits flat at the nape — think of a low, coiled bun. The French twist rolls vertically up the back of the head, ending at the crown. Both are elegant, both suit silver hair beautifully. The twist tends to be more structured and dramatic; a looser chignon is softer and more relaxed. The pinning logic from this guide transfers to a low chignon almost exactly, so once you have the grip technique, both become easy options.
What if I have very fine, thinning hair at the crown?
The crown section of this method is actually designed with that in mind. Back-combing the roots of the crown section before smoothing it over the roll creates the appearance of volume without requiring actual density. The roll beneath does the structural work, and the crown section is just dressing. If thinning at the crown is a significant concern, the guides on Shearnest cover thinning hair specifically with styling approaches that work at multiple stages. And fine hair updo techniques can give you additional reference points for the back-combing amount that works best for different densities.