






My niece asked me to be her witness last spring, and I stood there three weeks out thinking: I have a pixie that’s growing out, a church ceremony at noon, and a reception that runs until midnight. What on earth do I do with this hair? I’d worn it loose to every wedding for the past decade and it had always wilted by the soup course. I needed something that would actually stay — something polished enough for the photographs but not so rigid it looked like a helmet on a fifty-three-year-old head.
So I spent two weeks practising in my bathroom mirror, one-handed, until I had an eight-step process that genuinely worked. This is that process, written out slowly, in the order you do it.
Your Step-by-Step Map to This Style
- Why I Needed This in the First Place
- What You’ll Need
- Step 1: Washing and Priming the Hair
- Step 2: Rough-Drying for Grip
- Step 3: Setting the Crown Sections
- Step 4: Rolling and Pinning the Sides
- Step 5: Anchoring the Back
- Step 6: Placing the Detail Pins
- Step 7: Setting the Shape
- Step 8: Finishing and Holding
- What It Looks Like When It Goes Wrong
- How Long It Holds and the Day-Two Revival
- Questions I Get About This
Why I Needed This in the First Place
Short hair at a wedding feels like a gamble if you haven’t done your prep. Loose, it can look undone by the time you reach the reception. Overdone, it reads as trying too hard. What I was looking for — and what I think most of us over 50 are looking for — is something that looks like effort without screaming effort. A style that frames the face softly, stays off the neck during a long day, and photographs beautifully from every angle that a roaming photographer might catch you from.
The technique I landed on is essentially a soft pinned set — think of it as a refined finger wave without the rigidity, using your natural texture as the foundation. It works brilliantly on silver and grey hair because those tones catch light in a way that makes the pins themselves part of the look. If your hair sits somewhere between two and four inches long, you are in the ideal range. Shorter or longer, I’ll note the adjustments as we go.
For those of you navigating this alongside a particular face shape — I found the piece on oval face hairstyles for women over 50 genuinely helpful for thinking about where volume should sit, and it applies just as much to pinned occasions styles as it does to cuts.
What You’ll Need
Nothing exotic here. I’m a big believer in not buying seventeen products for one style.
- A volumising shampoo — not a moisturising one. Moisture weighs silver hair down and you need grip.
- A lightweight mousse or setting lotion (I use about a 50-cent-piece amount)
- A medium-hold blow-dry spray — heat protection matters, always
- A paddle brush with flexible pins (not a boar bristle round brush — wrong shape for this)
- A fine-tooth tail comb for sectioning
- Bobby pins — at least 20, matching your hair colour. For silver hair, silver-toned pins are genuinely prettier and you can let them show.
- Kirby grips / U-pins — 8 to 10 of these for the heavier anchor points
- A medium-hold hairspray
- A light-hold finishing spray or serum for the very end — just a pump, not a coating
- Optional: one or two pearl or jewelled pins if you want decoration
That’s it. I keep mine in a small zip pouch so I can throw it in my bag for touch-ups on the day.
Step 1: Washing and Priming the Hair
Wash the night before if you can — or the morning of, no later. Freshly washed hair has less natural oil, which means more grip for your pins. Avoid heavy conditioners on the lengths; keep those for the last inch or two to prevent frizz, but stay away from the roots and mid-shaft entirely.
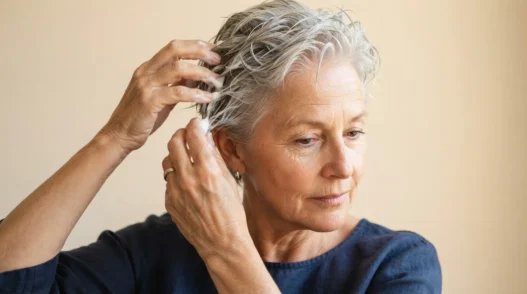
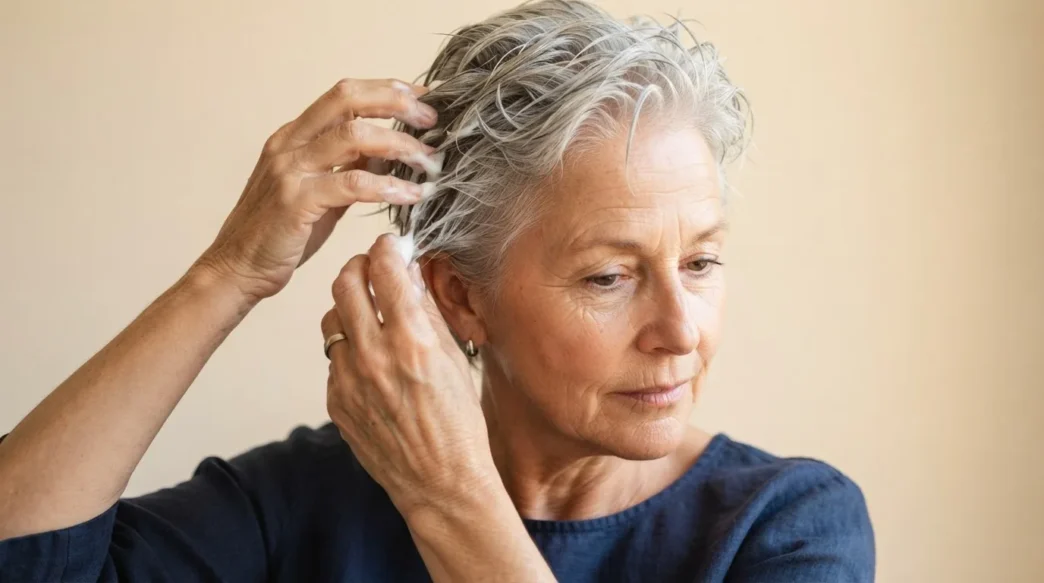
While the hair is still soaking wet, work a small amount of mousse — I mean small, a golf ball at most — through the mid-lengths and ends. This is your foundation. It isn’t about stiffness; it’s about giving the hair something to hold against when you start placing pins. Silver and white hair tends to be more porous than pigmented hair, so it absorbs product fast. Rake it through with your fingers rather than a brush at this stage, so it distributes evenly without clumping.
Then leave it alone for two minutes. Don’t touch it, don’t scrunch it. Let it start absorbing before you move on.
Step 2: Rough-Drying for Grip
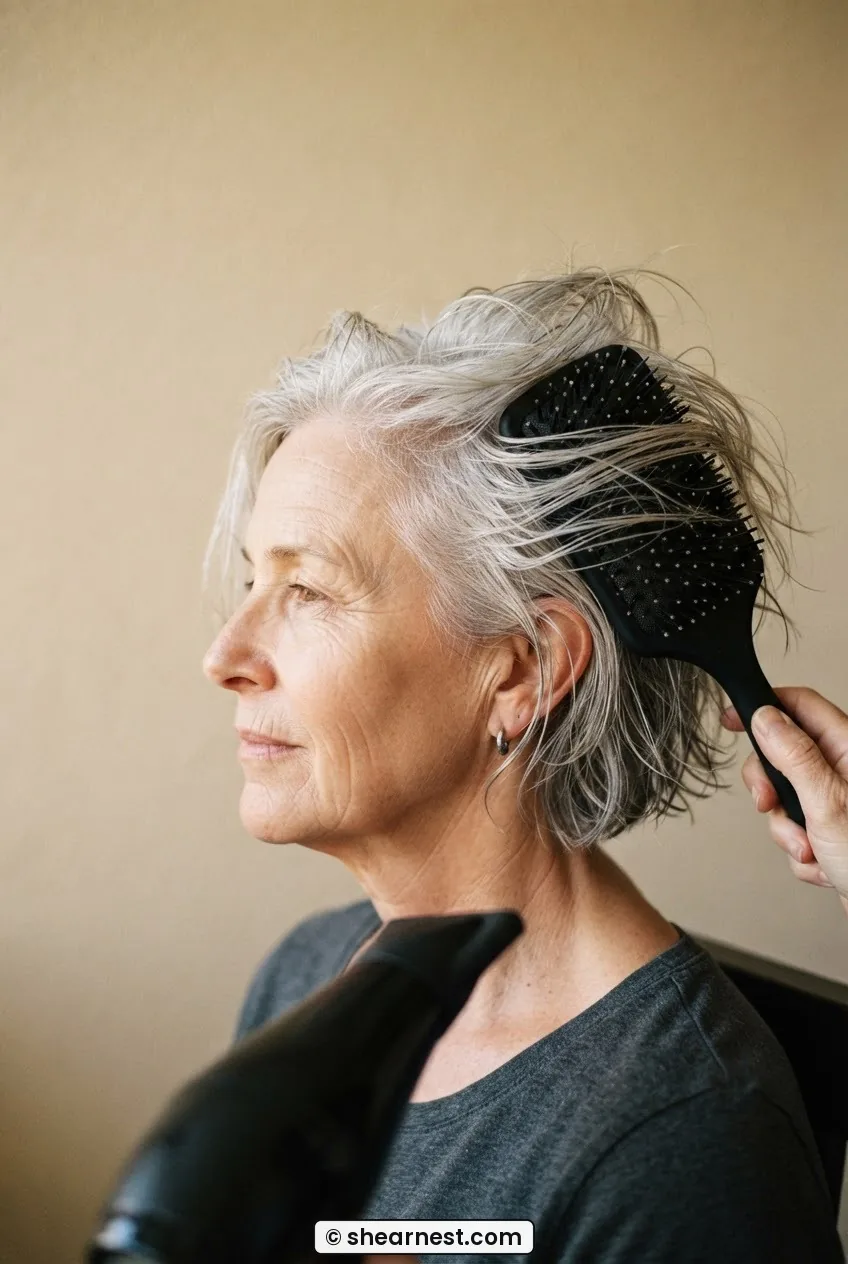
This step is less about drying the hair and more about building texture into it. Set your dryer to medium heat — not high. High heat on fine or silver hair causes frizz at the cuticle, and you’ll spend the rest of your time fighting it.
Flip your head forward if you’re comfortable doing that, and rough-dry the roots first, moving the dryer in small circles rather than sweeping back and forth. The goal here is lift. You want the roots standing away from the scalp slightly because that’s what will give the finished style its fullness without requiring a lot of backcombing later.
Once the roots are about 80% dry, bring your head back upright. Now dry the sides and back by pressing the paddle brush flat against each section and lifting — not rolling, just lifting. You’re pressing the hair upward and away from the skull, then releasing. Repeat that six or seven times per section. Think of it as training the hair to stand where you want it before you set it with pins.
Stop when the hair is about 90% dry. That last 10% of moisture is actually useful — slightly damp hair takes a pin set better than bone-dry hair.
Step 3: Setting the Crown Sections
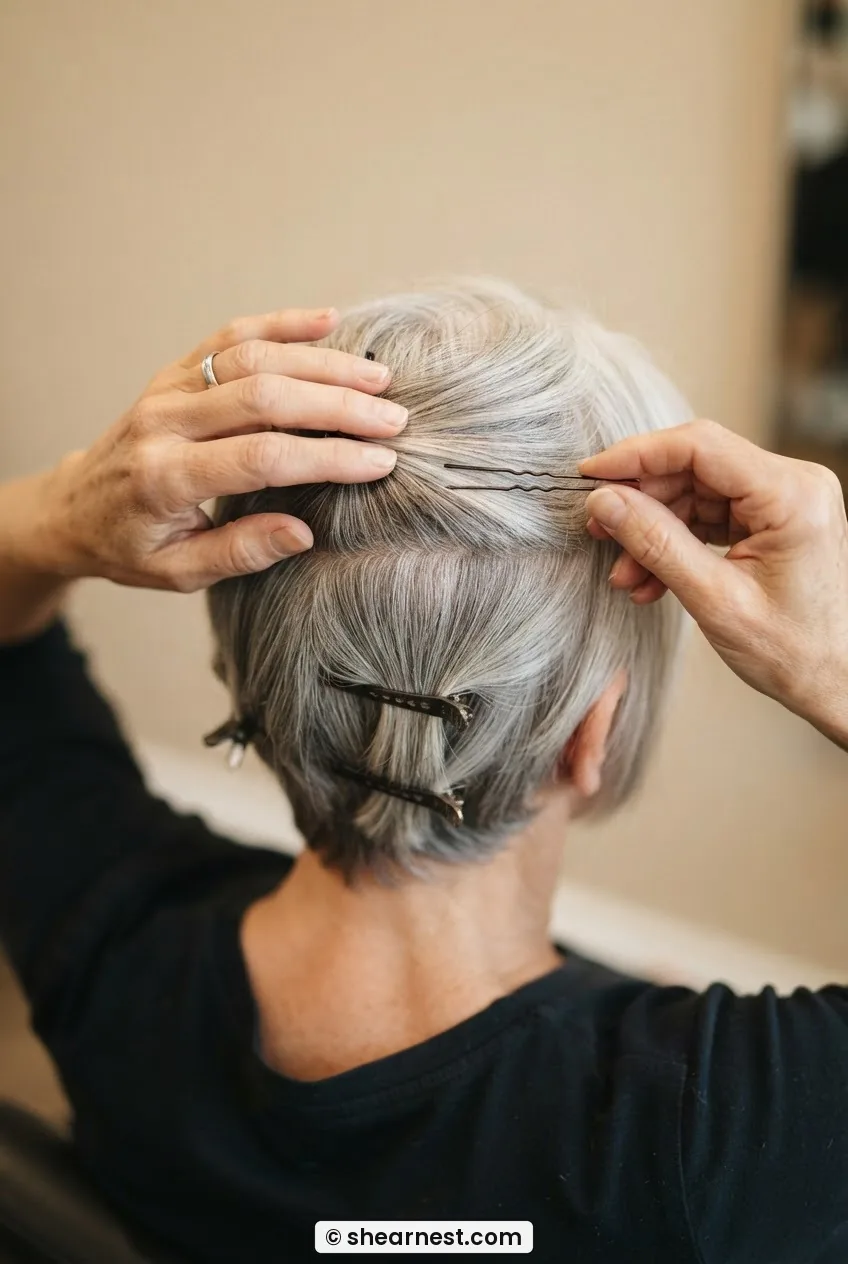
Use your tail comb to part a section across the top of the head — from ear to ear, roughly following the curve of the skull. Clip everything in front of that line forward, out of the way. Everything behind it is your crown section and you’re working with it first.
Within that back crown section, use the tail comb to divide the hair into approximately three horizontal rows. The top row, closest to the parting, should be about half an inch deep. The middle row is slightly thicker — about three-quarters of an inch. The bottom row is whatever’s left near the nape.
Clip the bottom two rows out of the way. Work with only that top row first. Using your fingers, guide the hair in a smooth sweep toward the centre back — not down, not sideways, but back and slightly inward, like you’re gathering everything toward a central point that doesn’t exist yet. Hold it in place with your non-dominant hand while your dominant hand reaches for a U-pin. Slide the U-pin horizontally through the base of that section, angling it slightly downward so it catches the layer below. You should feel it grip firmly. If it slides, the hair isn’t dry enough — give it another minute under the dryer.
Step 4: Rolling and Pinning the Sides
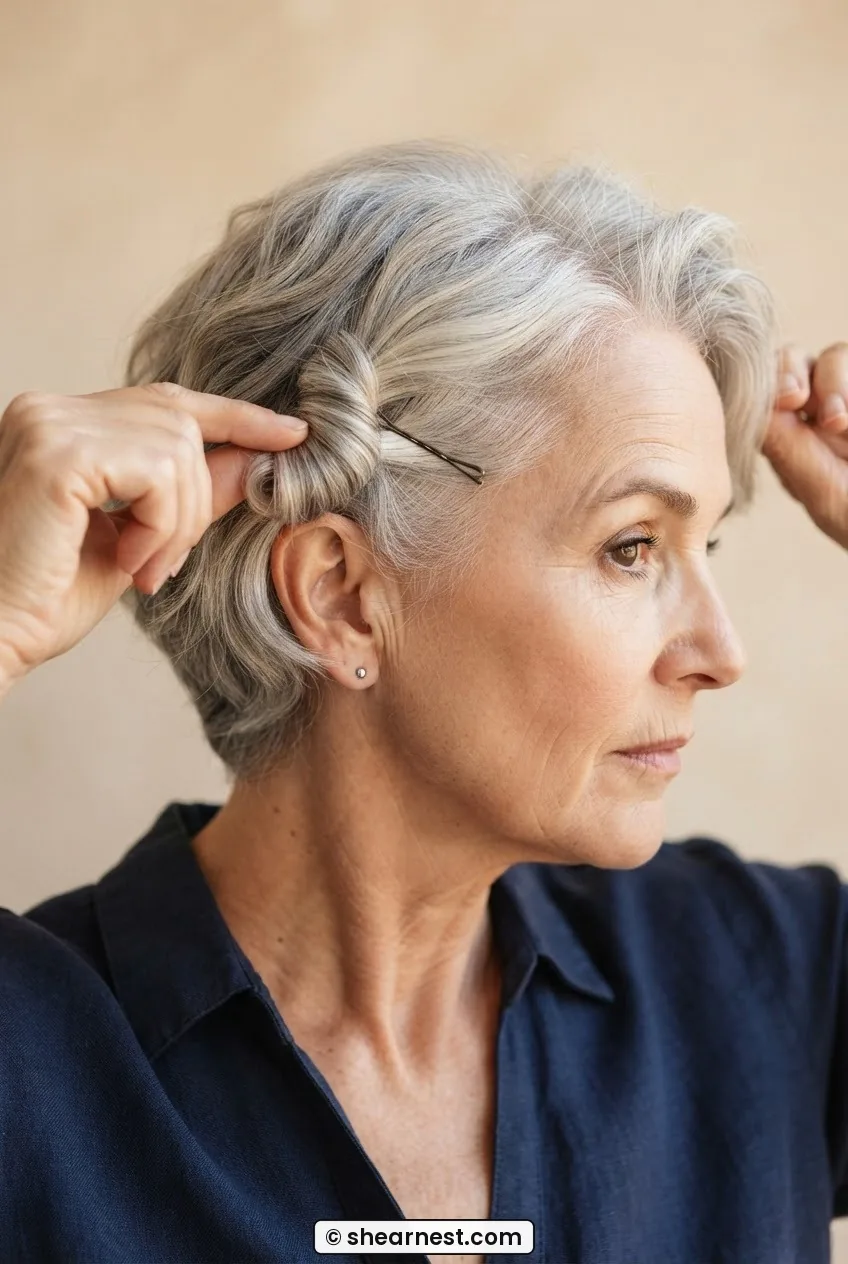
Now unclip the front section — the hair forward of that ear-to-ear parting — and divide it into left and right halves along your natural parting, or wherever a parting sits most comfortably for you. This is the section that will frame your face, so take a moment here. Look in the mirror. Which direction does each side naturally want to fall? Work with it, not against it.
Take the right side section. With two fingers, roll the hair from the front hairline backward in a loose, open roll — the width of two fingers is about right. You’re not doing a tight finger wave; this is more of a soft directional curve, like the hair is choosing to sweep back off your face. Hold that roll with your left hand (or your right if you’re left-handed — do what’s comfortable at a bathroom mirror) and use a bobby pin to anchor it at the temple, sliding the pin parallel to the roll rather than through it. Then place a second pin about a centimetre behind the first, crossing it at a slight angle. Two crossed pins hold twice as well as one straight pin — I cannot overstate this.
Repeat the same on the left side, mirroring the direction. If you have wavy hair naturally, you’ll find the hair practically wants to roll itself — a great advantage. For those with straighter textures, I’d point you toward the information on straight hair cuts for women over 50 to understand how to build in the movement your hair needs before a style like this.
Step 5: Anchoring the Back
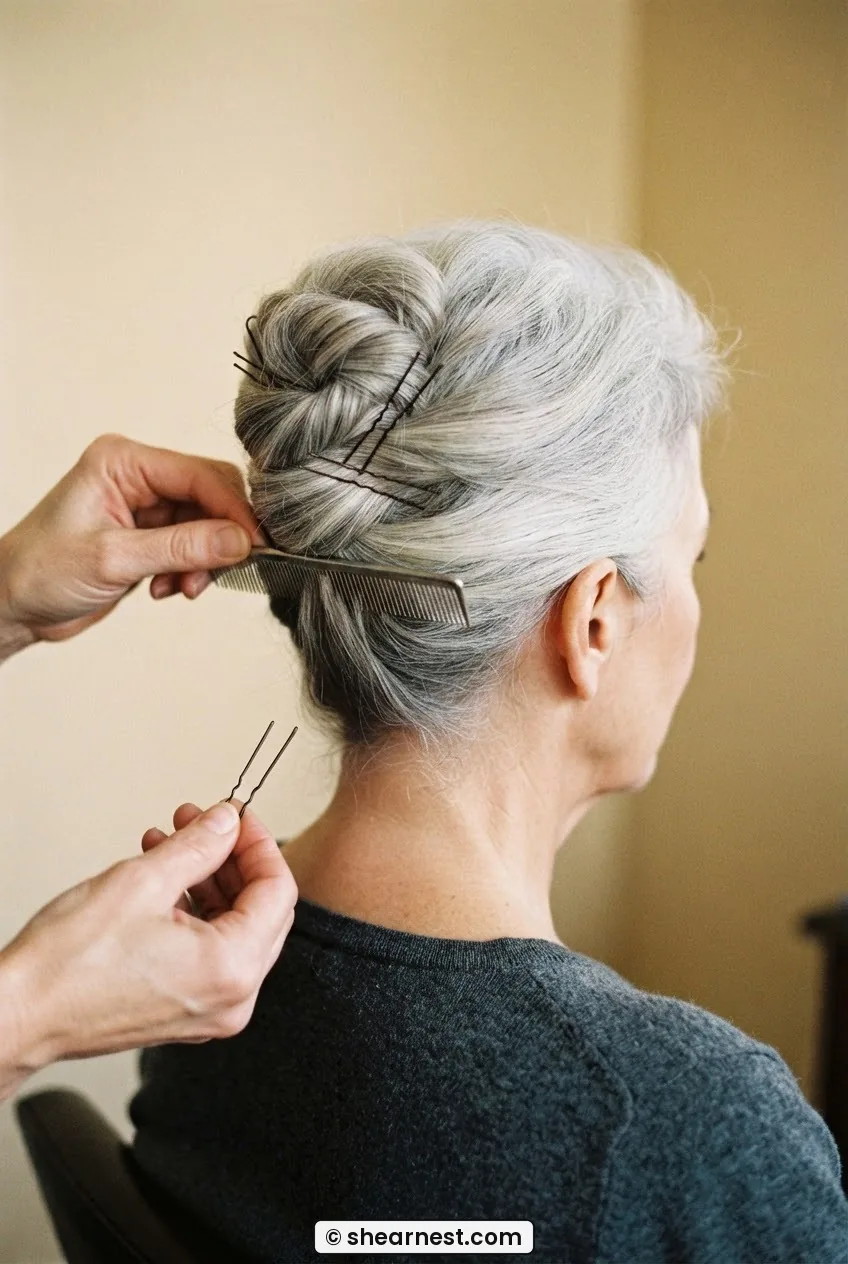
Go back to the crown sections you set in Step 3. Unclip the middle row now — the three-quarter-inch section. This one you’re going to sweep in the same direction as the top row, overlapping it slightly, and anchor it with two more U-pins. The key here is to tuck the ends of this section under the top row rather than leaving them loose. Use the tail end of your comb to gently tuck, then anchor. It should start to look like a soft, gathered mass of hair sitting slightly proud of the skull — not flat, not puffy, just rounded.
The bottom row — the nape section — you’re going to treat differently. Sweep this one downward and slightly outward, tucking the ends under the gathered crown above it. This creates a little shelf that adds structure to the back of the style. Two U-pins here, placed vertically rather than horizontally, help it hold against the shape above.
Step back from the mirror now and look at the back in your hand mirror or over-the-shoulder reflection. The gathered shape should look intentional — soft but architectural. If it looks messy, it’s usually one section that hasn’t been tucked all the way. Use the tail comb to guide any escaping ends back under, then re-pin.
Step 6: Placing the Detail Pins
This is the step that makes the style look finished rather than functional. And it’s also the most personal step, so there’s some creativity here.
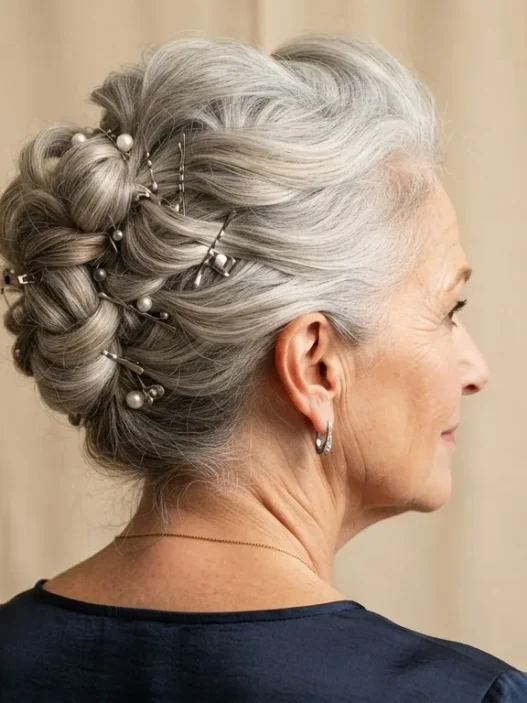
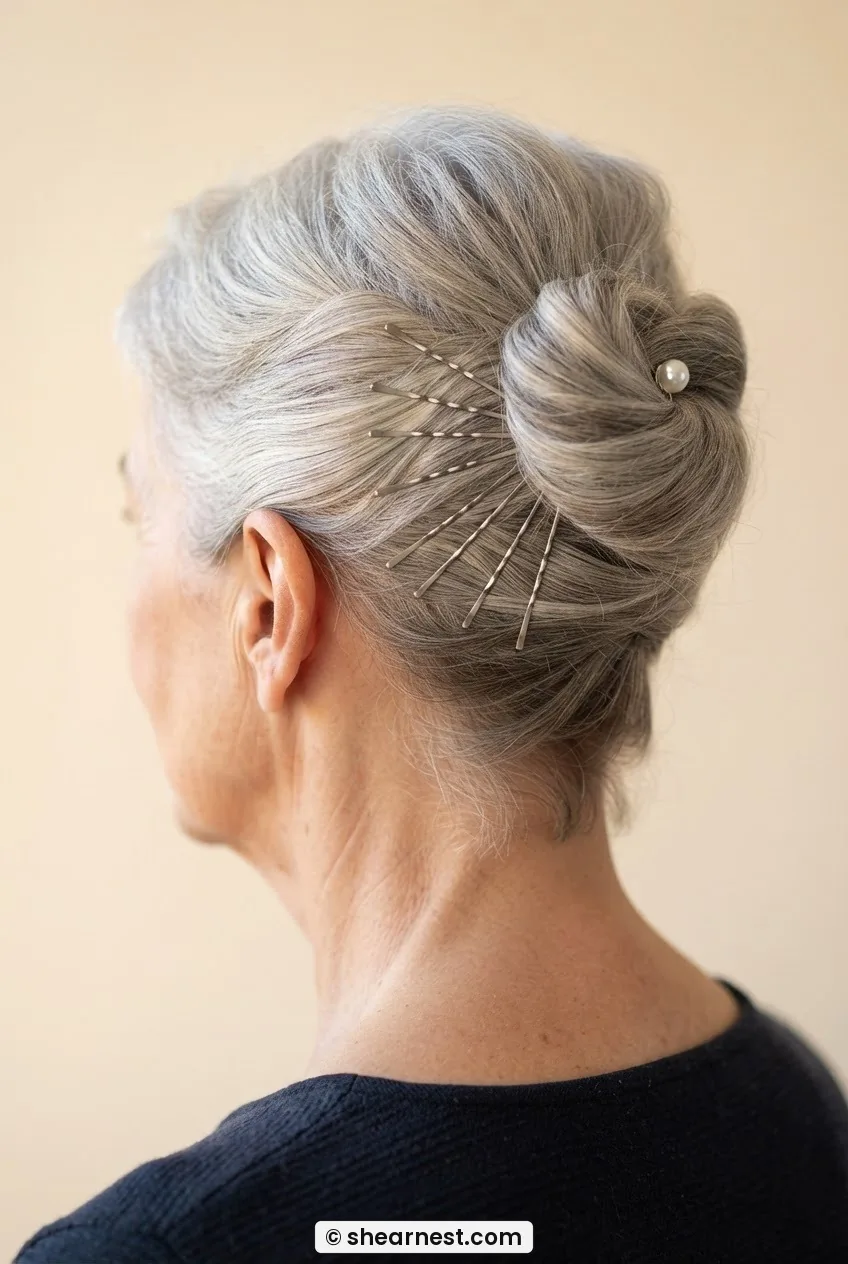
Look at the style from the front. Where are the joins between the side rolls and the crown? Those transitions are where you’ll place your decorative pins — or, if you’re using plain bobby pins, you’ll place them there deliberately rather than hiding them. Silver-toned bobby pins on silver hair look genuinely beautiful when placed with intention. Slide two or three of them into the join at each temple, angling them in a slight fan shape. This is both functional (they reinforce the hold) and decorative.
If you have a pearl or jewelled pin, this is where it lives — not scattered randomly, but placed at the highest point of one side roll, usually the right side for a right-handed pinner. One statement pin reads as deliberate. Three statement pins reads as a craft project.
The mistake I made the first time: I put the decorative pins in too early — before I’d set the main anchoring pins — and then had to move them to get proper grip underneath. Every time I moved them, the roll softened slightly. By the time I was done, one side had lost its shape almost completely. The lesson: functional pins first, decorative pins last. Always.
Step 7: Setting the Shape
Take your medium-hold hairspray — hold it at arm’s length, about 30 centimetres from your head — and give the whole style two sweeping passes. Do not blast any one section; this is a mist, not a coating. Let it settle for thirty seconds without touching anything.
Then use your fingertips (not your palms, not a brush) to very gently press any sections that need refining. If a roll has softened, press it back into shape with two fingers and hold for a count of five. The slight warmth of your fingertips, combined with the setting spray, will re-mold it. This is why stylists always say your hands are your best tool — it’s genuinely true.
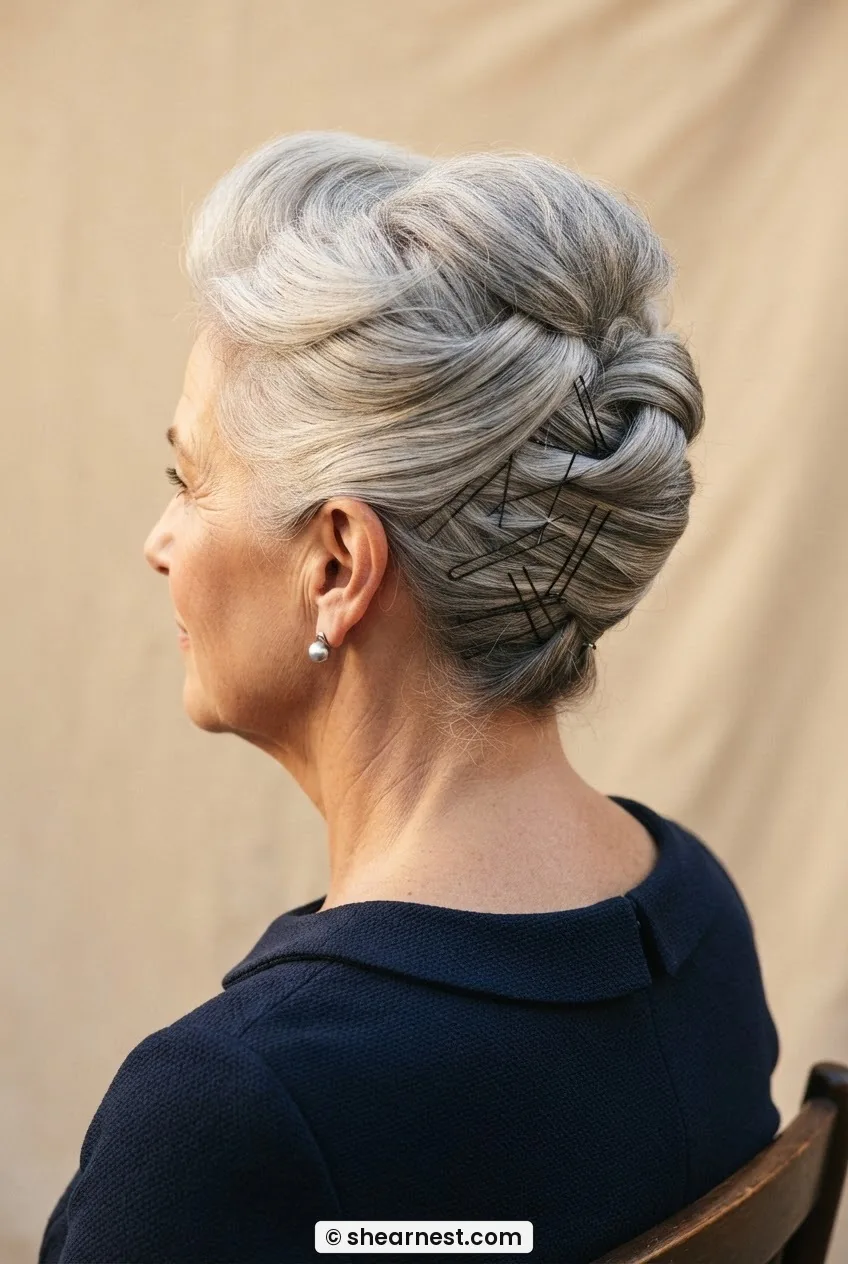
Now look at the overall silhouette again. From the front: does it frame your face without swamping it? From the side: is there some height at the crown without looking top-heavy? From the back — hand mirror time — does the gathered shape look smooth? If your hair is on the finer side, check out what works specifically for a haircut for fine hair over 50 as a reference point for how much volume is realistic to expect and maintain.
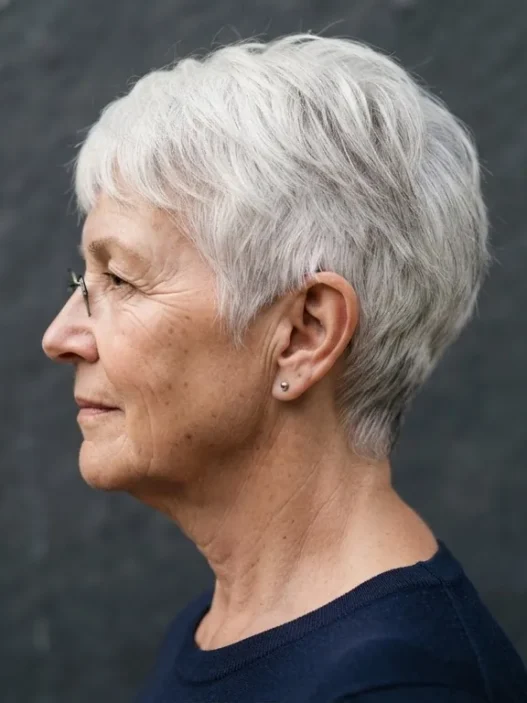
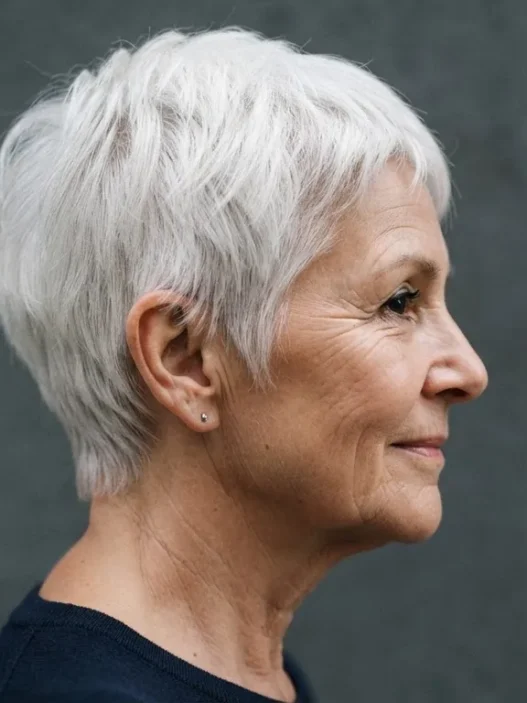
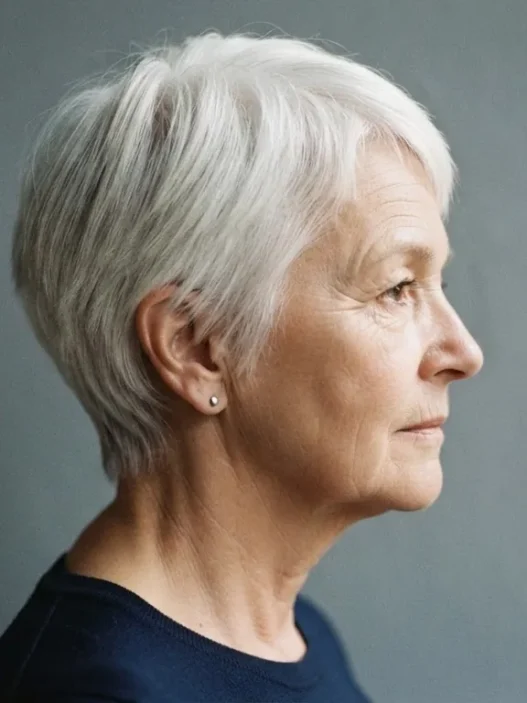
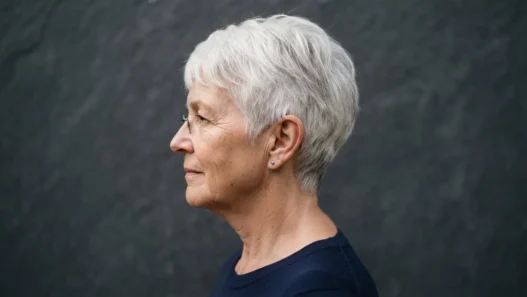
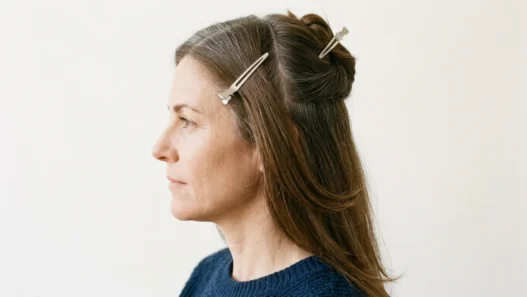
Look at how she’s wearing hers in the photo below — the crown sits just proud of the head, which is exactly what you’re aiming for. Not stiff. Not flat. Just present.
Step 8: Finishing and Holding
One pump of finishing serum — I use the kind that comes in a pipette dropper — rubbed between your palms and then pressed over any frizz or flyaways around the hairline. Don’t run your hands over the main body of the style. Just the perimeter: the temples, the nape, the very front edge of the hairline.
Finish with one final pass of hairspray from distance, and then — this is important — do not touch the hair for at least ten minutes. Leave it. Go do your makeup. Make your coffee. The style needs those minutes to properly set and you disturbing it before then is the most common reason it softens prematurely.
That’s your completed style. When you look in the mirror, you should see something that looks elegant and considered — a short wedding hairstyle that works as hard as you do, from the ceremony straight through to the last dance. Wedding hairstyles for short hair genuinely don’t need to be elaborate to be beautiful; they just need to be well-anchored and soft at the face.
For reference on what styling short hair for weddings actually looks like when executed by a professional, it’s worth seeing how a trained hand does the finishing touches differently to a DIY approach — the control is noticeably better around the nape especially.
What It Looks Like When It Goes Wrong
I want to be honest about this because I think it’s more useful than pretending every attempt looks perfect.
The most common failure is the back dropping. This happens when the nape section hasn’t been tucked under firmly enough in Step 5, and gravity wins. You’ll notice it in photographs from behind — the lower section separates from the crown and creates a gap. Fix: before you leave home, press that lower section back up with your fingers, slide a fresh U-pin in vertically, and spray directly on that area from close range (about 15 cm) for one second only. Then don’t touch it again.
The second common failure is the side rolls loosening and losing their directional curve. This almost always means the two-pin cross technique from Step 4 wasn’t quite right — either the pins weren’t crossing enough, or they were placed too close together. The fix in the moment is to slide a fresh crossed pair behind the first set without removing the originals. Adding grip rather than replacing it.
And finally: helmet head. This happens when you’ve used too much product in Step 1 and too much spray in Step 7. The style looks solid rather than soft, and the hair has no movement. The signs you’ve over-sprayed are pretty obvious in natural light — the hair has a slight sheen that isn’t glossy, it’s tacky. Prevention is the only cure here; once you’ve over-sprayed, you’ve over-sprayed. Next time, halve the mousse and use a lighter-hold spray.
How Long It Holds and the Day-Two Revival
Done properly, this style holds for eight to ten hours without intervention. I wore mine for eleven hours at my niece’s wedding — ceremony, photographs in a light breeze, a long lunch, dancing — and it needed exactly one touch-up around hour seven, which took two minutes in the restaurant bathroom.
If you’re staying overnight somewhere and want to wear a version of this on day two (say, for a brunch the following morning), here’s how. Sleep with a silk sleep cap or a very loose silk scarf tied over it. In the morning, remove the scarf and most of the pins will have shifted but the basic shape will be surprisingly intact. Re-press the side rolls with your fingertips, use a fine-mist water spray to just dampen the sections that need reshaping, re-pin with fresh pins, and give it one light spray. It won’t be identical to day one but it will be presentable and soft. Honestly, sometimes the slightly relaxed day-two version is even prettier.
If you have naturally wavy hair, the day-two version takes five minutes. More on what works specifically for that texture in the context of cuts and styling in this piece on wavy haircuts for women over 50 — it covers how wave patterns interact with shorter lengths, which is directly relevant here.
And for anyone looking at this as one option within a broader style conversation — if you’re thinking about a whole new cut before the wedding, the guide on hair styles for women over 70 covers how styling needs shift with age in ways that apply just as much in your fifties and sixties. The sections on density and pin grip are genuinely useful context.
Questions I Get About This
Can this style work if my hair is less than two inches long?
Honestly, anything shorter than about two inches at the crown makes the rolling technique in Step 4 very difficult — there isn’t enough length to grip the pin properly. If you’re working with a very short pixie, I’d adapt by skipping the rolls entirely and focusing on the crown set from Step 3, using decorative pins to do the visual work. The result is simpler but still polished and occasion-appropriate.
Do I need to add colour or highlights before attempting this style?
No — and I’d actually argue that silver and grey hair looks most beautiful in this style when it’s in its natural state, because the tonal variation catches the light in a way that coloured hair sometimes can’t. That said, if your hair is a flat, dull grey rather than a luminous silver, a silver toning treatment a week before the event can add that brightness without changing the colour fundamentally.
How is this different from what a hairdresser would do?
A professional has the advantage of working from behind you with two hands and proper lighting. The main difference you’ll notice is in the nape work — it’s hard to see and anchor the back sections on yourself, which is why I recommend the hand-mirror-propped-against-the-wall trick so you can see what you’re doing back there. The technique is identical; the execution just requires more patience when you’re solo.
Is this suitable as a mother of the groom hairstyle?
Absolutely — I think it’s actually ideal for that role because it’s elegant without being fussy, and it photographs beautifully from the side and three-quarter angles that mother-of-the-groom photos typically use. The key is keeping the decorative pins understated so the focus stays on the overall shape rather than the accessories. One or two quality pins are far more impactful than five.
What if I have very fine, thinning hair — will the pins show gaps?
Fine hair is actually the hair type this style was designed around — mine is fine, and it works. The mousse in Step 1 and the root-lifting in Step 2 create the illusion of density before you’ve placed a single pin. Where people go wrong with fine hair is using too many pins and packing sections too tightly, which compresses the hair and actually shows the scalp more. Use fewer pins placed with more precision, and keep the sections slightly looser than you think they need to be.
My niece cried when she saw the photographs. I cried because my hair was still in place at 11pm. Both things can be true at a wedding. I hope this gets you there too — properly pinned, properly held, and properly enjoying every minute of it.