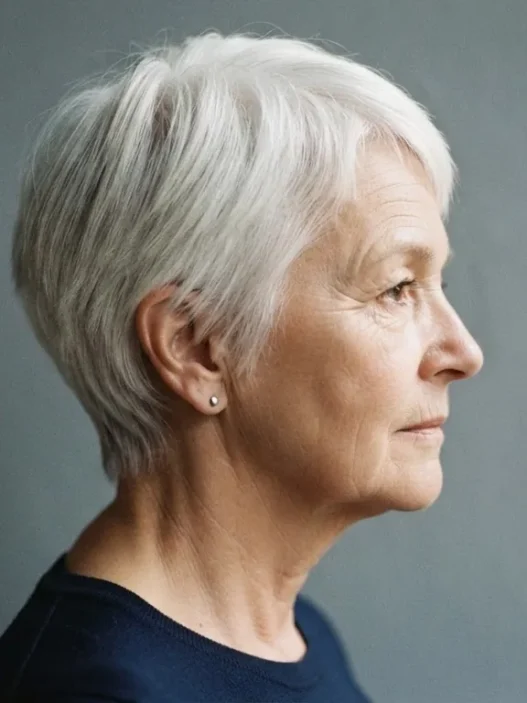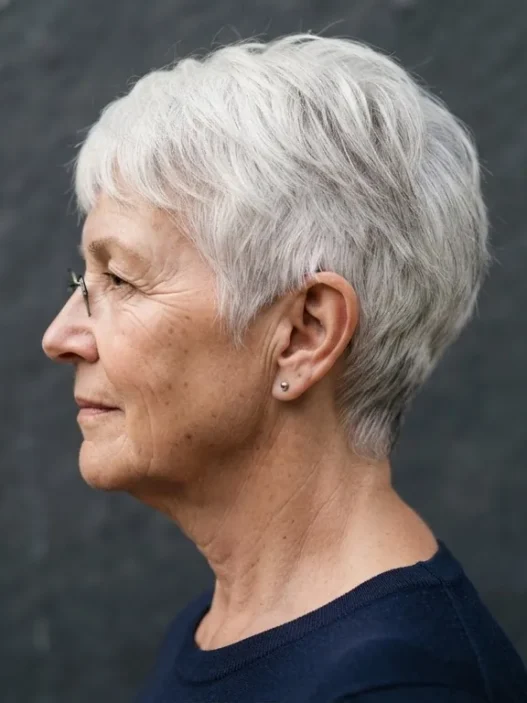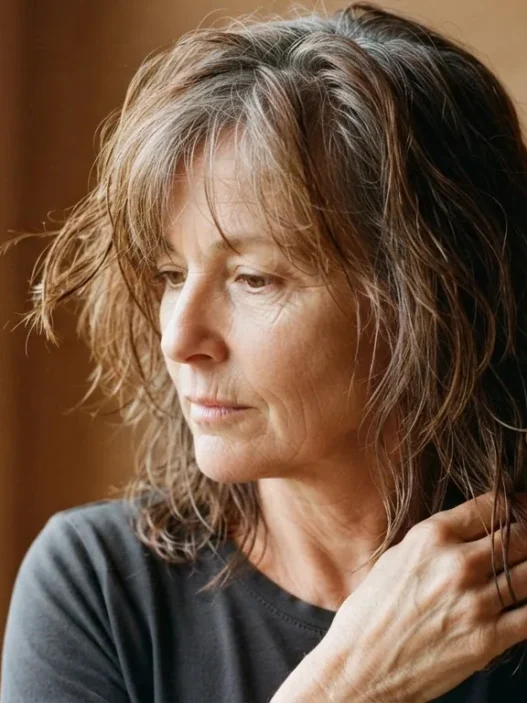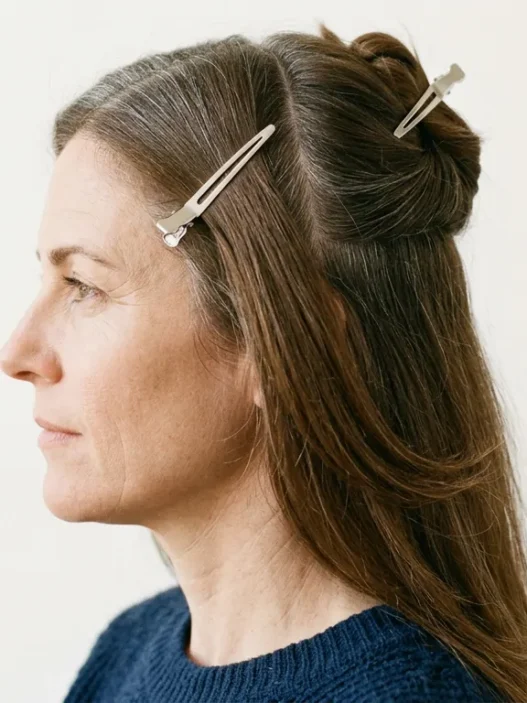







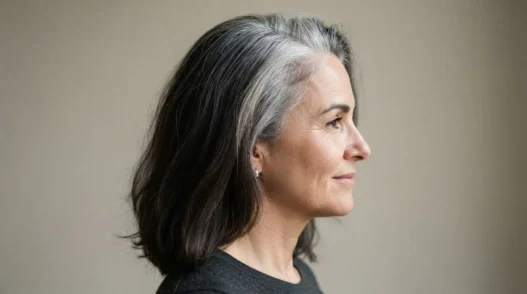
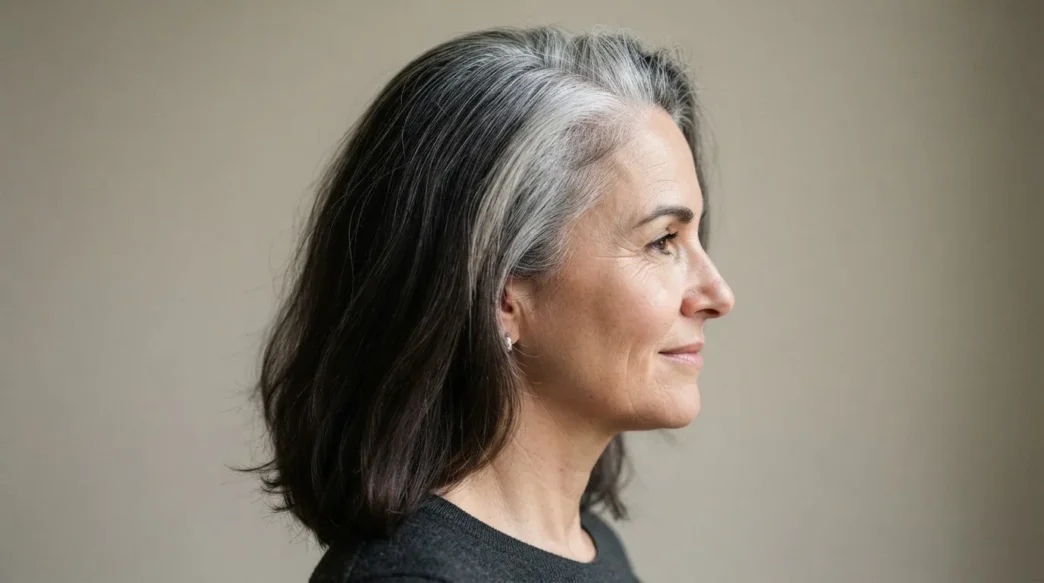
I spent about four months pretending the silver at my roots was a lighting issue. It wasn’t. And once I stopped fighting it and started actually figuring out how to manage 50+ brown hair going grey in a way that didn’t look like I’d just stopped trying, I realized there was almost nothing out there that treated this as a skill. A process. Something you could actually learn to do deliberately, one step at a time. This guide is what I wish I’d had in month two.
Your Road Map Through the Grey Transition
- What the Awkward Middle Actually Looks Like
- What You’ll Need Before You Start
- Step 1: Assessing the Demarcation Line
- Step 2: Softening the Root Band
- Step 3: Working Through the Mid-Lengths
- Step 4: Managing the Dark Ends
- Step 5: Toning the Grey Without Killing the Warmth
- Step 6: The Cut That Helps the Transition
- Step 7: Day-Two Revival and Ongoing Maintenance
- Questions I Get About This
What the Awkward Middle Actually Looks Like
The awkward middle phase for brunettes going grey is genuinely unlike any other colour transition. If you were blonde going grey, the contrast is softer. If you had red hair, the fade can almost feel romantic. But dark brown hair going grey? The demarcation line is sharp. Clinical. And for most women, it lasts longer than they expected — typically anywhere from six months to two full years, depending on how fast your hair grows and how dark your starting colour is.
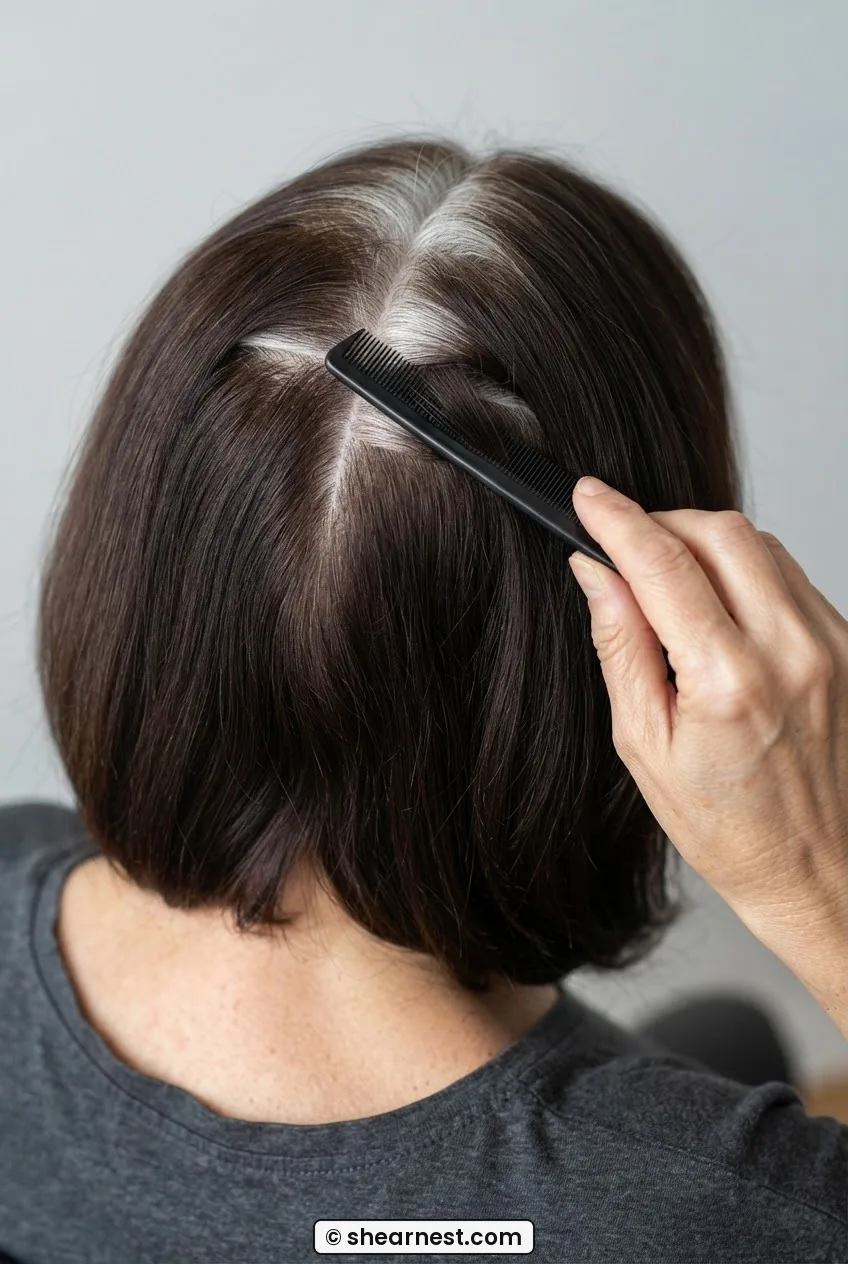
What you’re dealing with is essentially three zones of hair at once. Silver or white at the root. Your natural brown (or previously coloured brown) in the mid-lengths. And often, the oldest and most faded colour at the ends — sometimes brassy, sometimes ashy, sometimes just dull. Getting those three zones to feel like one deliberate choice rather than three accidents is the whole game here.
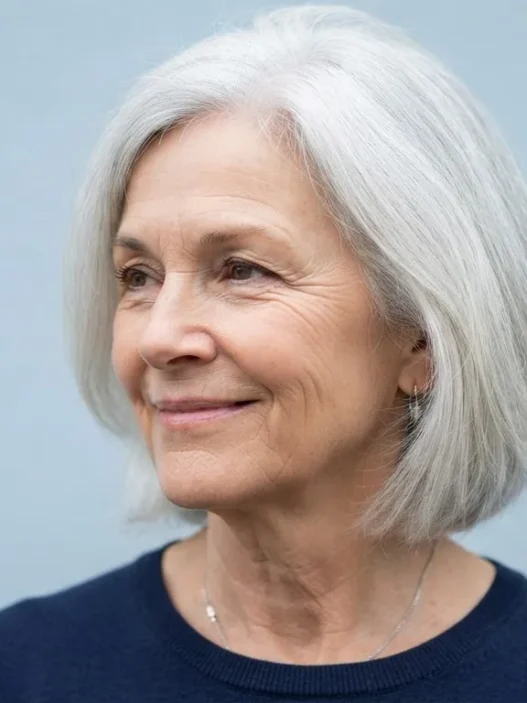
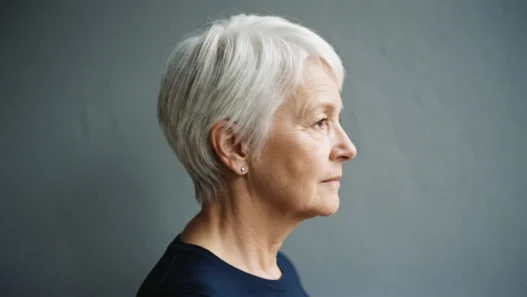
The woman in the photo below is about nine months into her transition — dark brunette lengths with strong silver regrowth. That demarcation line is exactly what I’m talking about. Harsh in flat bathroom light. But workable. Very workable, once you know what you’re actually trying to do at each stage.
What You’ll Need Before You Start
No dramatic shopping list here. This is what I actually keep on hand and use consistently. Some of it surprised me when I first looked into it.
- A demi-permanent gloss in a shade 2–3 levels lighter than your current brown (not permanent — this is important, I’ll explain why)
- Foils — even just a small pack from a beauty supply store; you don’t need many
- A toning shampoo — specifically a violet or blue-violet, not the silver-targeted ones, which can go purple on brown tones
- Sectioning clips — at least 6, the flat kind, not the round-jaw type
- A wide-tooth comb and a tail comb (the tail comb is for the sectioning, not styling)
- A tinted hair oil or serum — for blending ends without adding permanent colour
- Good bathroom lighting or a clip-on ring light — honestly this changed everything for me; I was doing so much guesswork in bad light
- A handheld mirror for the back sections
- Old towels you don’t mind staining
You do not need a full bleaching kit. You do not need a professional-grade developer at volume 40. And you do not need to commit to going fully silver overnight. This process is about managing a living, growing transition — not rushing to an endpoint.
Step 1: Assessing the Demarcation Line
Before you touch anything, you need to understand what you’re actually working with. This sounds obvious and people skip it entirely. Don’t.
Stand in the best light you have — ideally natural daylight, or directly under a warm overhead light, not a flattering side lamp. Part your hair down the middle. Then part it ear to ear across the top. You now have four sections to look at separately. What you’re measuring is the width of the demarcation band at each section. Is it half an inch? An inch? Two inches? Is it even across the whole head, or is it wider at the temples (usually yes)?
Note where the grey is dense versus where it’s patchy. Most brunettes going grey don’t go grey evenly — there are streaks, concentrated patches near the hairline, and often a strip of dark that runs through the middle back longer than anywhere else. Understanding your specific pattern tells you which sections need the most intervention and which ones you can mostly leave alone.
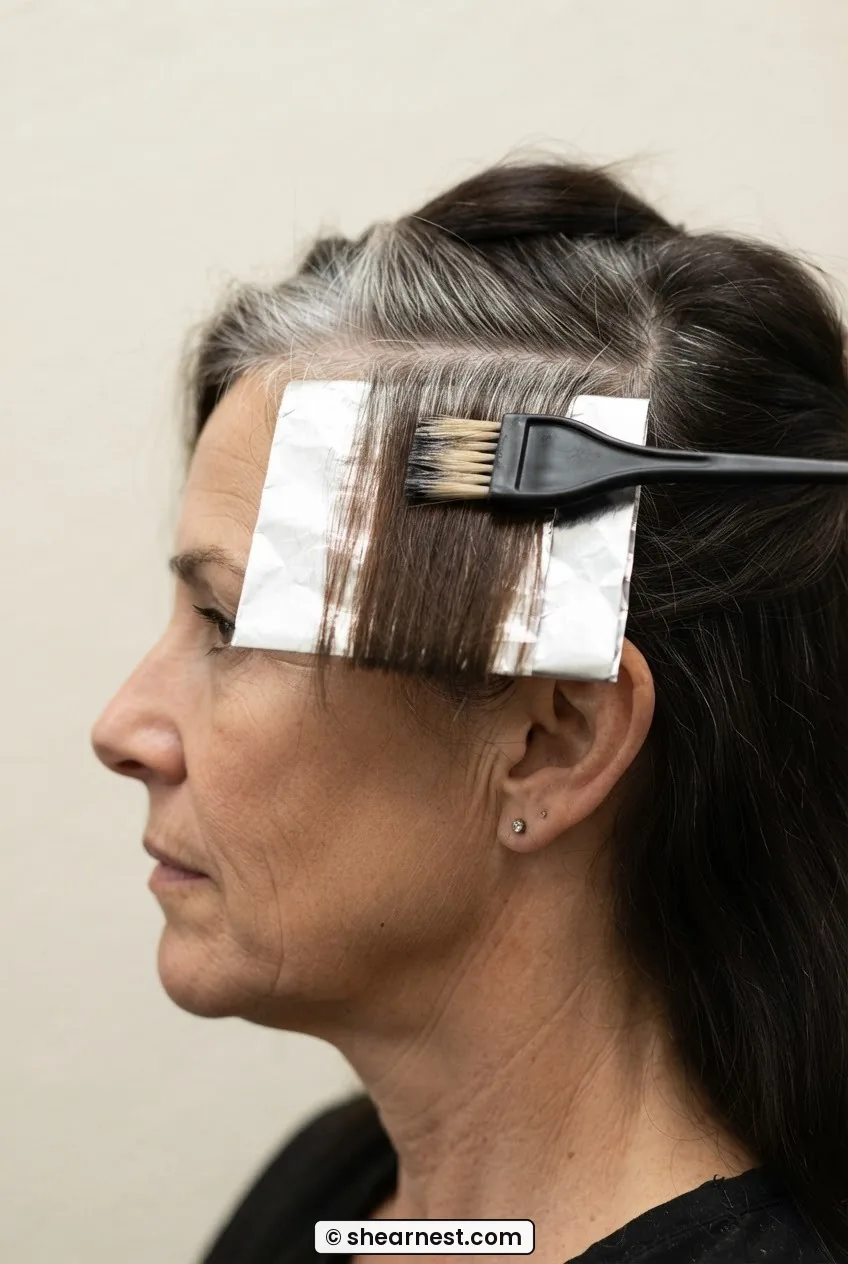
Take a phone photo of the back with your handheld mirror. You’ll refer back to it. And honestly, looking at a photo is often more accurate than trying to assess in real time because you can actually see the whole head at once rather than rotating and losing your reference point.
Step 2: Softening the Root Band
This is the step that makes the biggest visible difference, and it’s also the one where most people go wrong in both directions — either doing too much and ending up with an orange stripe, or doing too little and not moving the needle at all.
What you’re doing here is lightening the very top of your brown mid-lengths — not the root itself, but the inch or so of brown that sits directly below the silver regrowth. This is what creates the harsh line. When that brown is dark and dense right up against the silver, the contrast reads as neglect. When you soften it slightly, it reads as intention.
Take your tail comb and work in horizontal sections about half an inch thick, starting just above your ear. Clip everything above it up and out of the way. Apply the demi-permanent gloss — not the permanent colour — to just that top inch of the dark section below the grey, using a brush, not your hands. Work quickly across the section. Fold a foil over it loosely. This isn’t a tight foil process — you want the edges to be soft, not stamped.
Mistake I made: I used a permanent colour at volume 20 for this step because I thought it would work faster. It oxidized differently at the root end than I expected and left a band that was actually lighter than my grey — which looked bizarre and took three months to grow out. Demi-permanent only for this step. It processes more predictably and deposits without the hard edge that permanent colour leaves.
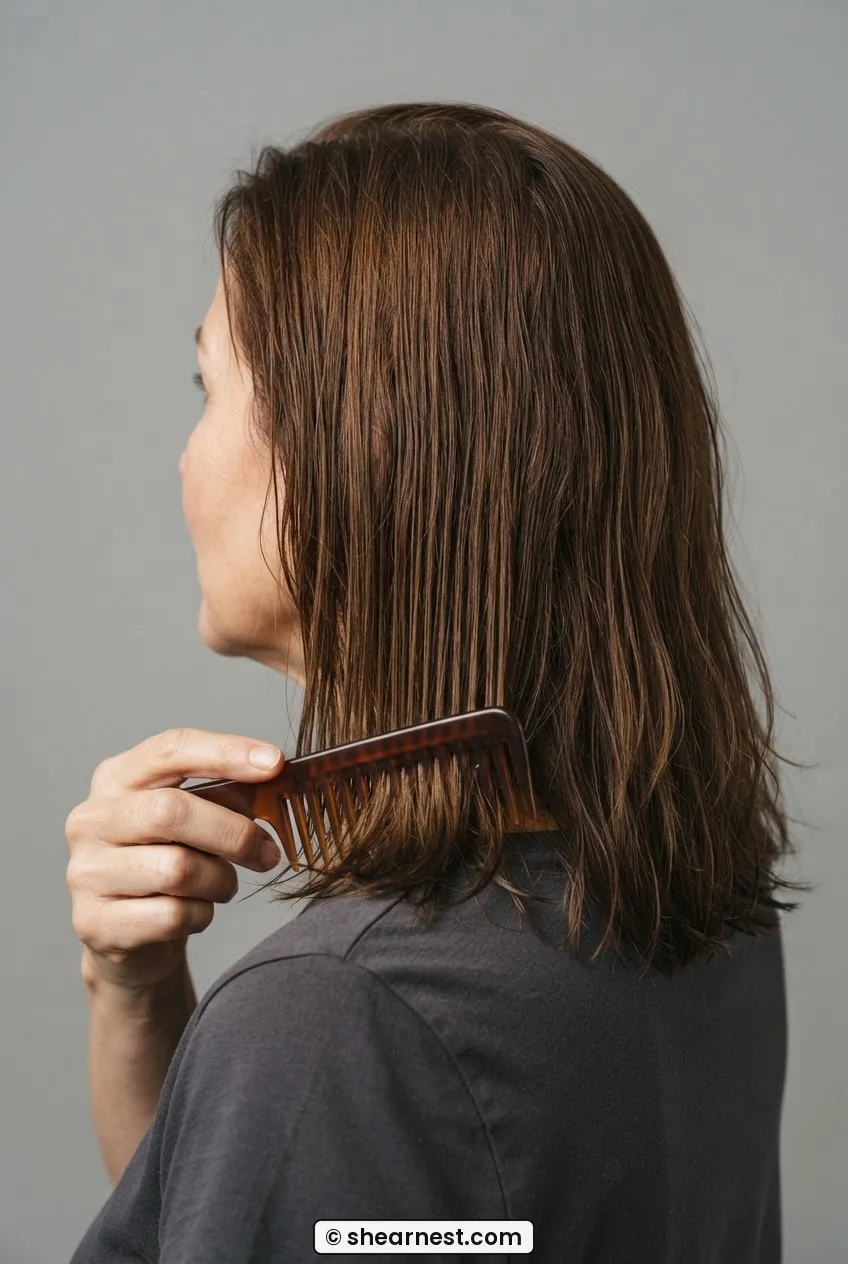
Leave it for the time on the packet — usually 20 minutes for a demi. Then rinse that section only, without disturbing the rest of your hair. You’re not doing the whole head in one sitting. You’re working in zones.
A Colourist Walks Through the Exact Same Process
Step 3: Working Through the Mid-Lengths
Your mid-lengths are probably the most variable zone. They might be your natural brown, or they might be several years of colour over natural brown — in which case they’re likely denser, potentially brassier in places, and more resistant to any product you apply.
This step isn’t about lightening. It’s about refreshing. Take your demi-permanent gloss again — this time in a shade that matches your natural brown as closely as possible, not a shade lighter — and work it through the mid-lengths only, from roughly two inches below the root band down to where the older colour begins. Comb it through with your wide-tooth comb. Leave for 15 minutes. This redeposits pigment where the mid-lengths have faded or gone uneven, and it creates a more consistent base for the blending you’ll do in the next step.
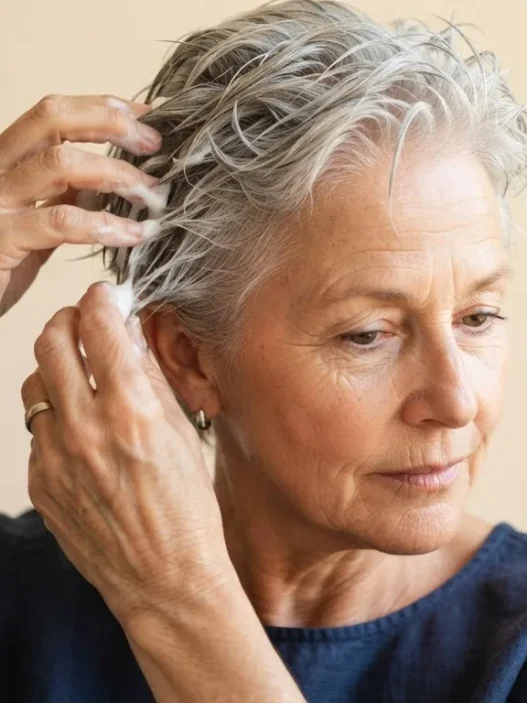
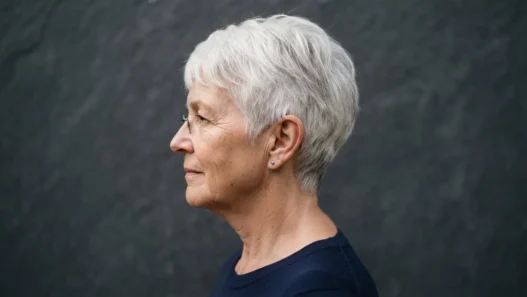
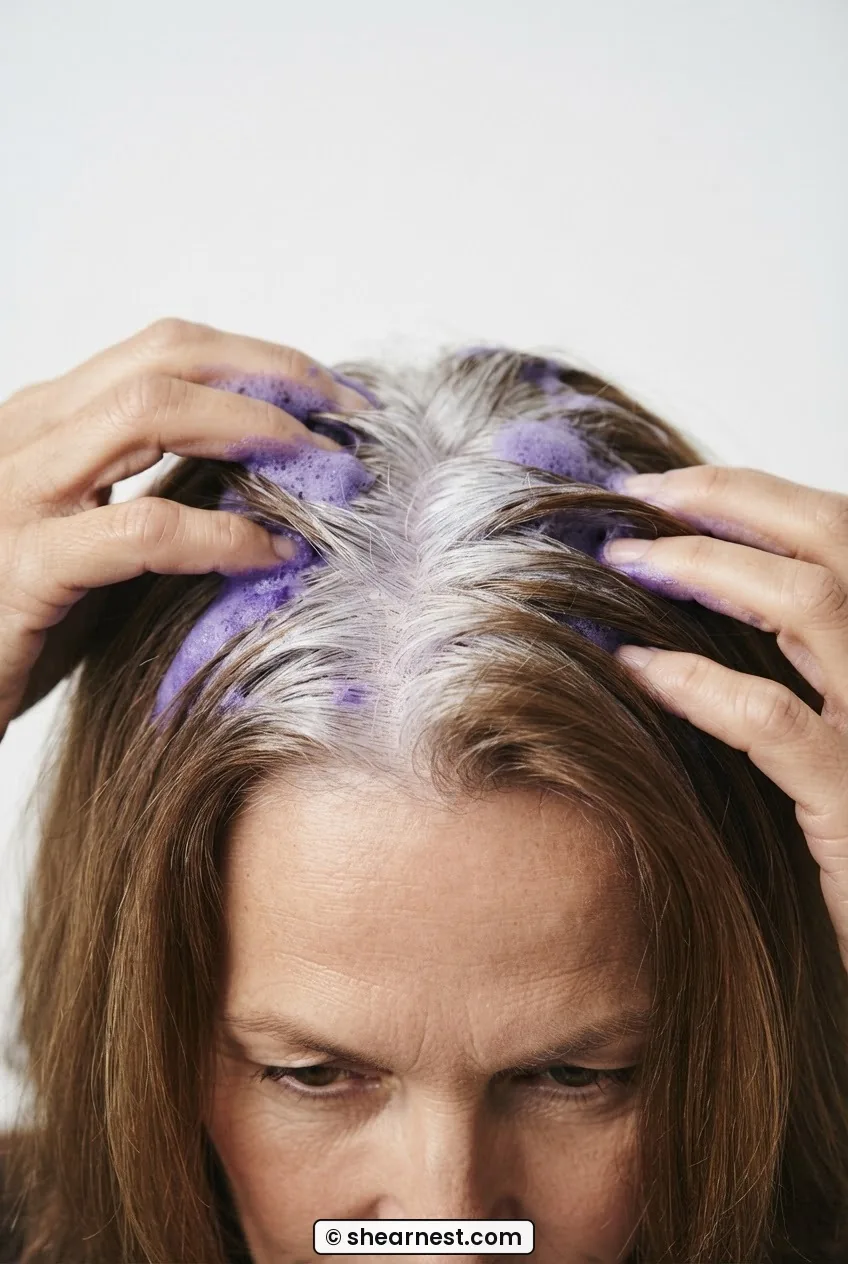
The goal at the end of step 3 is a mid-length that looks intentionally rich — not brassy, not muddy, not faded. A good, warm brunette brown. Look at how her mid-lengths read in the image below: that even, warm tone running from just below the root transition down through the bulk of the length is exactly what you’re trying to match at this stage.
If your mid-lengths are severely brassy — orange or yellow-orange — you may need a blue-toned demi rather than a neutral one. I’d honestly recommend getting this assessed by a colourist once if you’ve never done colour correction before, because brassy mid-lengths plus silver roots is a genuinely complex combination, and going darker trying to neutralize brass can sometimes make the demarcation line look worse, not better. The considerations around blonde hair over 50 actually cover the brass problem really well if you find yourself reading around this topic more.
Step 4: Managing the Dark Ends
This is the step nobody talks about. Everyone focuses on the root band — the line where grey meets brown — and they forget entirely about what’s happening at the other end of the hair. But your ends are often the oldest, most processed, most faded part of your hair, and they can actively sabotage what you’ve done in steps 2 and 3 if you ignore them.
For some women, the ends are simply dull and dry. A tinted hair oil in a warm brunette shade is enough — you work it through the bottom third of the hair, comb it through, and it brings a transparent richness back without any chemistry. For others — particularly if you’ve been colouring for years — the ends might be significantly lighter than the mid-lengths due to cumulative lightening from repeated colour application. In this case, your demi-permanent in the mid-length shade goes on the ends as well, just let it process for a shorter time (10 minutes is usually enough).
The test: after drying your hair, hold up the bottom two inches next to the mid-length. They should be within one level of each other in depth. If the ends are noticeably lighter, you need to address it in this step. If they’re darker, that’s rare but it happens — sometimes old permanent colour has hung on stubbornly at the ends — and in that case you can leave them alone or use the tinted oil to warm them up slightly without risking going darker.
Step 5: Toning the Grey Without Killing the Warmth
Now you work on the silver itself. And this is where I want to be really precise, because toning grey hair that exists alongside brown hair is different from toning a full silver head.
Grey hair that’s going slightly yellow — which it does, especially in humid weather or hard water — can make the whole transition look dingy. You want your silver to read as silver: cool, clean, with a little luminosity. But if you use a strong purple toning shampoo all over your hair, it will do nothing for the grey (which needs it) and potentially deposit a faint purple cast on your brown mid-lengths (which you definitely don’t want).
The fix is simple but you have to be deliberate about it. Apply your violet toning shampoo only to the root section — the silver — and keep it away from the mid-lengths. Leave for three to five minutes maximum (longer if your grey is heavily yellow, but go carefully the first time). Rinse, then condition everything from mid-length to ends. That conditioning step is important; toning shampoos are drying, and your grey is already more porous than pigmented hair.
Some women doing this process find that the right toning shampoo is the single most impactful product they add to their routine. I’d agree — but with the caveat that application method matters more than the specific product.
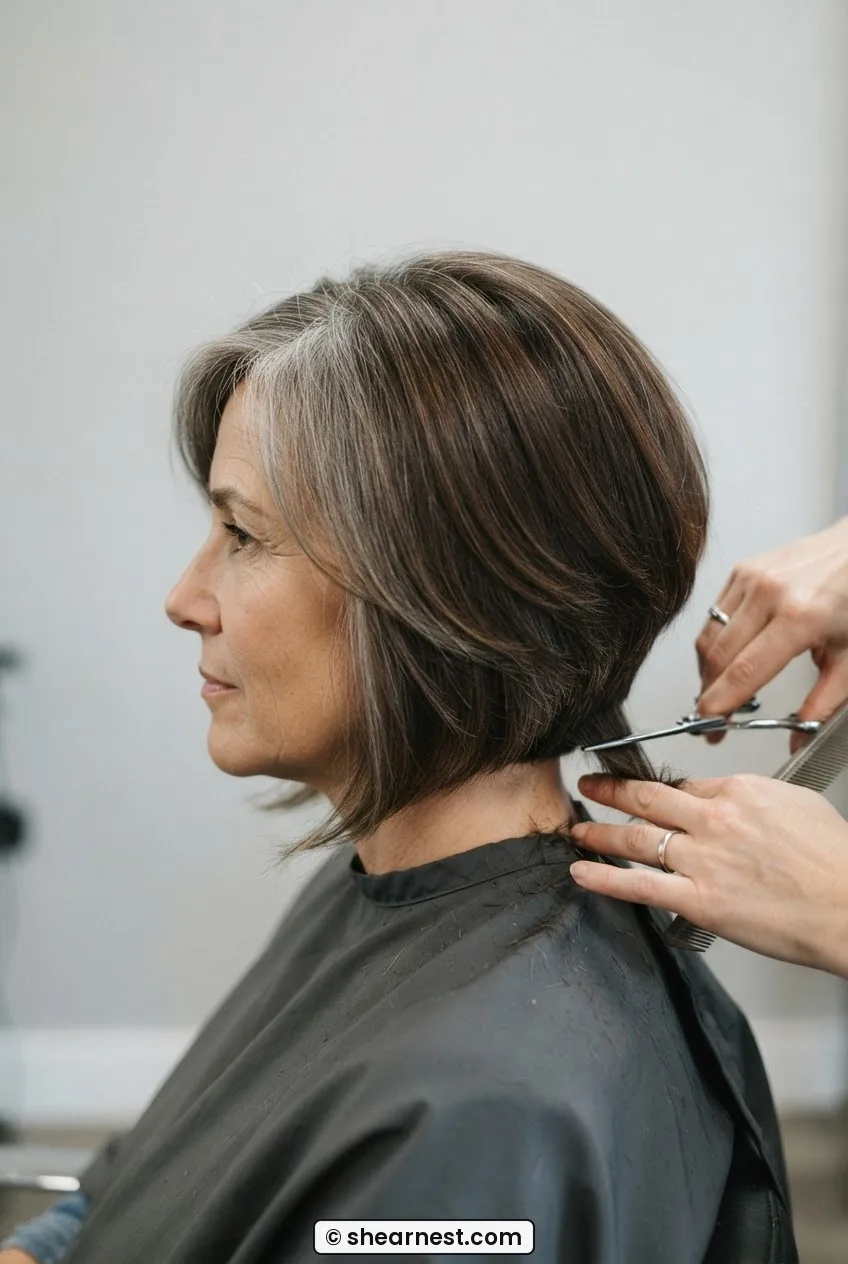
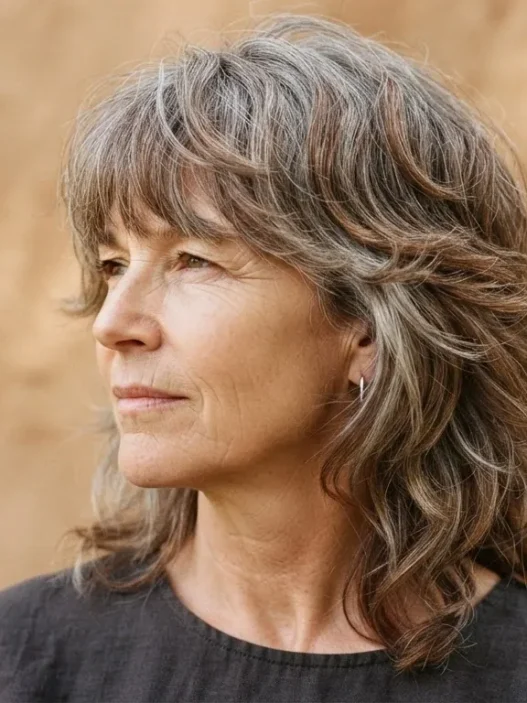
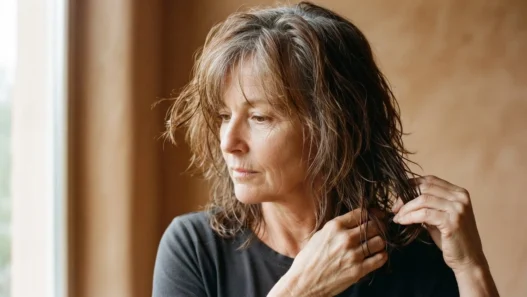
Look at the tonal shift in her root section in this image — that cool, silvery tone at the top reads completely differently to the warm brown below it, and yet they’re not fighting each other. That contrast is actually the goal. You’re not trying to make the grey look brown. You’re trying to make it look like it was chosen.
Step 6: The Cut That Helps the Transition
I almost left this step out because it feels obvious. But the cut is doing enormous structural work during a grey transition, and the wrong one can make even a beautifully managed colour process look messy.
The core principle: weight removal at the ends physically removes old colour faster and speeds up how quickly the transition looks intentional rather than accidental. But you can’t just take off length arbitrarily — you have to consider what you’re left with at each stage.
For most brunettes over 50 doing a grey transition, I’ve found the best approach is a cut that removes a consistent amount — usually an inch to an inch and a half — every eight to ten weeks. Not a dramatic chop. Just steady, consistent trimming that keeps advancing the grey boundary further down the shaft. Softly layered cuts work particularly well here because they break up the horizontal demarcation line visually. A blunt cut in the middle of a transition can actually make the line look sharper.
Face-framing layers around the front sections are especially useful. The front hairline is usually where your grey comes in most prominently and most visibly — and layers there soften the boundary considerably. If you’re also navigating fine or thinning hair alongside the transition (which many women over 50 are), then the approach to straight hair cuts for women over 50 covers the layering techniques for fine hair in real detail.
For those with any wave or texture — and grey hair often brings more texture than the brown it replaces — wavy haircuts for women over 50 are worth understanding because they account for the way hair behaves differently once the pigment is gone. Grey hair is coarser, drier, and more wave-prone, and your cut should account for that.
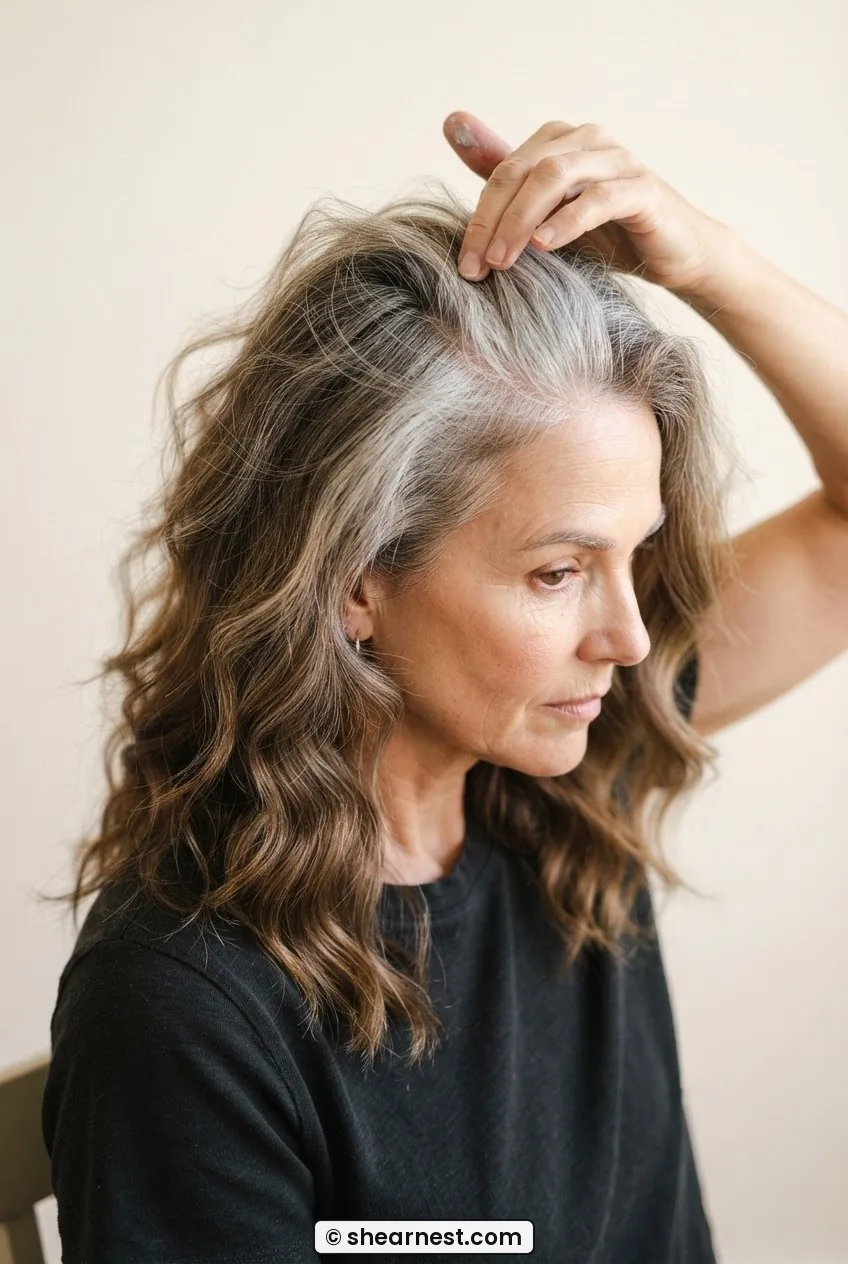
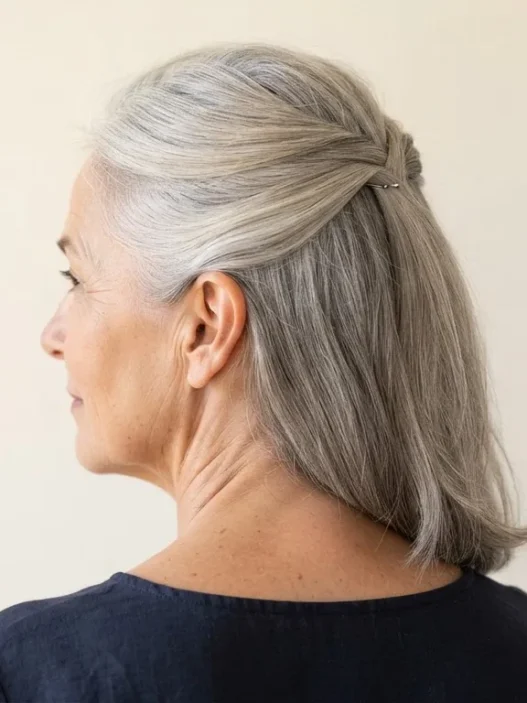
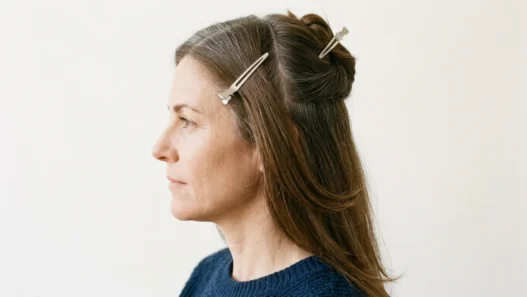
Look at her in this image — a graduated cut at the back with the length kept through the front. You can see how the layers at the back are pulling the eye away from the demarcation and toward the overall shape of the cut. That’s intentional. The cut is doing colour work here.
If you’re also thinking about face shape in your cut decisions — which you absolutely should be — oval face hairstyles for women over 50 goes into how to structure a cut around your features specifically, not just your hair type.
Step 7: Day-Two Revival and Ongoing Maintenance
The last step isn’t a one-time action — it’s the rhythm you build around this process so that the transition keeps looking managed between your colour and cut appointments.
On day two, when your hair has slept on and the roots are sitting flat and the demarcation is more visible than ever, here’s what I do. Start with a small amount of tinted dry shampoo at the root — not a white or clear one, a tinted one in a brunette shade. Work it in with your fingers, then brush through just the root section lightly. This isn’t about hiding the grey; it’s about keeping the texture consistent across the root and mid-length boundary so your hair doesn’t look like it has two different textures sitting on top of each other.
Then, if you have any wave or movement in your hair, scrunch a small amount of curl cream through the mid-lengths only. Grey hair tends to pick up more wave as it grows in — this is genuinely common and worth using rather than fighting. The wave breaks up that horizontal line more than any product applied flat will.
For ongoing maintenance: the toning shampoo routine from step 5 should happen every two to three washes, not every wash. Over-toning on grey hair can eventually leave it looking flat and dull. And your demi-permanent gloss refresh — the mid-length redeposit from step 3 — should happen every six to eight weeks, which typically lines up with your trim schedule. Once you’re in a rhythm, this process takes maybe 25 minutes total on a Sunday evening. It becomes almost automatic.
One more note on how long this holds between sessions: in my experience, a well-managed grey transition looks its best for about five weeks after a colour and cut appointment. Weeks six and seven it starts softening. By week eight, the line is visible again. Plan accordingly. And caring for grey hair at home between appointments makes a real difference to how long each session’s work lasts.
Questions I Get About This
How long does the awkward phase actually last for dark brunettes?
Realistically, 12 to 18 months is the most common range if you’re growing out all the colour without any chemical help. If you use the blending techniques in steps 2 and 3, it can feel managed within four to six months even if you’re not fully transitioned yet. The awkward phase is shorter when you work with the contrast rather than ignoring it.
Can I do this process on my own at home, or do I need a colourist?
Steps 1, 4, 5, and 7 are very manageable at home. Steps 2 and 3 are doable at home but benefit from a helper for the back sections — working one-handed with foils at your own crown is genuinely difficult. Step 6 (the cut) I’d always recommend doing with a professional, at least for the first cut of the transition, so they can assess your specific pattern and advise on how much length to take. After that, some women maintain at home.
Will the grey come in looking coarse and wiry?
It might feel slightly different in texture — this is because grey hair has a different cuticle structure and lacks the melanin that gave the shaft its smoothness. But coarse doesn’t have to mean unmanageable. A good hydrating serum applied to damp grey roots, and a silk pillowcase to reduce friction overnight, make a noticeable difference in how the new growth feels. Most women find the grey softens considerably once they stop working against it with heat and harsh shampoos.
What if my grey isn’t coming in silver — it’s more of a dull yellowish grey?
Yellow-grey is extremely common and it’s almost always a water quality or product buildup issue rather than your actual hair colour. A clarifying wash followed by the toning routine from step 5 usually resolves it. If it keeps coming back quickly, look at whether your shampoo contains silicones — buildup from silicone-heavy products can coat grey hair and dull it significantly. Switching to a silicone-free shampoo is often the simplest fix.
Should I let it go fully grey or blend it indefinitely?
There’s no right answer, and honestly the decision is often made for you by how your grey is growing in. If it’s growing in beautifully — bright silver, strong coverage, even distribution — you’ll probably find yourself wanting to lean into it. If it’s patchy and soft and more of a salt-and-pepper, blending indefinitely is a completely valid long-term strategy. The process in this guide works either way. For women who’ve already committed to going fully silver, hair styles for women over 70 covers what that texture actually looks like to style once you’re fully through the transition.
By month five of doing this properly, mine looked deliberate. Not like I’d given up on colour — like I’d made a considered choice to let something natural happen while keeping everything around it polished. That’s the result this process is aiming for. Not a dramatic reveal. Just hair that looks like yours, on purpose.