







Nobody told me, when I turned 50, that the hair I’d been ignoring for decades was quietly getting finer. I noticed it first in photos — the scalp catching light at the crown in a way it never used to. Then I started paying attention to the cuts that helped and the ones that made things worse. Here’s what I figured out: no cut adds hair. Not one. What a good cut does is rearrange what you have so the eye reads density where there isn’t much. These ten cuts do exactly that — and I want to name the mechanism each one uses, because understanding why something works means you can talk to your stylist like you actually know what you’re asking for.
What’s in This Post — Jump to the Mechanism That Fits You
- 1. Weight Brought Forward
- 2. The Parting Moved
- 3. Length Removed So Density Reads Higher
- 4. The Perimeter Blunted
- 5. Interior Layers Lifted
- 6. Texture Introduced at the Surface
- 7. The Nape Cleared
- 8. Fringe Dropped to Break the Scalp Line
- 9. The Crown Diffused with Disconnection
- 10. Length Preserved but the Ends Thinned Out
1. Weight Brought Forward
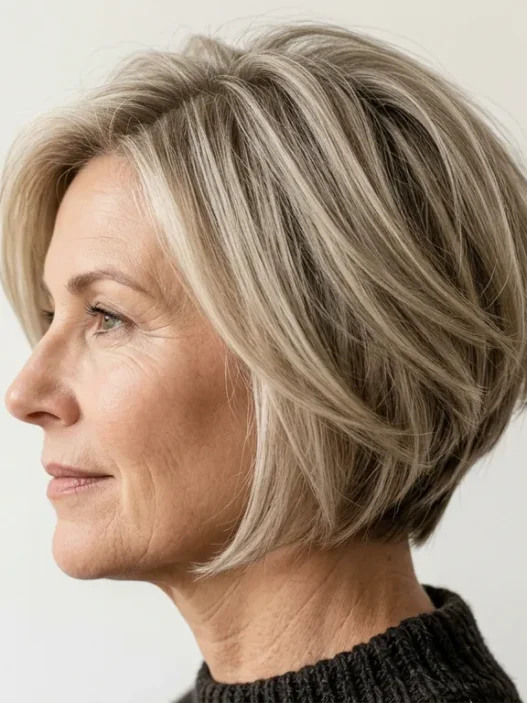
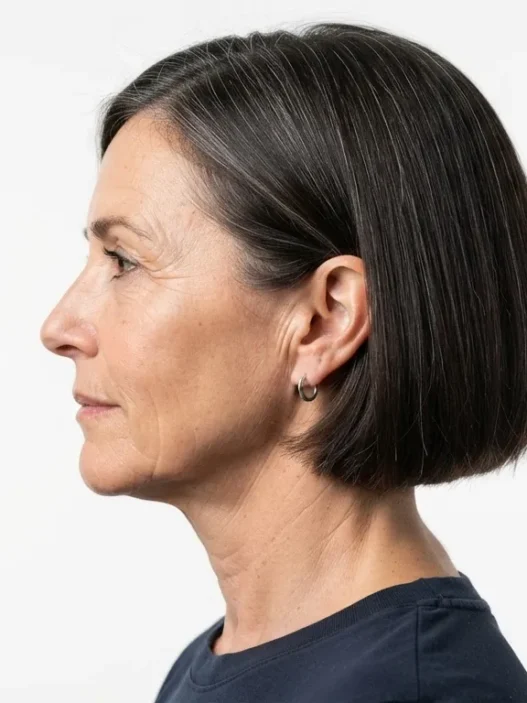
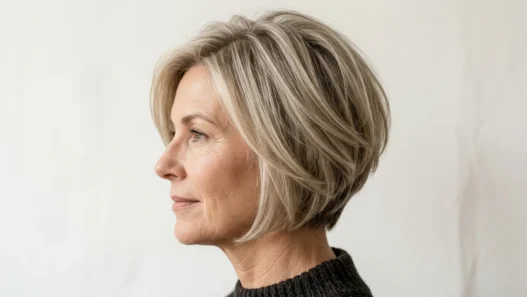
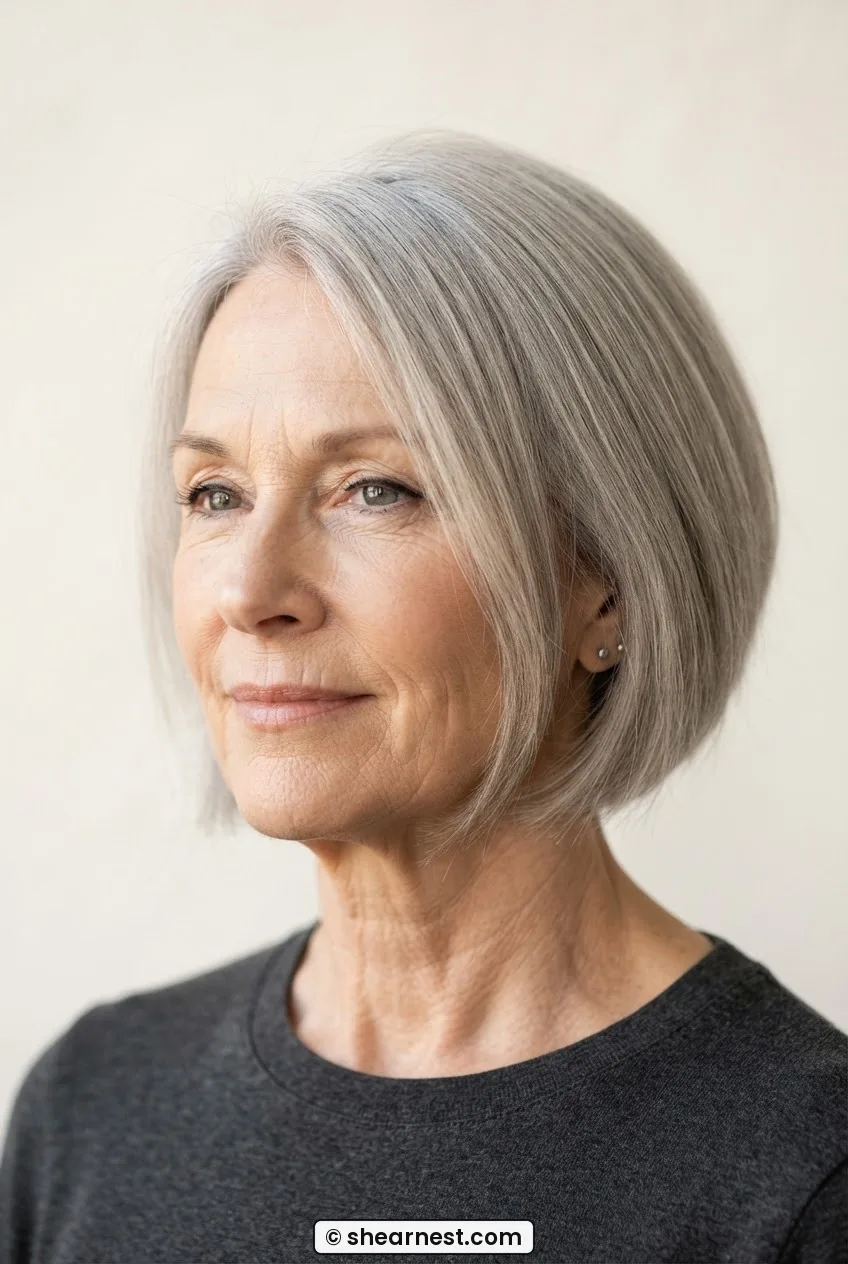
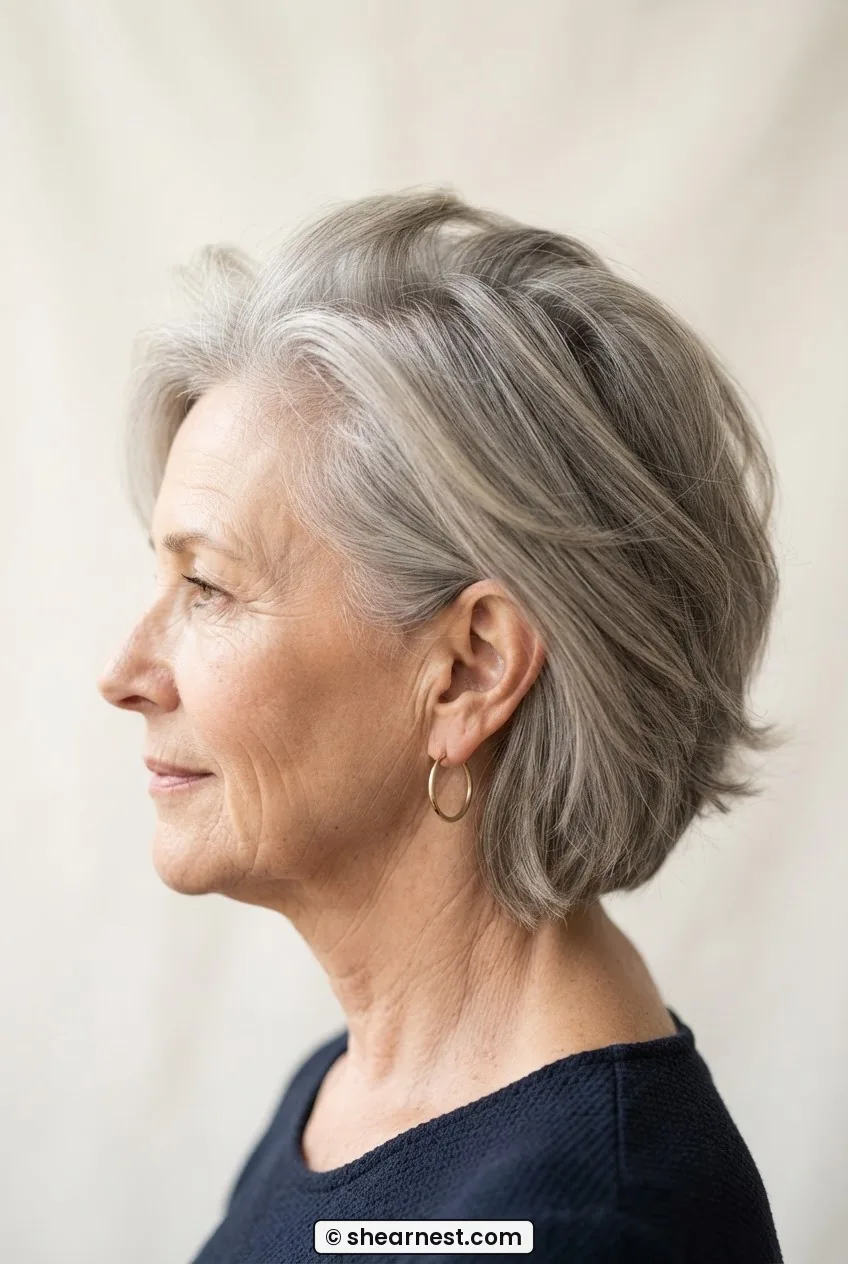
The mechanism here is simple: hair that sits in front of the face reads as full hair. A rounded, chin-grazing bob with the weight line sitting just forward of the ears pulls mass toward the face and away from the flat, visible crown. The stylist isn’t adding volume — she’s relocating it. If your thinning is concentrated at the top and back, this cut covers a surprising amount.
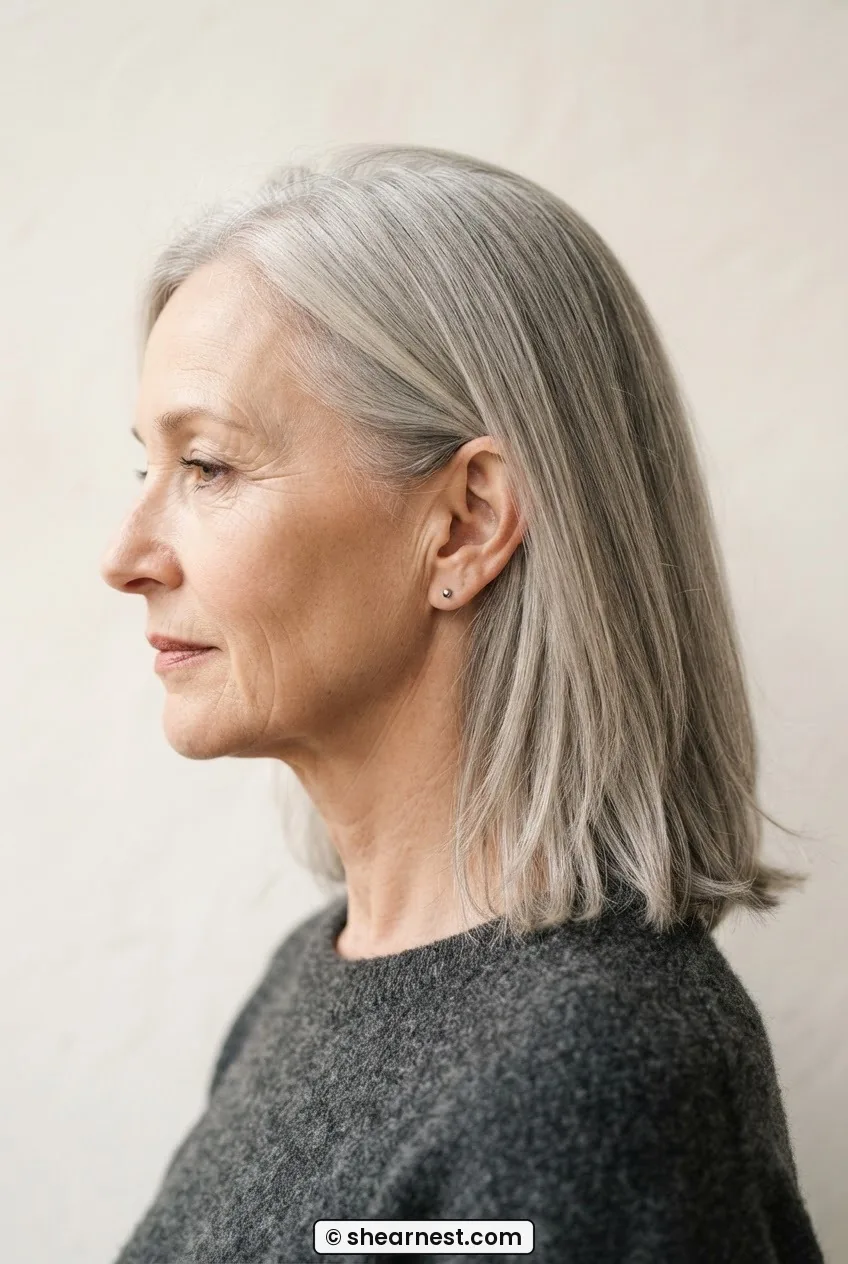
Look at her in the photo — the weight of the cut is sitting right at cheekbone level. That forward mass is exactly what distracts the eye from the crown. It’s one of the reasons I keep pointing people toward a haircut for fine hair over 50 that centres on perimeter weight rather than layers. Layers seem logical but they often just reveal more scalp.
2. The Parting Moved
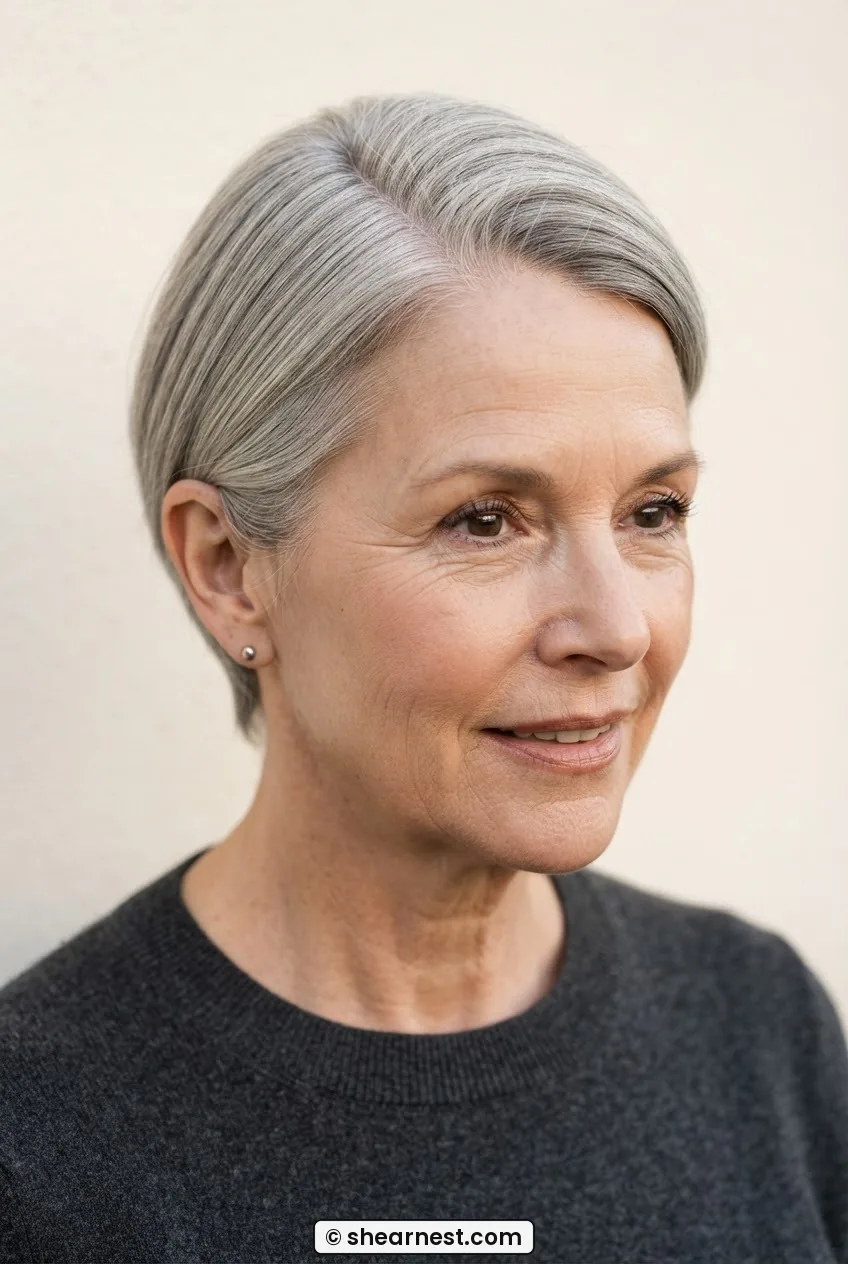
This is free. No scissors required. Moving a centre part to a deep side part immediately covers a wider strip of scalp with hair that’s now lying across it instead of falling away from it. The diagonal line the part creates also breaks the symmetry that exposes thinning crowns so mercilessly in direct light.
When you go to a stylist, ask for the cut to be shaped around a deep side part — not just styled that way at the end. The graduation and weight distribution should be built into the cut itself, so it holds even after washing. This small ask changes everything about how a cut performs on fine hair.
3. Length Removed So Density Reads Higher
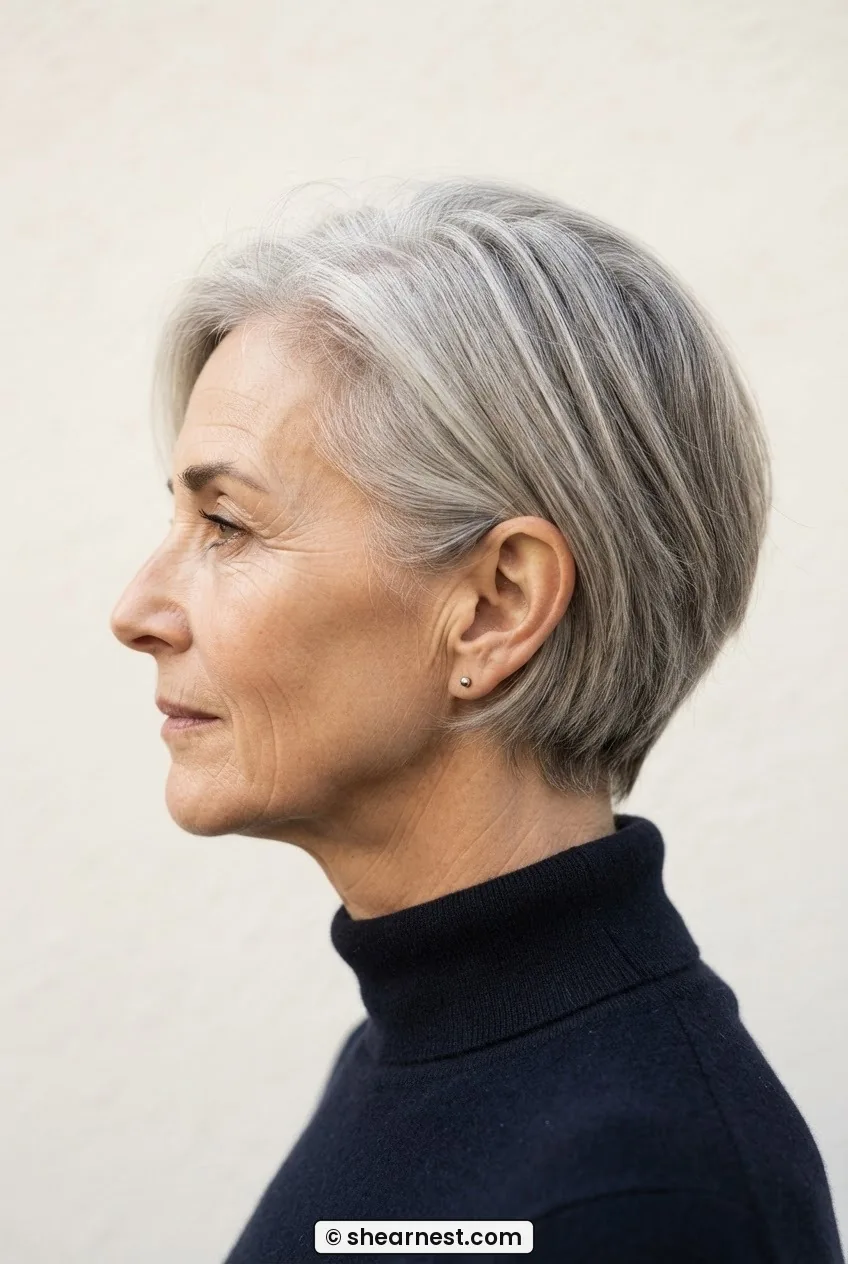
Fine hair gets heavier as it grows. Not in weight you’d notice, but in the way gravity pulls individual strands flat and shows scalp between them. Removing length — going from collarbone to chin, say, or from chin to just below the ear — means each strand has less to weigh it down. The result at the root looks fuller immediately. This is probably the most reliable mechanism on this list, and the most resisted, because the instinct is always to keep length.
I’ve written more about this tension over on the page covering short haircuts for women over 50 — particularly the part where I talk about the weight-versus-length trade-off and why most fine-haired women wait too long to make the cut.
4. The Perimeter Blunted
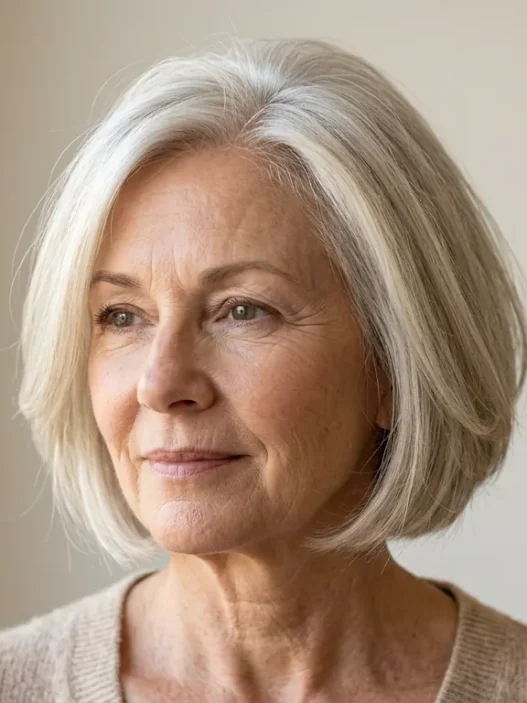
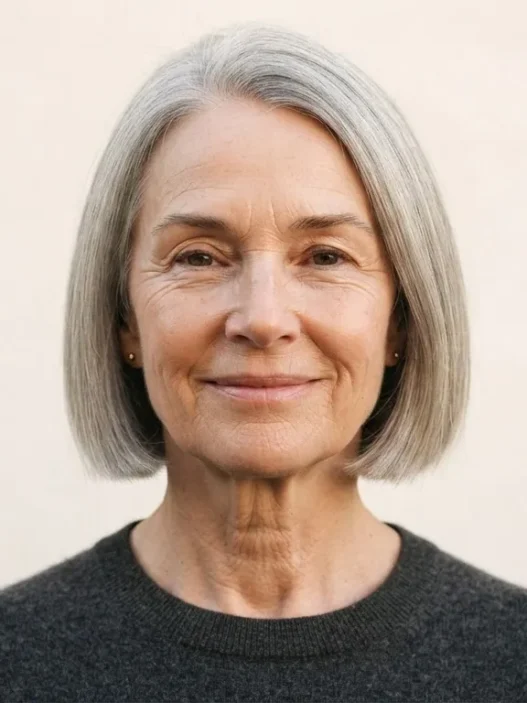
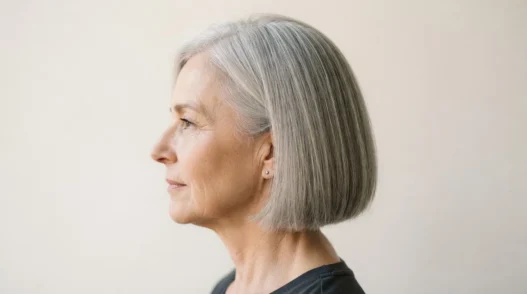
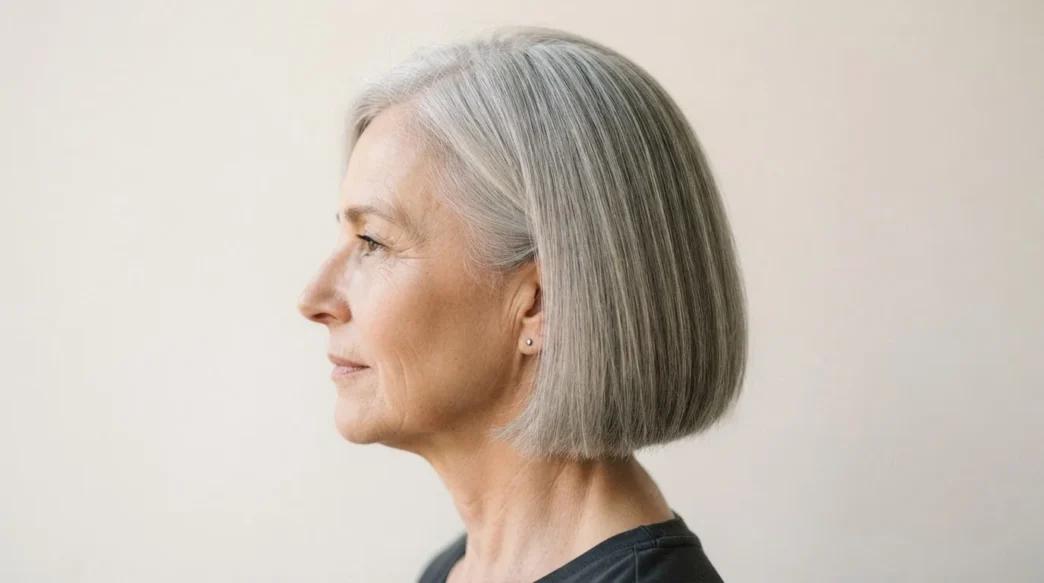
A blunt cut hem reads as thick. It’s an optical fact. The ends of the hair form a continuous, solid line rather than wisping out individually, and the eye interprets that line as density. A blunt bob or blunt lob on fine hair will always read thicker than the same length with feathered or layered ends — even if it’s actually the same amount of hair underneath.
The trade-off is movement. Blunt cuts sit more solidly and swing rather than float. For some women that feels stiff. But honestly? On very fine hair, I’ll take the appearance of thickness over the appearance of movement every single time. You can add texture at the top — I’ll get to that — without compromising the perimeter.
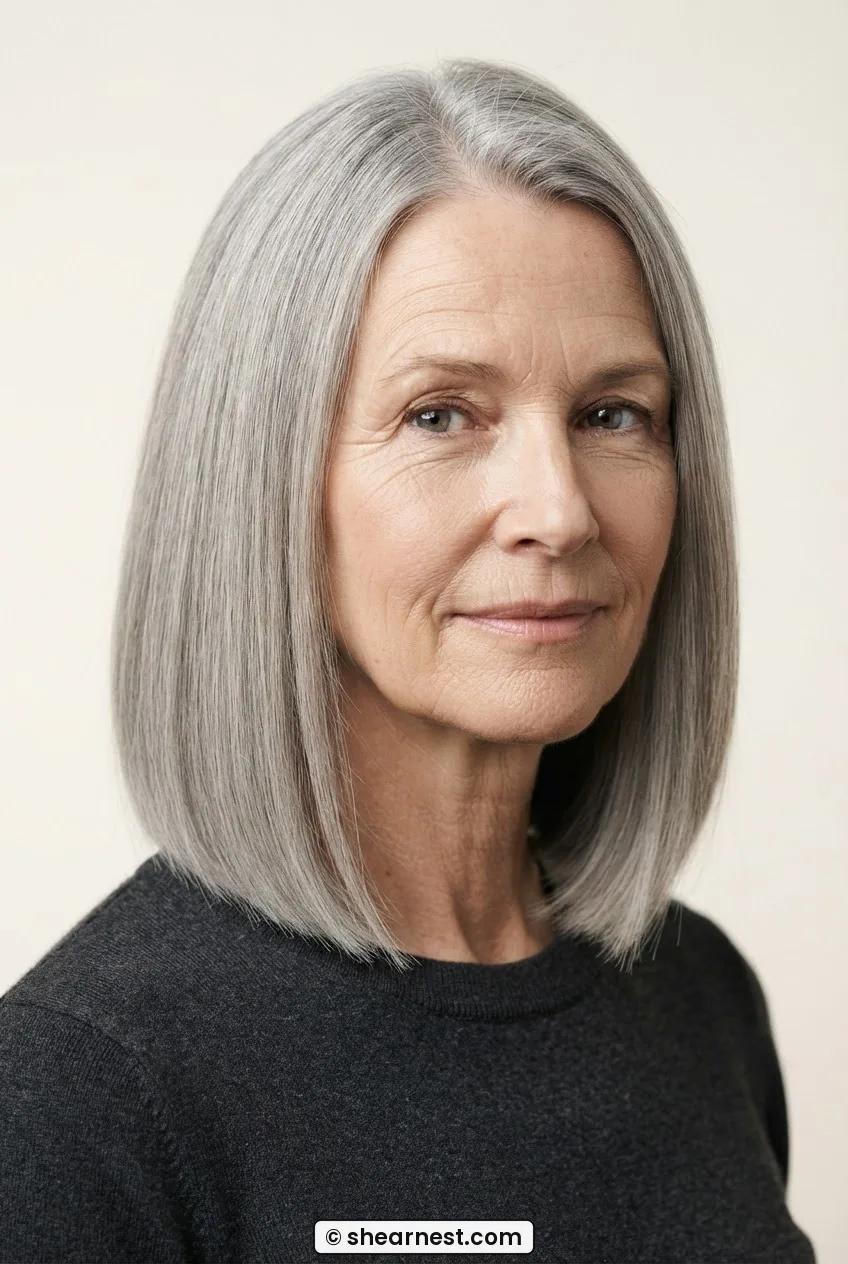
My personal pick in this whole list is the blunt perimeter on a chin-length bob. I’ve seen it work on the finest, most difficult hair — ash grey, barely-there density, the kind that usually just lies flat no matter what product you use. The blunt line does something a thousand layers never could. If I could only recommend one mechanism to someone starting from scratch, it’s this one.
5. Interior Layers Lifted
I know I just said blunt perimeters beat layers. And I stand by that for the ends. But interior layers — cut underneath, close to the root, not through the length — are a different thing entirely. They’re not about movement at the ends. They’re about lifting the top section of hair away from the scalp so it doesn’t lie dead flat. Think of them as scaffolding rather than texture.
The stylist cuts a shorter under-layer that props the longer outer layer up from underneath. On straight, fine hair this can add a noticeable amount of root lift without visibly thinning the ends. It’s a specific technique — not all stylists do it by default — so ask explicitly. Something like: “Can we do some internal layers to lift the top, but keep the perimeter blunt?”
A Stylist Demonstrates the Interior Layer Technique
6. Texture Introduced at the Surface
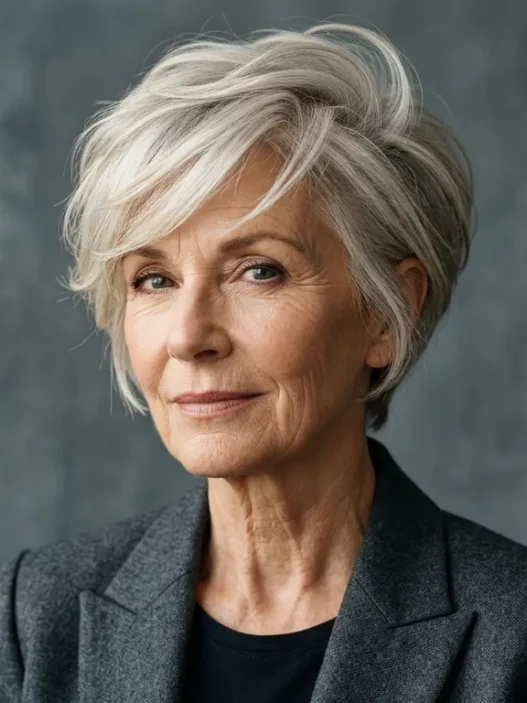
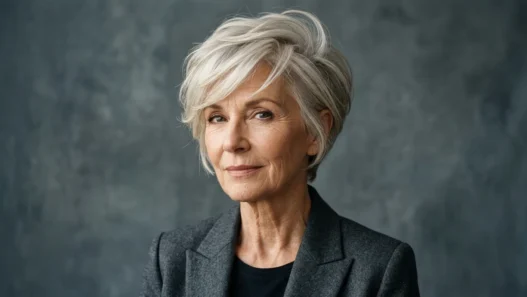
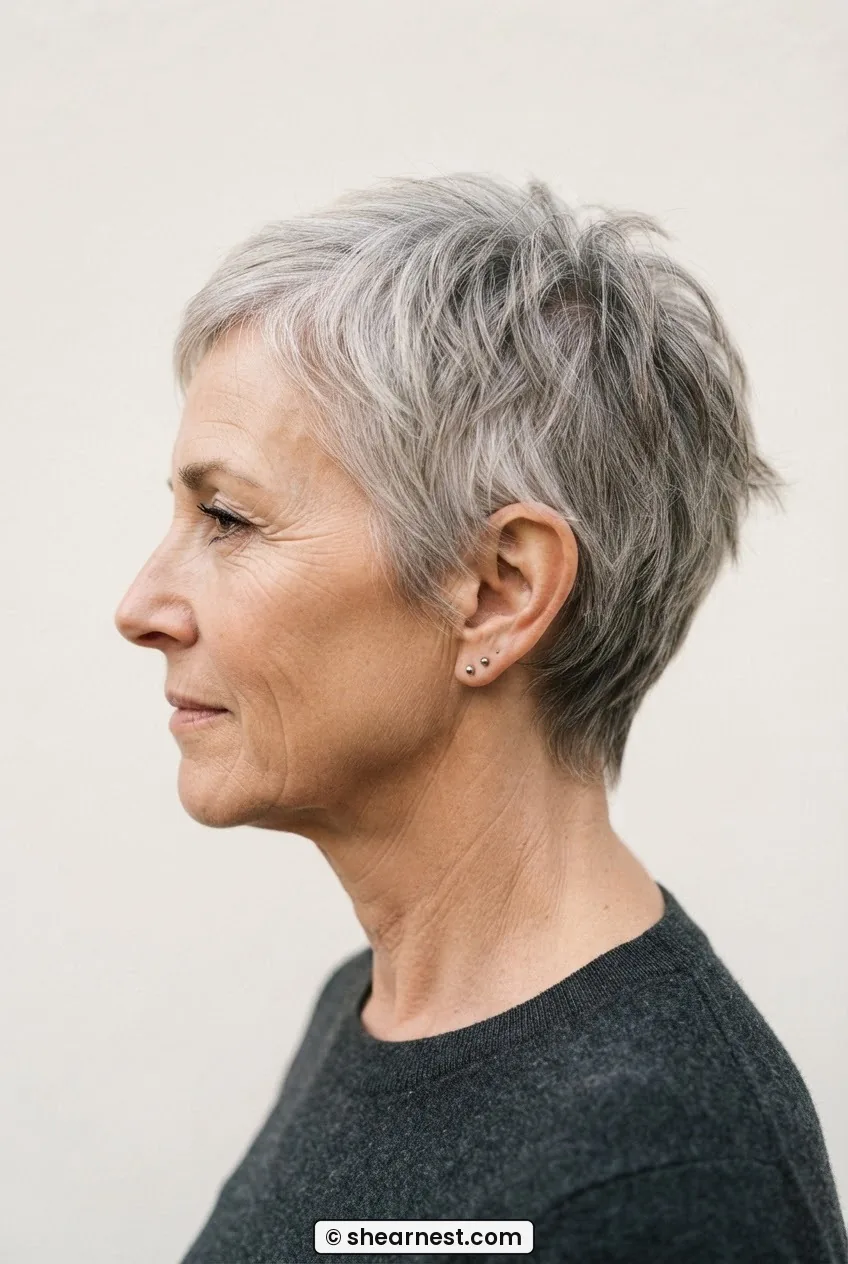
Point-cutting, razor-cutting, or a light use of texturising shears at the top surface of the hair — not the ends, the surface — breaks up the flat, uniformly fine look that makes thin hair so obviously thin. Light catches broken texture differently than it catches flat hair. Where flat hair shows scalp, textured hair creates micro-shadows that read as density.
See how the top of her hair in this photo has that soft, irregular surface? That’s not product — that’s how the cut was finished. The surface texture is catching the light in a way that makes the hair look fuller than it actually is. This is one of those mechanisms that works brilliantly with the right volumising styling products but also holds reasonably well without them on a good day.
7. The Nape Cleared
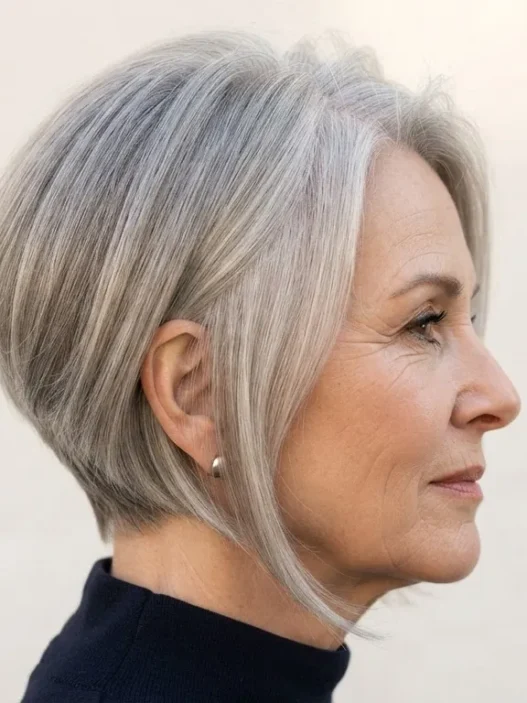
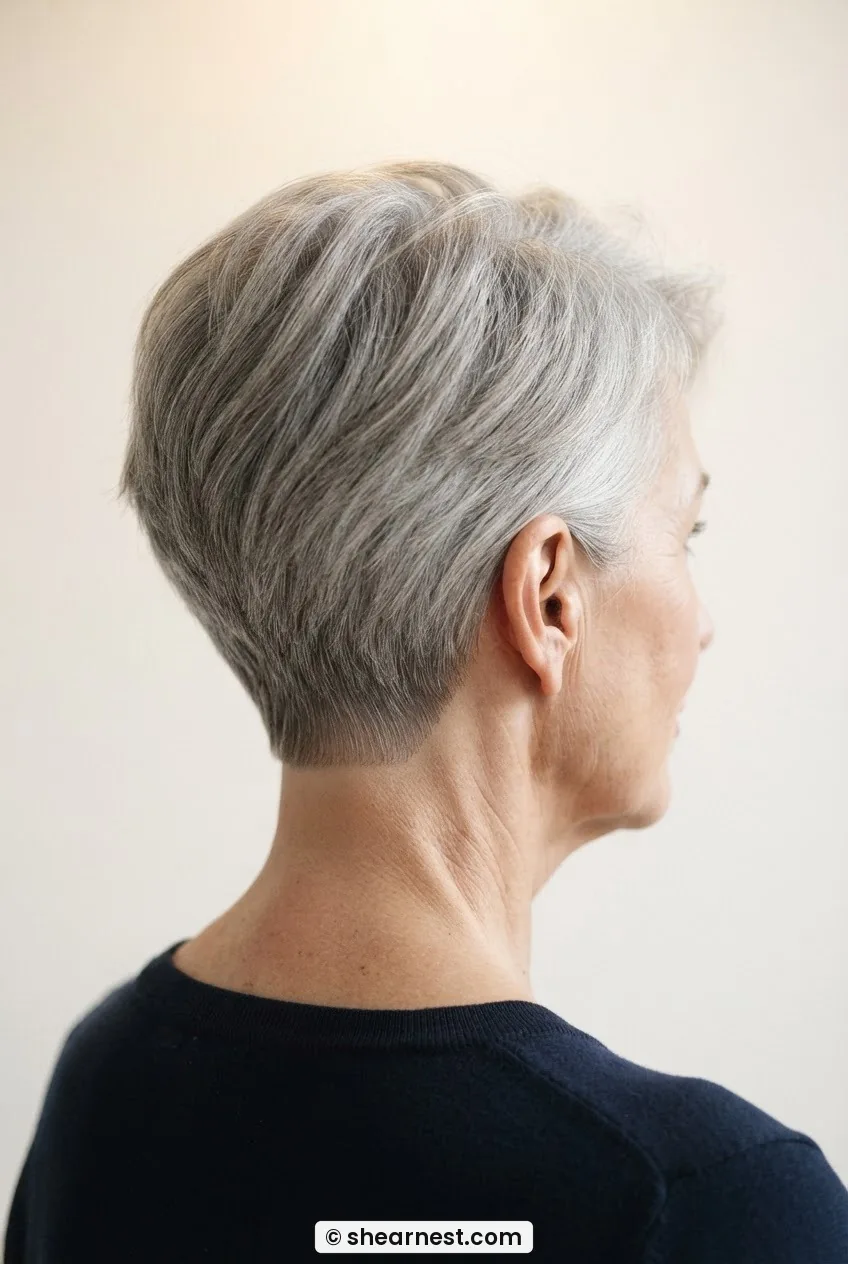
This one is specifically for women whose hair is thin all over, not just at the crown. Clearing the nape — cutting close at the back, either with a tapered undercut or a clean clippered edge — removes the wispy, trailing ends that make fine hair look straggly rather than fine. What’s left looks intentional. The shorter, cleaner back also makes the top section look relatively denser by contrast.
It sounds dramatic but it doesn’t have to be. Even a gentle taper — just tidying the back so it sits clean rather than drifting — makes a noticeable difference to how the whole cut reads. This is particularly worth discussing with your stylist if you have fine, straight hair and tend to avoid short cuts because of how they look from behind. Understanding styling straight fine hair before your appointment helps you articulate what you actually want.
8. Fringe Dropped to Break the Scalp Line
A fringe — whether a full, soft one or a side-swept version — physically covers the hairline and the front section of the scalp. That’s the zone that shows thinning most visibly from straight-on. Drop a fringe into that space and you’ve immediately closed off the most exposed area. The fringe doesn’t need to be thick. In fact, on fine hair, a wispy or brow-grazing fringe often works better than a dense one, because it doesn’t require as much hair to pull it off convincingly.
The caveat: fringes need maintenance. A fine-hair fringe that’s grown past the sweet spot goes from covering the scalp to emphasising that there isn’t much there. Every four to five weeks, at minimum. If that sounds like a lot, a curtain bang parted down the centre covers a little less territory but grows out much more gracefully.

9. The Crown Diffused with Disconnection
This one is less intuitive. A disconnected section at the crown — where the top layer is cut noticeably shorter than the layer beneath it — creates a loft that sits up and away from the scalp rather than lying against it. The disconnection means the shorter top section can’t be pulled flat by the weight of longer hair below it. It floats, slightly, and that floating creates visible distance between hair and scalp.
I’d pair this mechanism with the right colour work. A few face-framing babylights at the crown can make the disconnected section catch light differently, reinforcing the illusion of lift. The combination of cut and colour doing the same job is, honestly, hard to beat.
10. Length Preserved but the Ends Thinned Out
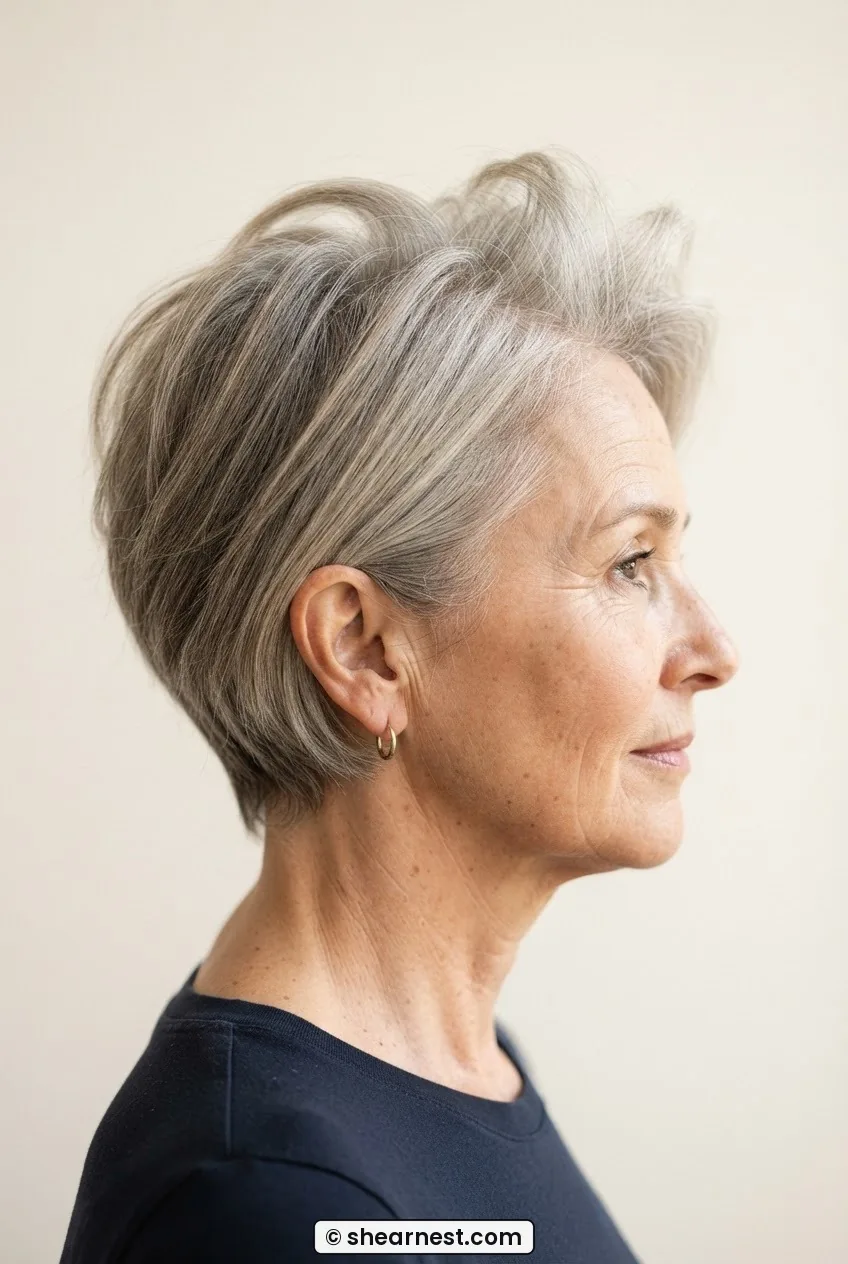
And finally — the one for anyone who genuinely cannot give up length. If you want to keep hair past the collarbone, the mechanism that helps most is paradoxically the one that involves removing hair: thinning the ends. Not feathering them — thinning, with a slide cut or thinning shears used through the bottom third of the length only. This reduces the drag those ends place on the root and allows more natural movement, which reads as health and body even when density isn’t there.
It’s not a permanent fix. Fine hair at longer lengths will always work harder than fine hair at shorter lengths — the physics don’t change. But if you’re not ready to go short, thinning the ends while keeping the perimeter blunt buys you time and noticeably better daily performance. You can read more about what actually changes in hair structure and behaviour over time on the page about hair for older women over 50 — it helped me understand why the same cut I wore at 42 stopped performing by 54.
Where a Cut Stops Being the Answer
I want to be honest about this part, because it matters. These ten cuts are genuinely useful — I believe in all of them. But there’s a density threshold below which no cut can carry the load on its own. If you’re losing hair actively, if the thinning is progressing noticeably from year to year, or if you’re finding that even the best cut loses its effect within days of washing — that’s not a cutting problem. That’s worth a conversation with a GP or a trichologist, because hair loss at that level has causes that scissors can’t address.
The cuts in this list work best when density is reduced but stable. They’re optical tools, and optical tools work on the right raw material. If you’re somewhere in that middle ground — fine but not progressing, reduced but manageable — then one of these mechanisms almost certainly helps. And the straight-hair versions of these cuts are discussed in more depth on the page about straight hair cuts for women over 50, which is worth reading alongside this one if your hair lies flat without any wave to help it.
Questions I Get About This
Should I avoid layers completely if I have thin hair over 50?
Not completely — but the location matters a lot. Layers through the ends and midlength often thin out fine hair further and expose scalp. Interior layers lifted close to the root, however, can add real structural lift without removing visual density from the perimeter. Ask for the distinction explicitly when you sit in the chair.
How often do haircuts for thin hair over 50 need trimming to keep working?
More often than you think — every six to eight weeks for most of these cuts. The optical mechanisms depend on shape holding, and fine hair loses its shape faster than thicker hair because there isn’t enough weight to anchor the cut. A trim at six weeks often looks like barely anything was cut, but it keeps the perimeter blunt and the silhouette intentional.
Does grey hair look thinner than pigmented hair, or is that a myth?
It’s partly real. Grey hair often has a finer shaft diameter than pigmented hair of the same person’s original colour, particularly ash grey tones. It also tends to be more porous, which affects how it holds a style. But the appearance of thinness in grey hair is also strongly influenced by the lack of contrast between hair and scalp — a tonal ash grey close to skin tone shows scalp more than, say, a deep brunette would. The cuts on this list address that visibility problem directly.
Can any product actually add density, or is it all just coating the strand?
Mostly the latter. Volumising sprays, root lifters, and dry shampoos work by depositing a light residue on the hair shaft that makes each strand slightly thicker and grippier — which increases friction between strands and creates the appearance of more of them. It’s effective but cumulative build-up flattens fine hair quickly, so lighter application more frequently beats heavy application less often.
That’s the ten. If you’re not sure where to start, look at where your thinning is most visible — crown, hairline, all over — and match that to the mechanism that targets it. The page on haircuts that read thicker for fine hair over 50 goes into some of these in more practical depth, with notes on what to actually say to your stylist. And if you’re curious whether a shorter cut might do more work than a longer one, the breakdown of short haircuts for women over 50 is an honest read — not a sales pitch for the chop, but a fair account of what short actually delivers on fine hair. Go find the mechanism that fits you.