








I cut my hair into a pixie last spring because I was tired of my fine hair going stringy by lunch. And then I realized I had no idea how to style it. Everything I found online wanted round brushes and a whole production, and I just don’t have that in me at 6:45 in the morning.
So Ifigured out this little two-minute thing with just my hands. No tools named below, I promise — just where my fingers go and what they do. It works because pixie cuts for fine hair don’t need more stuff, they need better placement.
What You’ll Need
I keep this stupidly simple on purpose. My bathroom counter used to look like a beauty supply store exploded, and now it’s just these four things. If you’re starting from a just-washed or next-day pixie, you’re good.
- a pea-sized dab of lightweight matte paste — anything too shiny makes fine hair look thinner
- a mist of volumizing tonic or salt spray, still slightly damp hair is ideal
- clean dry hands, seriously, hand lotion is the enemy here
- one minute of warm airflow beforehand if your roots are totally flat
That’s honestly it. I tried adding root powder and thickening fibers and all that, and they just gunked up my texture. When I was reading up on 10 best haircuts for fine hair that don’t rely on product it finally clicked — the cut has to do most of the work. My pixie has a textured crown and a tapered nape, which is why this finger routine works. If your cut is one blunt length all over, you’ll still get lift, just not as much separation.
Step 1: Fingers Flat at the Crown
Okay, start with almost-dry hair. Mine is about 90% dry, still cool to the touch at the roots. I rub that tiny bit of paste between my palms until I can’t see it anymore. If you can still see white, keep rubbing. That was my first mistake for weeks — too much product in one spot.
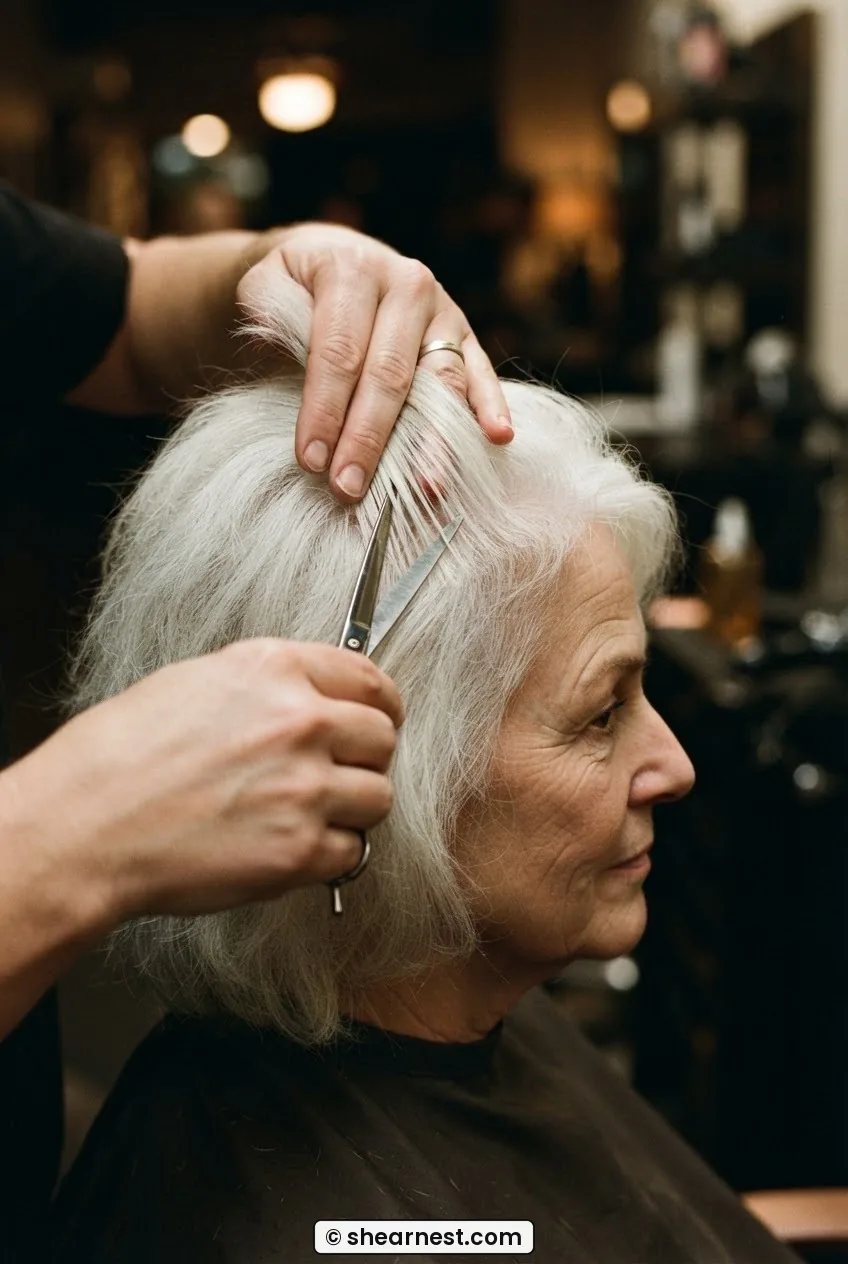
Now lay your fingers flat right on top of your crown, like you’re palming a basketball. Not fingertips digging in, the whole flat pads. Press down lightly, then slide everything forward about an inch toward your forehead. Then lift straight up. Do that three times. Press, slide forward, lift.
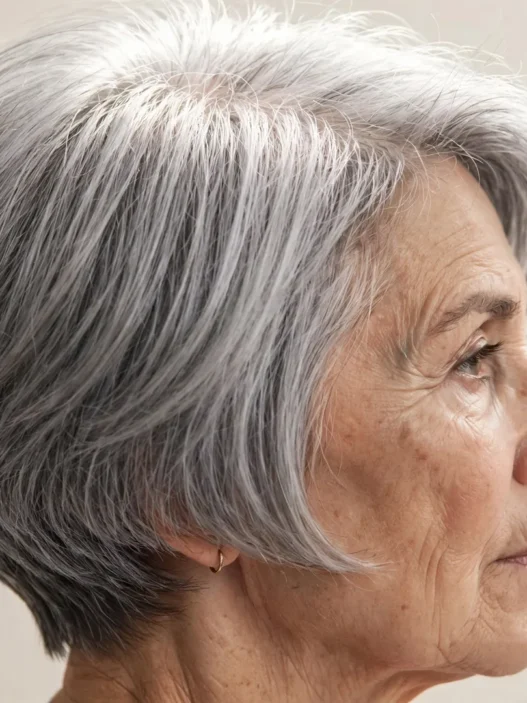
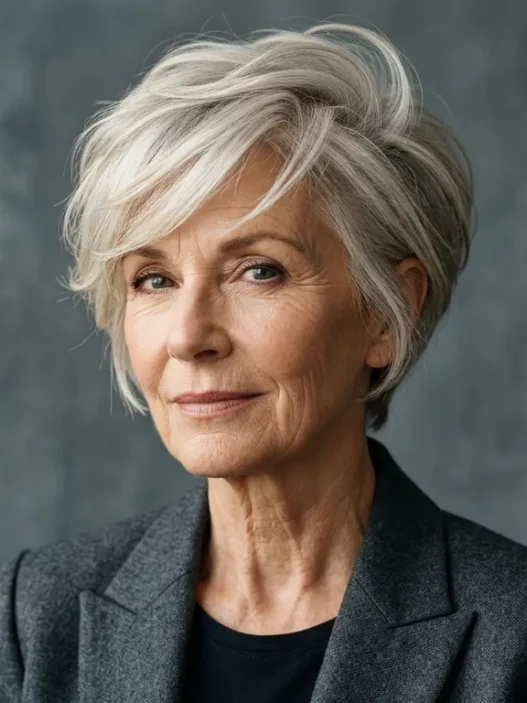
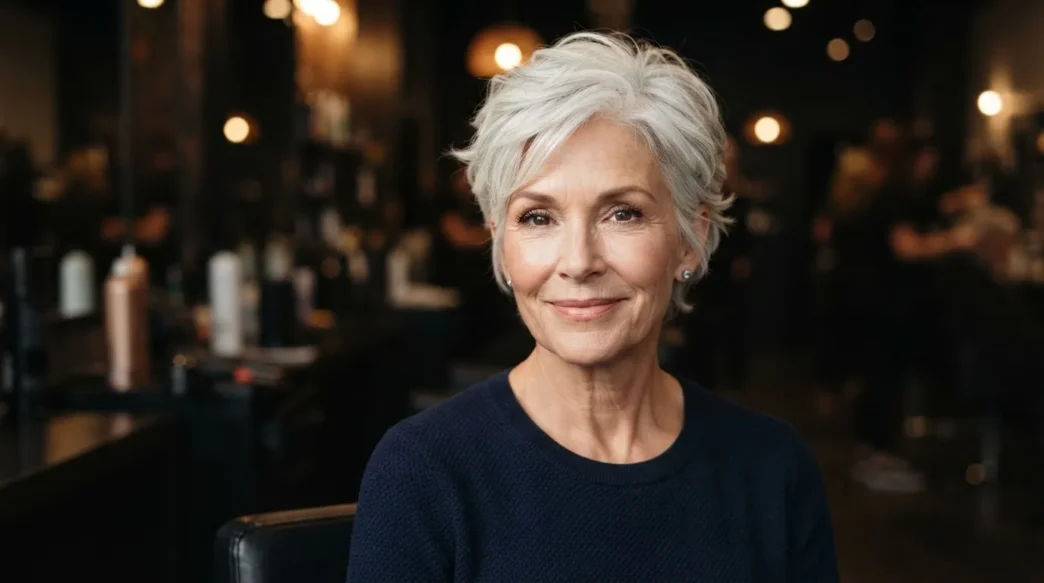
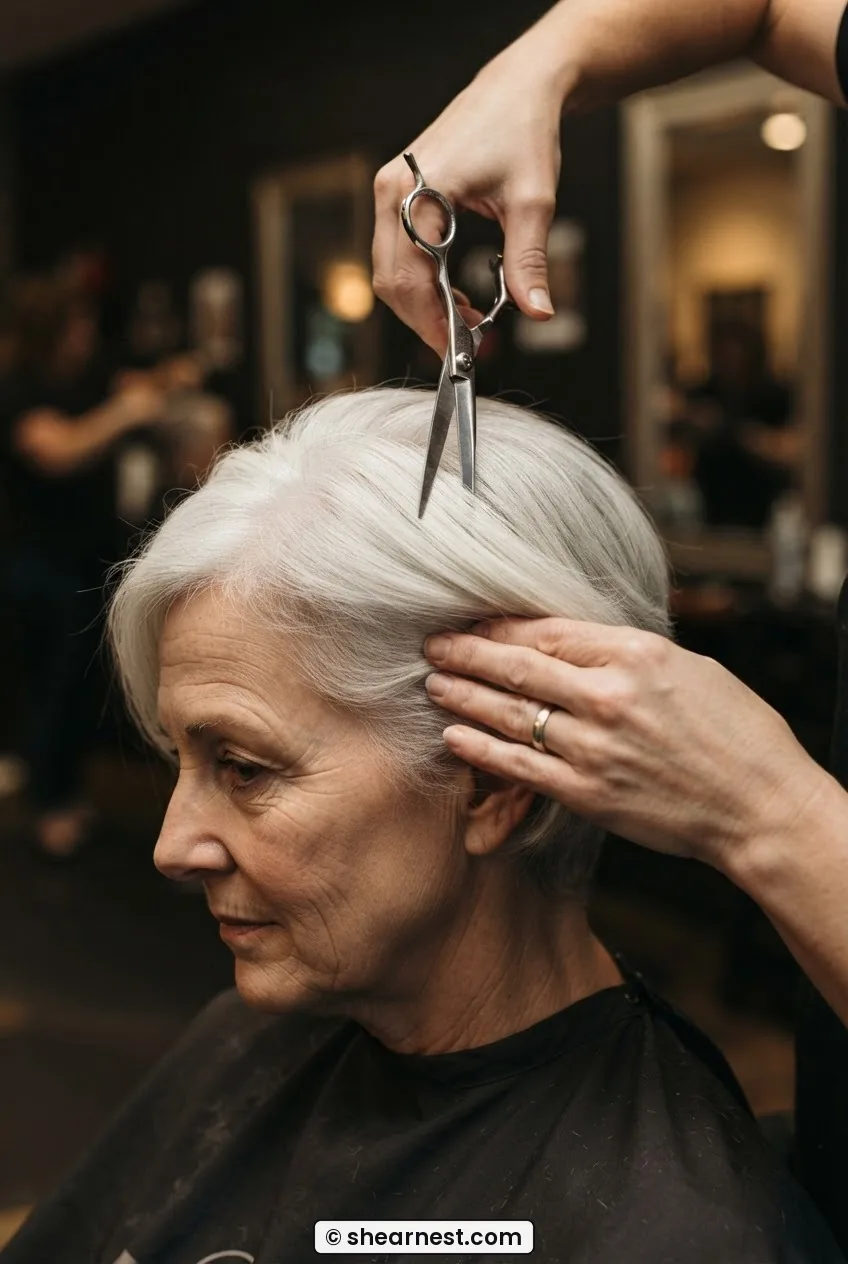
What does that do? It breaks up that helmet part where fine hair just lies glued to the scalp. I love this part because you can actually feel the roots stand up a little. Look at how she’s wearing hers in this first photo — that soft lift right on top? That’s exactly what flat fingers give you, not spiky, just airy.
When I tried this for the first time, I kept wanting to ruffle like I was drying a dog. Don’t. Flat and slow is better for fine texture. You want to coax volume, not create frizz. I do the middle, then shift my hand a half inch left, then a half inch right. Thirty seconds total, tops. If you have a routine for volume for fine hair already, this replaces the backcombing part. So much kinder.
See the Finger Lift in Action
Step 2: Pushing Forward at the Front
This is where a textured pixie cut for fine hair either looks expensive or looks tired. The front. Mine grows forward naturally but it wants to split in the middle and show scalp, which I hate. So I don’t push it back — I push it forward and over.
Take your dominant hand, fingers together, and place them right at your hairline, fingertips on skin. Now push everything forward, like you’re making little bangs, then sweep your whole hand slightly to the side you part on. For me that’s left to right. Hold for three seconds. Let go. The warmth from your hand actually sets it a little, which sounds woo-woo but it works.
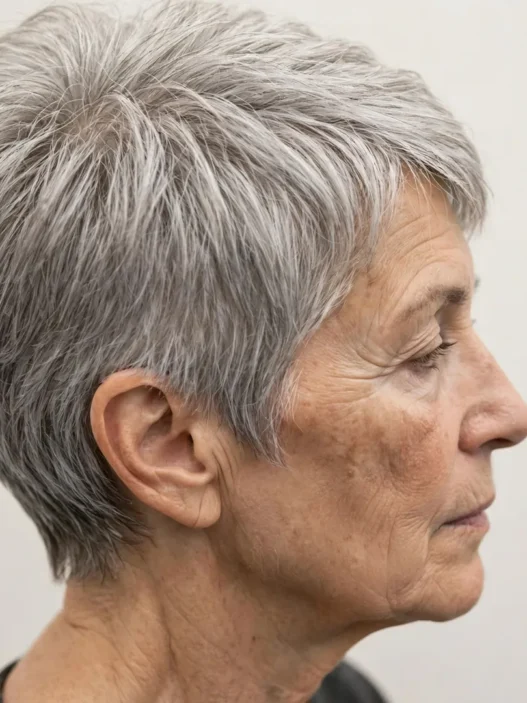
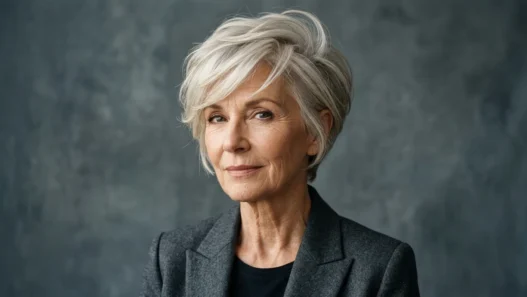
I learned a lot about why this matters when I was looking into how fine lines age and how face-framing pieces soften everything, and the same idea applies to hair — you can read up on side-swept styling on short hair before your next trim because the direction you push matters more than the length. She’s got a similar sweep to mine in this photo, and honestly, see how it hits just across her forehead? That angle hides a multitude of thin spots.
Do it twice if your fringe is longer in front. And if you have a cowlick? Push against it first, hold, then push with it. I have one right at my left temple that sticks straight up if I ignore it. Confront it, then redirect it. That little wrestling match takes maybe twenty seconds.
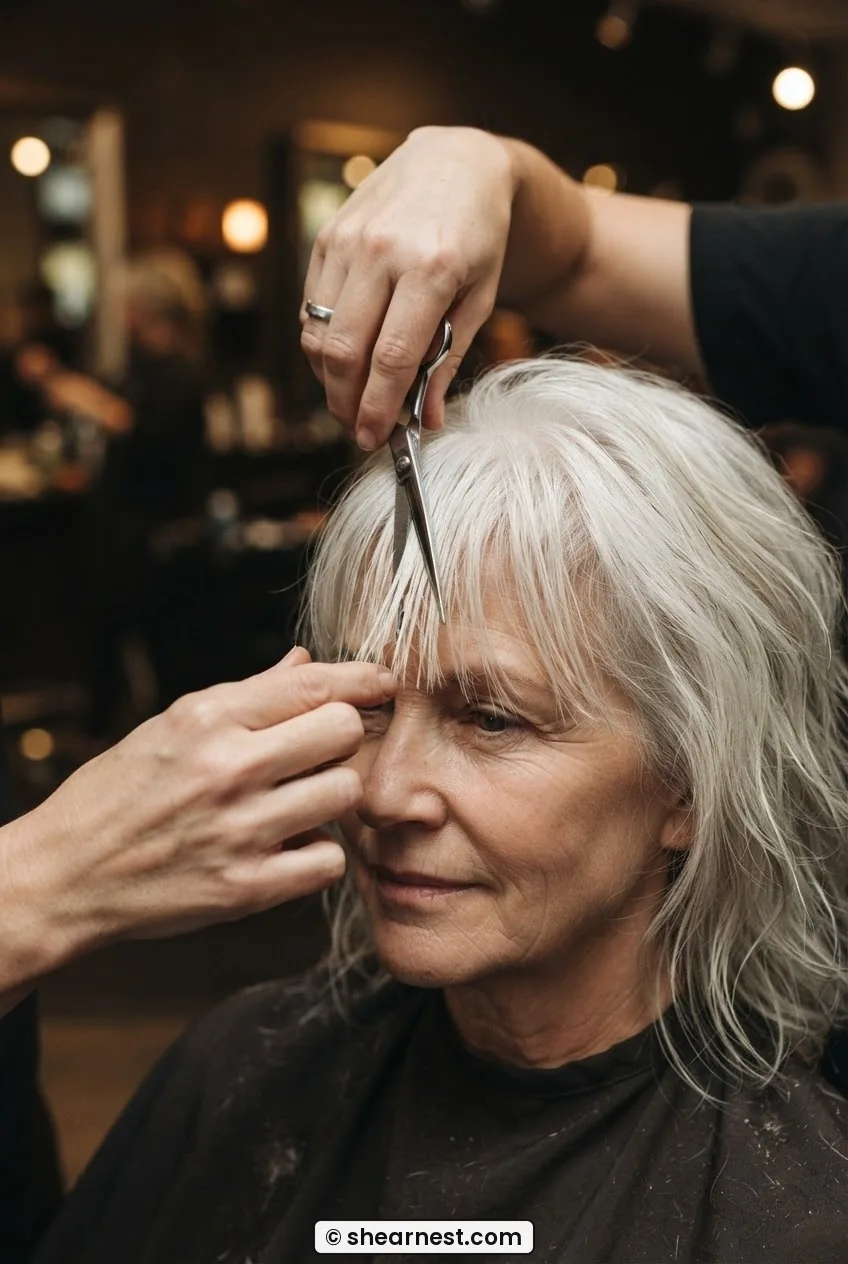
The mistake I made for a month: I was pushing my front up and back for height, and it just exposed every thin patch on my crown. Pushing forward first gives the illusion of density. My stylist literally said, oh, did you get a trim? Nope. Just changed direction.
Step 3: Palm Against the Nape
Now the back. Nobody sees it, but everybody notices when it’s flat. Fine hair at the nape just collapses and then your whole head looks bottom-heavy in reverse, if that makes sense? All the volume on the bottom, nothing on top.
So bend your head slightly forward, chin to chest. Cup your palm against your nape, fingers pointing up into the hair. Push up firmly, like you’re lifting the hair off your neck. Hold, release, repeat moving your hand from left to right across the nape. Three pushes. You’re done.
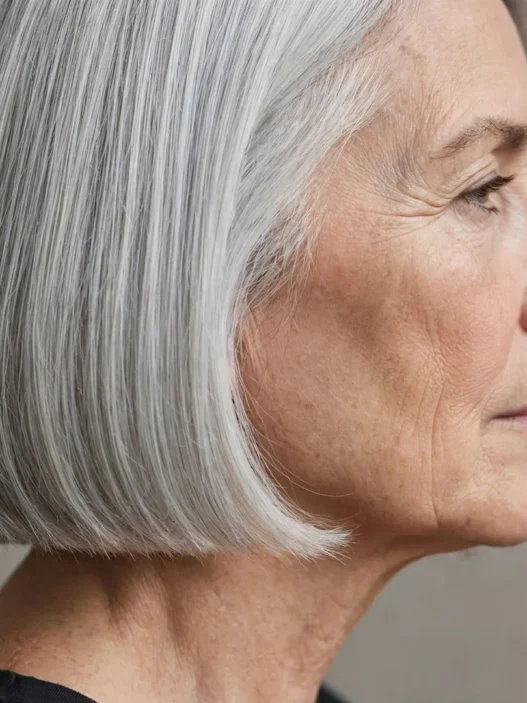
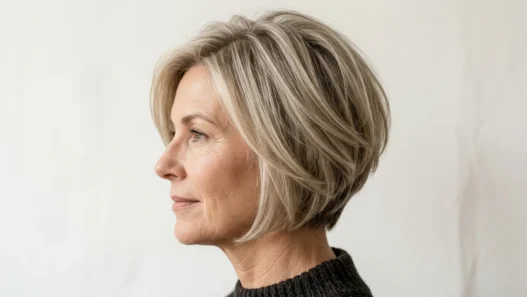
This step changed my asymmetrical pixie days too. When I had one side longer, that nape lift kept the short side from disappearing. And for my current classic length, it just keeps my collar clean and my shape tapered. This is the length I’m talking about in this photo — see how it hugs just above her collar instead of flipping out? That’s a lifted nape doing its job.
Why palm and not fingertips here? Fingertips make grooves in fine hair that you can see through. Palm gives diffuse lift. I figured that out after way too many photos where the back of my head looked like a plowed field. If you’re over 50 and dealing with that super-soft baby-fine regrowth at the neckline, you might love my notes on a haircut for fine hair over 50 because the taper length makes this step ten times easier.
Step 4: Fingertips Pinched Along the Sides
Okay, head back up. This is the detail step, my favorite. Your sides are what make a pixie look intentional instead of grown-out. For very fine hair especially, you need a little piece-y-ness or it all blends into one cotton ball.
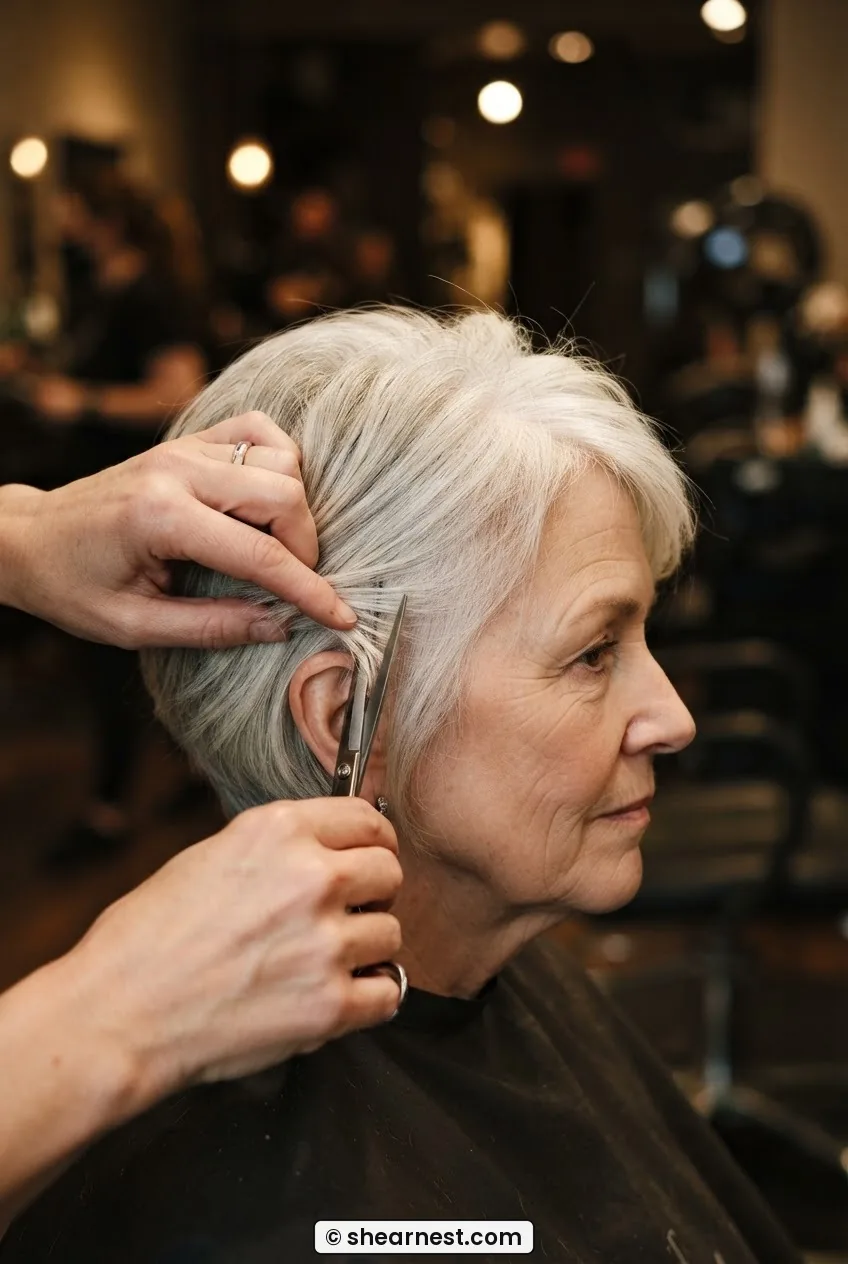
Take your thumb and first two fingers and pinch little sections along your sideburns and above your ears. Just pinch and pull out a tiny bit, then let go. Move forward to back, maybe five pinches per side. You’re not pulling hair out, you’re defining the ends that your stylist textured.
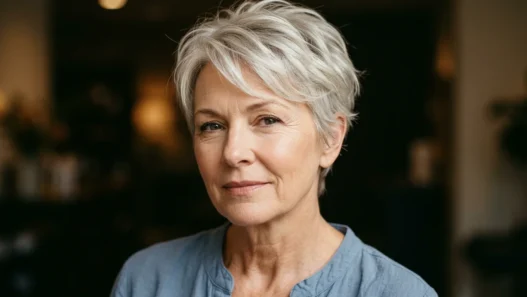
Look at how she’s wearing hers — that slight separation in front of the ear is exactly what I mean about purposeful texture. Without that pinch, my sides puff out sideways by noon. With it? They lie close but still look airy. It’s weird how such a tiny movement matters so much.
Do you need more product here? No. Whatever is left on your fingers is enough. I made that mistake too and ended up with greasy sideburns. Yuck. And if your pixie is curly on top? Same pinch works, just pinch the curl ends instead of pulling. You can read about defining curls on short cuts after you get the basic motion down because the finger placement is almost identical. I also keep a whole board of pixie cuts saved for when I need inspiration to grow out or chop shorter.
Step 5: Hands Hovered Above the Finish
Last thirty seconds. Hands off the scalp now. Hover both hands about two inches above your head, fingers spread wide like jazz hands, and just lightly skim the very surface as you move front to back. You’re not touching roots anymore. You’re just arranging the canopy.
This is what stops pixie hairstyles for fine hair from looking overworked. I used to keep fussing and fussing until I’d flattened everything I’d just lifted. My stylist told me to do the hover-check in the mirror: if you can see scalp in a spot, use your fingertip to pull one neighboring piece over it. One piece. Then hover-hands again and walk away.
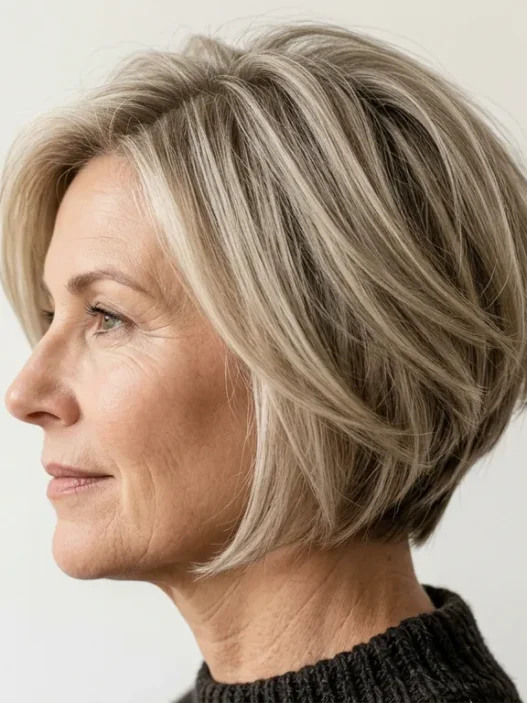
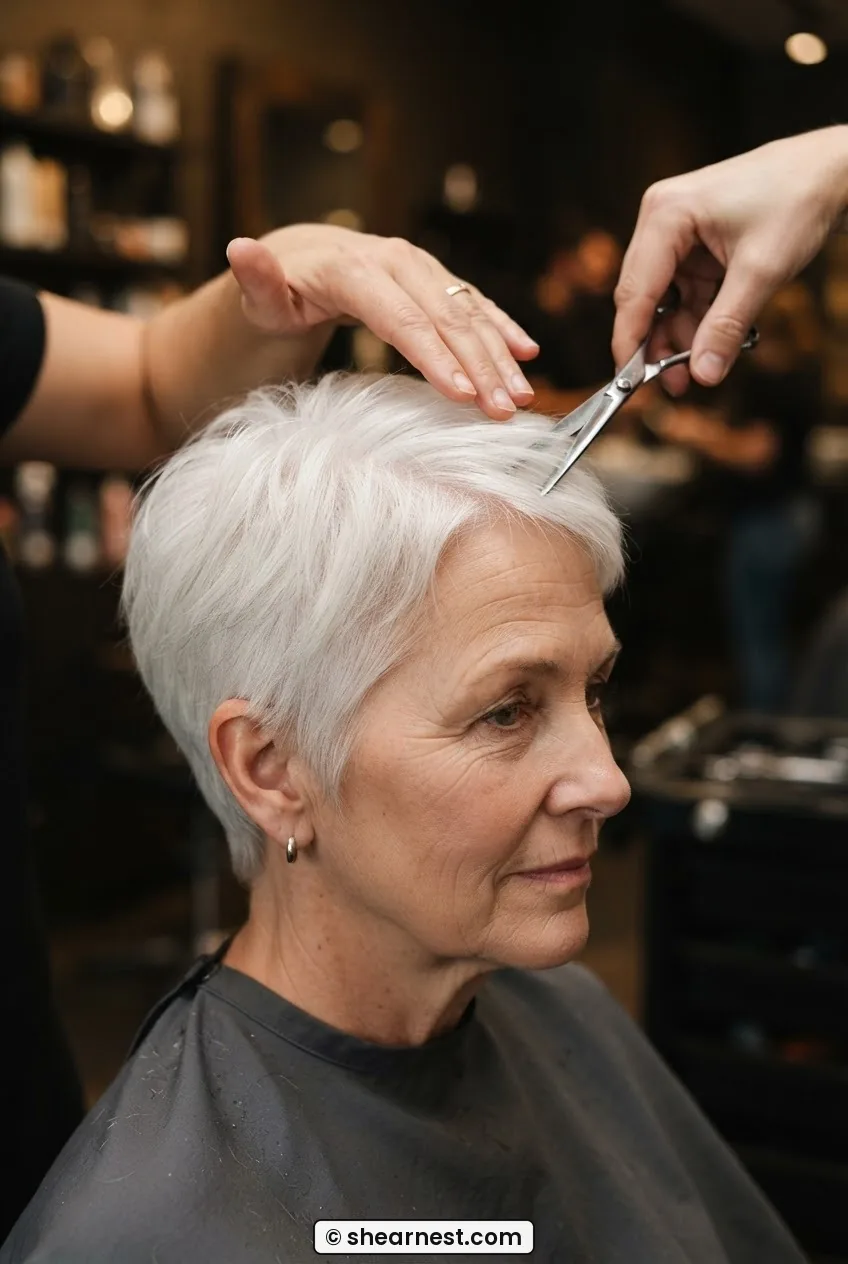
Check the profile, check the back with your phone. Does one side stick out? Smooth it with a flat palm, once. Done. In this last photo you can see the finish I aim for — soft, touchable, not helmety. She has fine white hair like a lot of us, and it still looks full because the ends aren’t clumped together.
I also stopped using heavy sprays after this. If I need hold for a windy day, I just warm my hands by rubbing them together and press once more on the crown. The residual paste reactivates. For more density tricks that don’t involve a ton of product, I love these ideas for haircuts for thin hair over 50 — same philosophy, work with the density you have. And honestly, learning texturizing techniques for fine hair helped me ask my stylist for the right kind of layers so this hover step actually has something to skim.
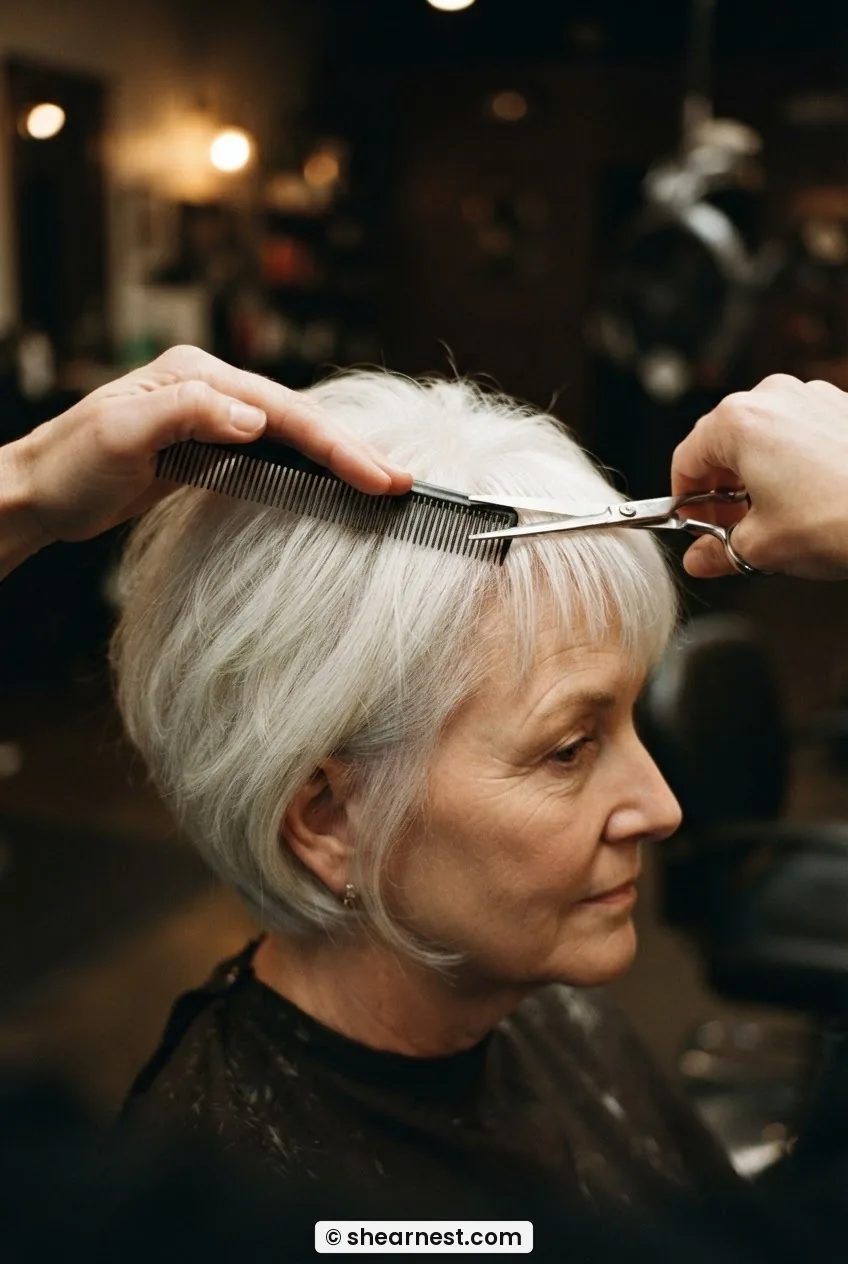
And here’s my one exception, the only moment a comb is allowed: if your part is still blurry after all that, take a fine-tooth tail and just draw a clean inch-long line where you want your sweep to start. One inch. Not a full comb-through. Then toss it back in the drawer and go back to fingers. That crisp start makes the whole thing look deliberate, even though the rest is soft.
Fine Pixie Questions I Hear All The Time
Will this work on a 60-year-old pixie with very thin crown?
Yes, just go lighter on product and heavier on the Step 1 lift. I use half as much paste on thin-crown days and rely on that forward slide to cover. A shorter textured top helps more than any powder.
Can I do this on second-day hair?
Actually it works better. Freshly washed fine hair is too slippery. I mist a little water on the roots, do the routine, and it holds longer than day one. Dry shampoo at the crown before Step 1 if you’re oily.
What if my pixie is asymmetrical or curly?
Same map, just exaggerate the direction. For asymmetry, push everything toward the long side in Step 2. For curls, pinch instead of sliding in Step 1 so you don’t break the curl pattern. The nape lift stays exactly the same.
What I got after two weeks of doing this every morning? My pixie actually looks thicker at 4pm than it used to at 8am. I’m not fussing in every bathroom mirror anymore. It’s just press, push, lift, pinch, hover — and out the door. Took me longer to make coffee.