




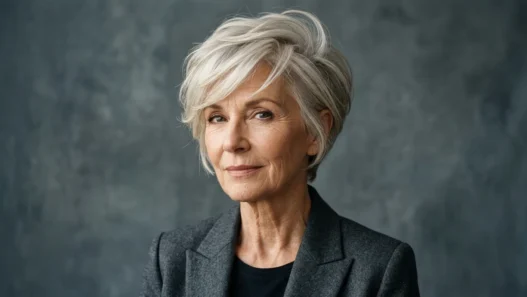

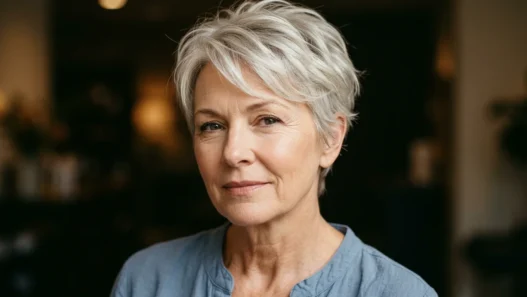

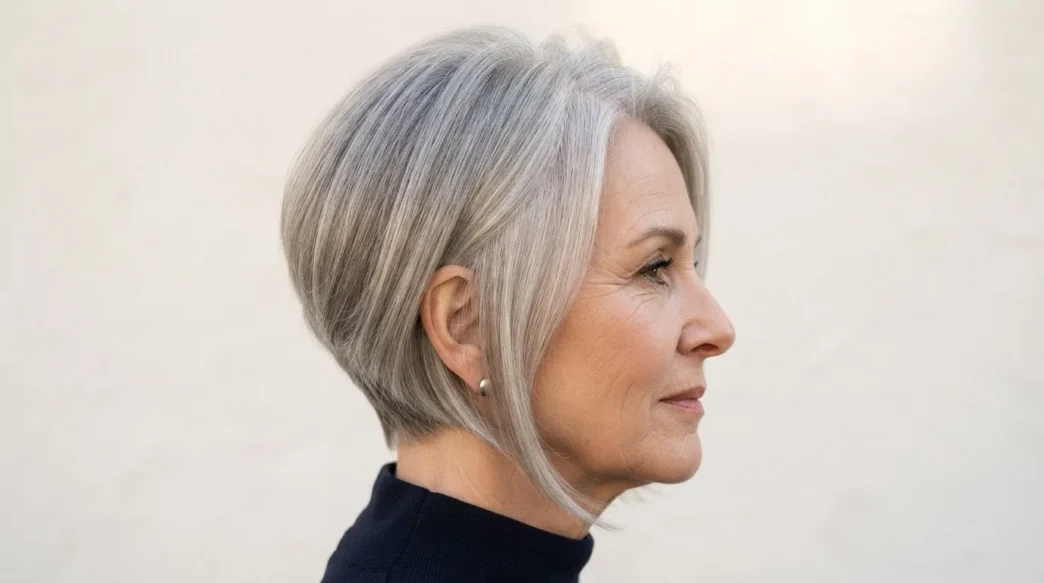
No cut adds hair. I want to say that upfront, because every headline in this space implies otherwise and it drives me slightly mad. What a good cut can do — and does brilliantly when it’s right — is shift where your eye lands first, so the sparse bits stop being the first thing you see. I’ve been thinking about fine and thinning hair for a long time, and I keep coming back to one truth: every technique that works is really just an optical trick with a scissor. Here are eleven of them, and I’ll tell you honestly how much each one actually covers.
What’s Inside: 11 Cuts and Their Hidden Mechanisms
- 1. Weight Brought to the Front
- 2. The Part Moved Off-Centre
- 3. Length Removed So Density Reads Higher
- 4. Graduation Built Into the Back
- 5. Texture Added at the Ends
- 6. The Fringe Pulled Forward
- 7. Layers Stacked Close to the Crown
- 8. The Bob Cut Blunt
- 9. Curl Pattern Introduced
- 10. Volume Lifted at the Root, Not the Ends
- 11. When the Cut Stops Being the Answer
1. Weight Brought to the Front
The mechanism here is straightforward: face-framing pieces that are kept longer and heavier than the rest of the cut pull the viewer’s eye forward and down, away from a thinning crown or a sparse parting line. Your attention lands on the cheekbone, the jaw — not the top of the head. It’s one of the most effective redirects in the whole toolkit, and it works even on very fine hair because it requires no actual volume at the root — just strategic length placement.
What it hides well: diffuse thinning at the crown and a widened part. What it can’t do: cover a genuinely visible scalp at the temples, because those framing pieces aren’t sitting over that area at all. The coverage is about attention, not concealment.
2. The Part Moved Off-Centre
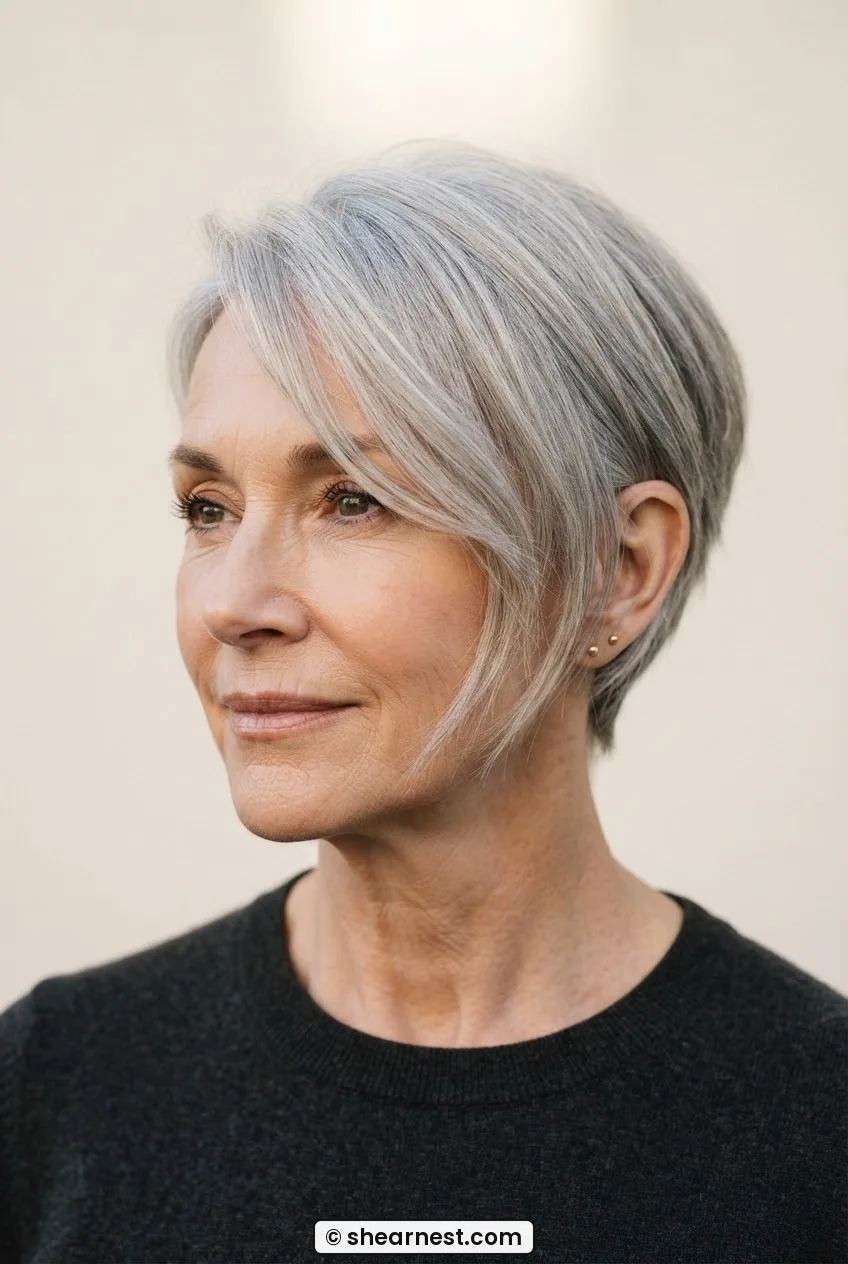
This might be the single cheapest trick in existence — free, reversible, and genuinely effective. Moving a centre part to a side part (or shifting an existing side part further off-centre) immediately drapes more hair across the scalp, so the parting line narrows visually and the hair appears denser. The longer the hair, the more dramatic the effect.
The limitation is honest: you’re covering the part itself, not adding density anywhere else. A thinning crown behind the part stays thinning. And if your hair has been trained to fall in one direction for twenty years, it will fight you — so a light-hold mousse applied at the root while hair is wet is your best tool for retraining it. It’s a small change that reads as a significant one, which is exactly what we’re after.
3. Length Removed So Density Reads Higher
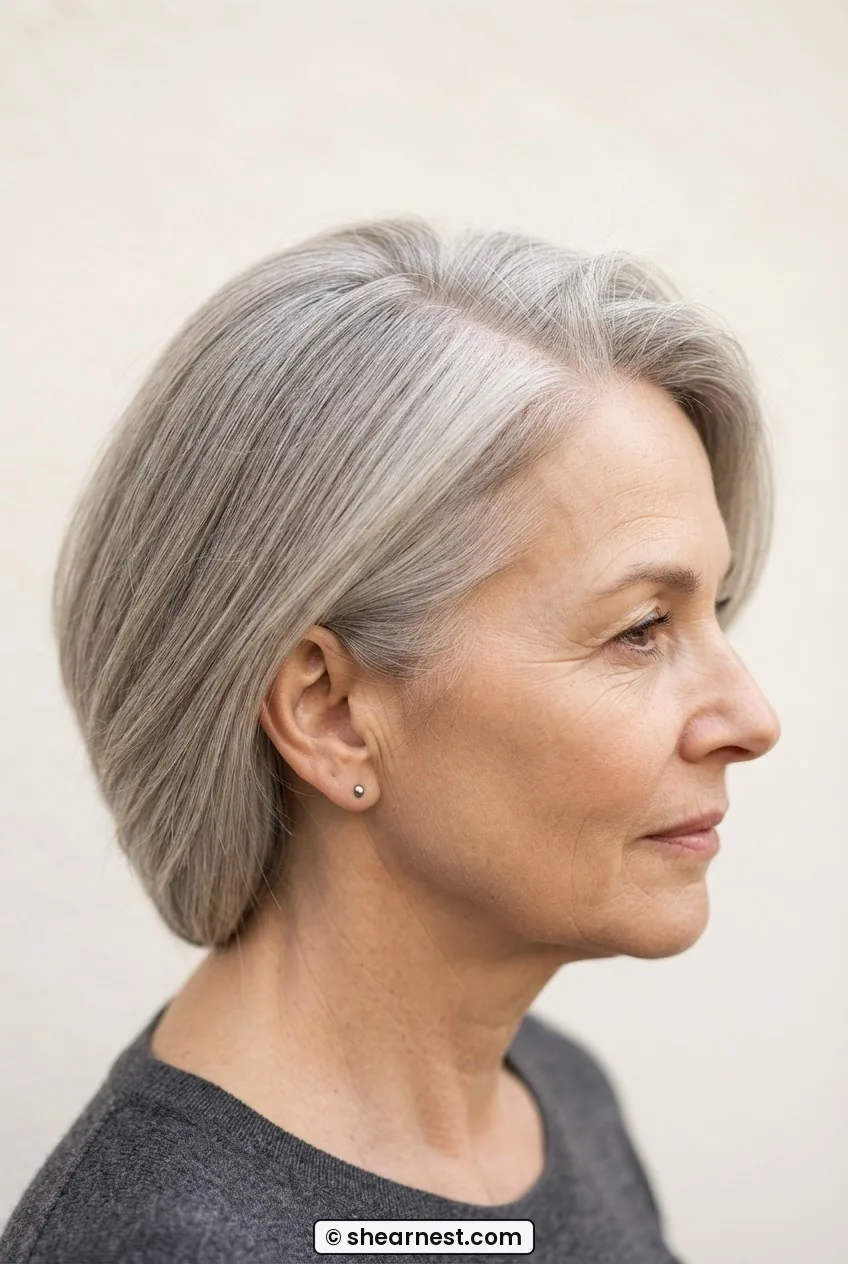
Fine hair that grows long gets pulled down by its own weight. The ends splay and separate, and what little density exists gets distributed over a longer stretch so it barely registers. Cut that length off — even two or three inches — and the same number of strands now occupy a shorter span. Density per centimetre goes up without a single new follicle being involved. This is why shorter cuts almost always look fuller on fine hair, and why I point people toward haircuts for thin hair over 50 that sit above the shoulder as a starting point.
It hides: thinning ends, a limp appearance, and the sense of hair that’s given up. It doesn’t hide: a sparse crown, because that’s a root issue and shortening the length doesn’t change what’s happening at the scalp.
4. Graduation Built Into the Back
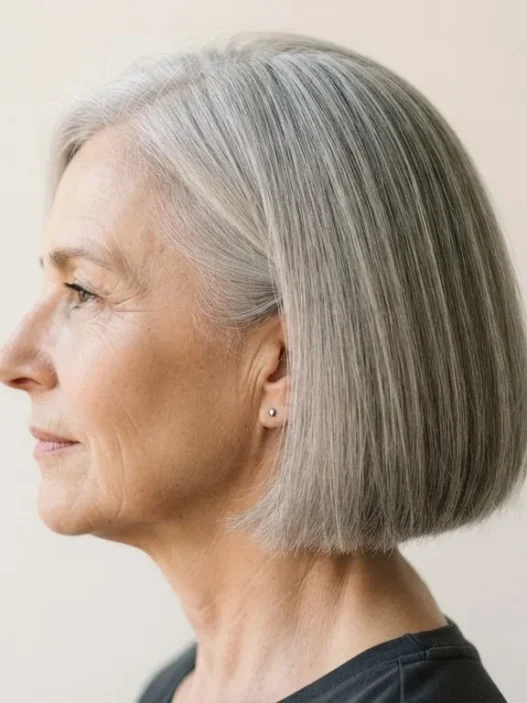
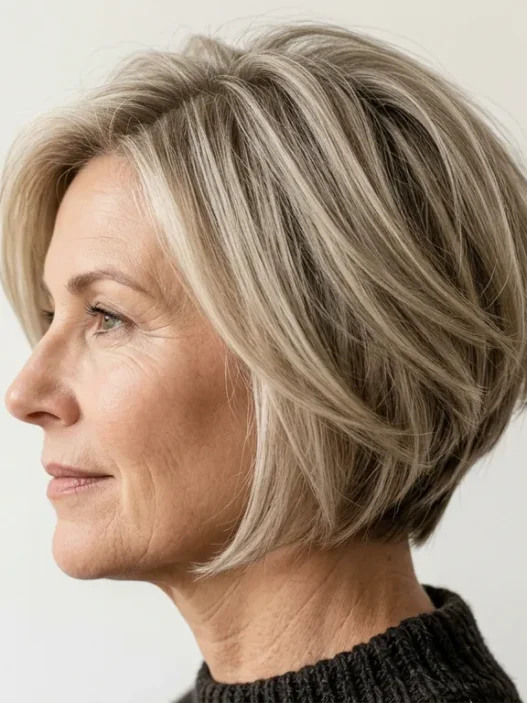
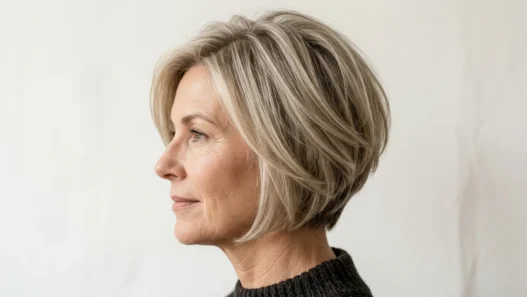
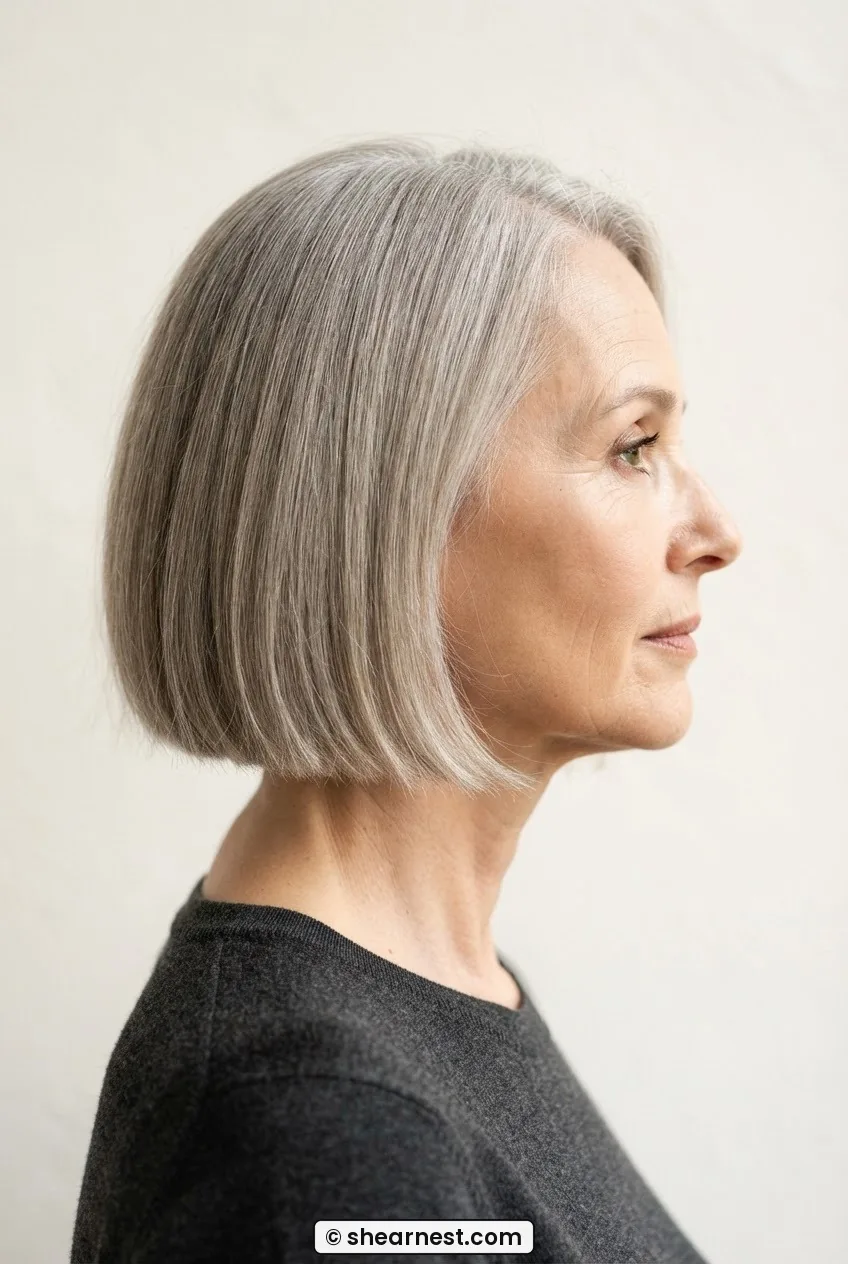
A graduated cut — where the back is stacked shorter underneath and progressively longer toward the top — creates a shelf of hair that builds visual mass where most women with thinning hair need it most: the back and crown area. It’s the engine behind the classic graduated bob, and it’s more useful for thinning hair than most people realise because the stacking creates the illusion of thickness from behind, which is often the angle that bothers people most.
Look at how she’s wearing hers in this photo — the back has that beautiful rounded shape that reads as genuinely dense, even though the individual strands are very fine. That shape doesn’t happen by accident. It’s built into the cut.
The catch: graduation requires maintenance every six to eight weeks, because as the back grows out, the shelf collapses and the effect disappears. It’s a commitment haircut.
5. Texture Added at the Ends
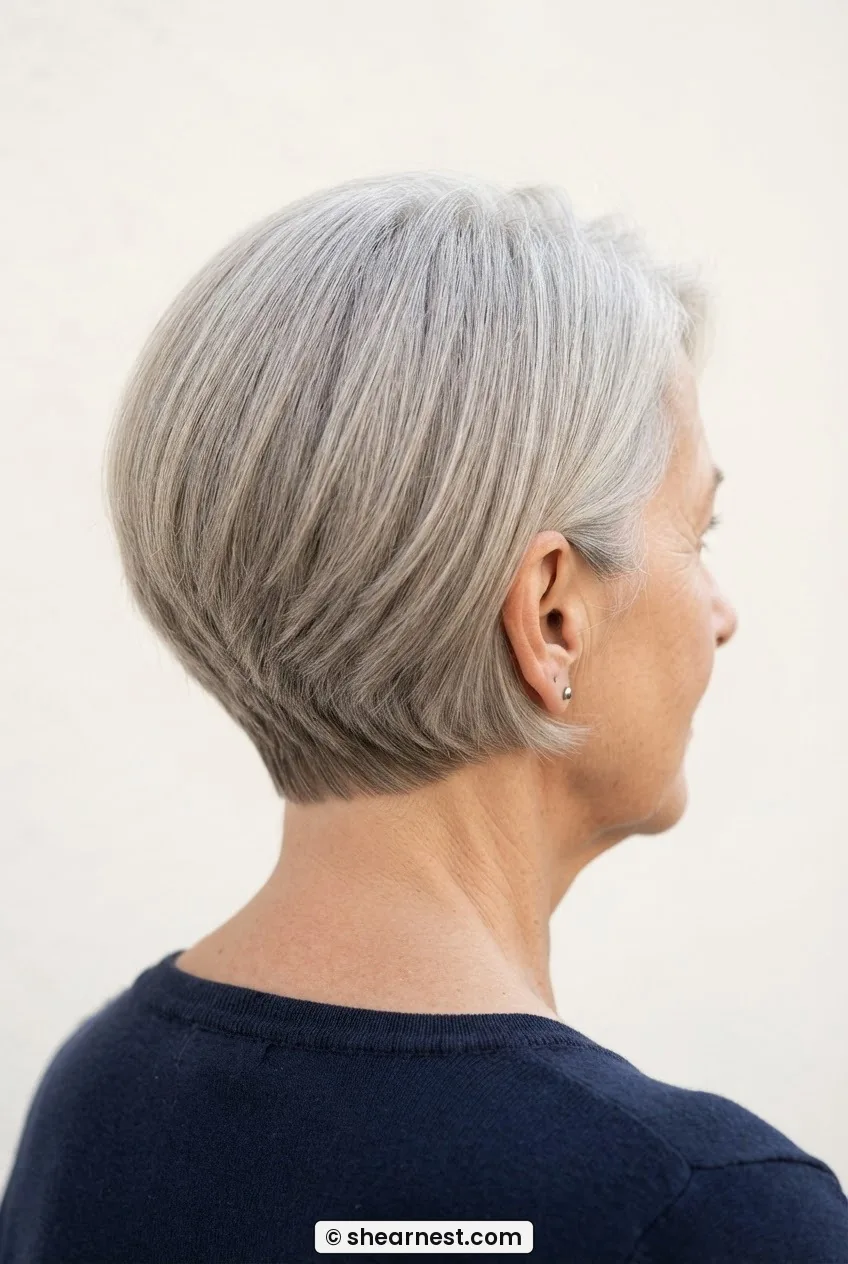
Piece-y, textured ends catch light differently from blunt or flat ends. They create micro-movement that reads as fullness — the hair looks like there’s more of it because it’s doing more. Point-cutting, razor work, or simply asking your stylist to “break up” the ends rather than cut straight across all achieve this. I think of it as giving the hair something to do.
For very fine hair — we’re talking strands that almost disappear in direct light — this technique has limits. Too much texturising thins the ends further and can make the hair look wispy rather than full. The sweet spot is light texturising on the perimeter, not throughout. You want movement, not feathers.
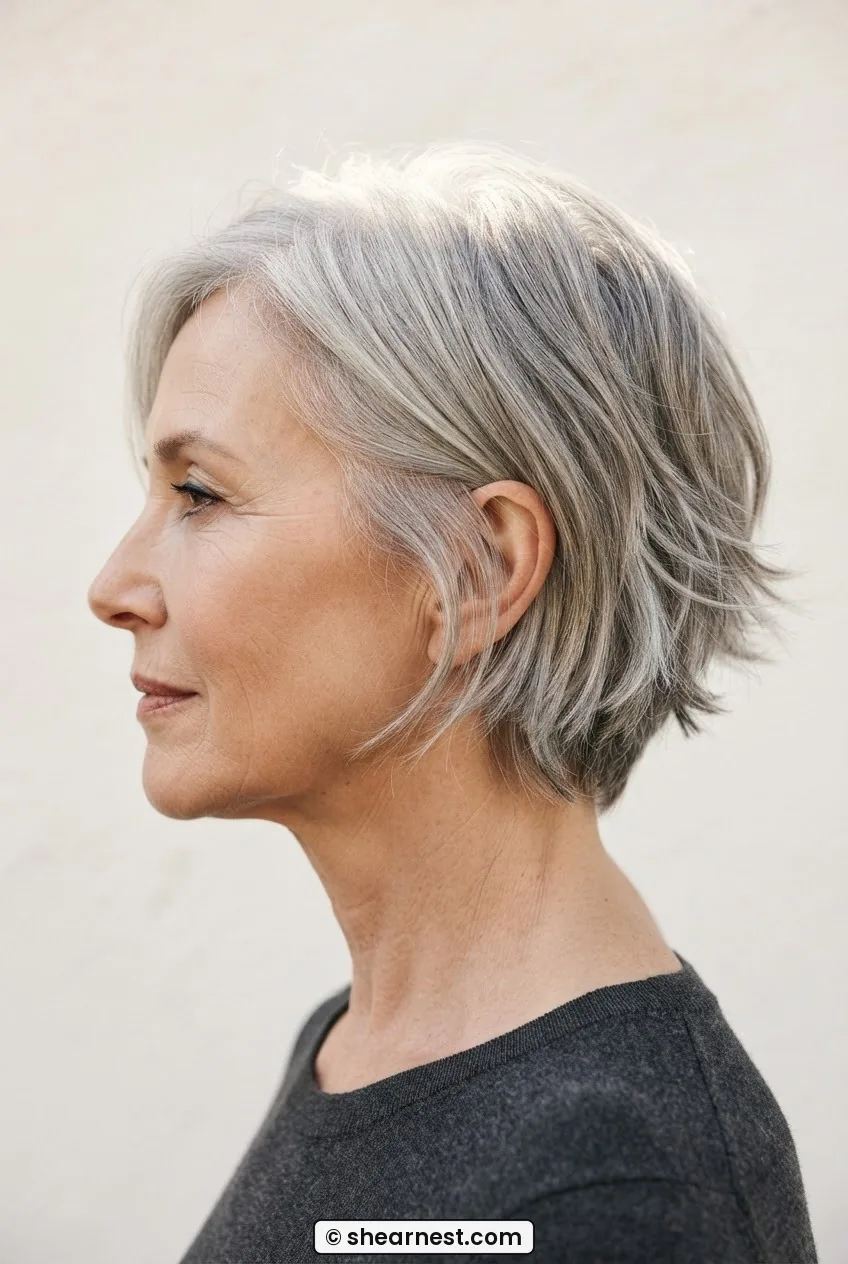
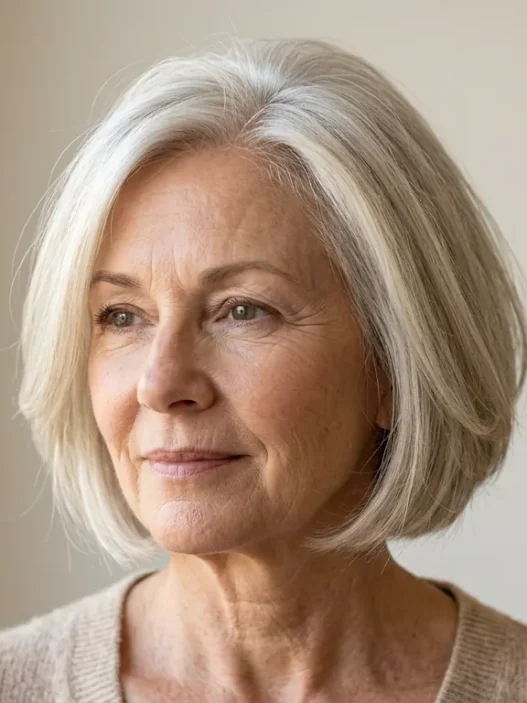
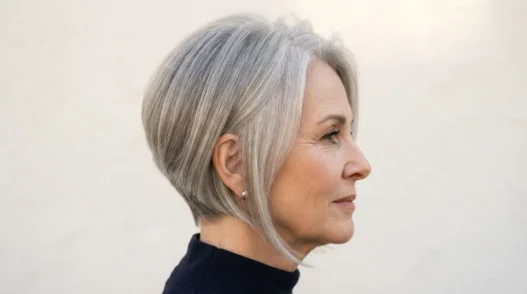
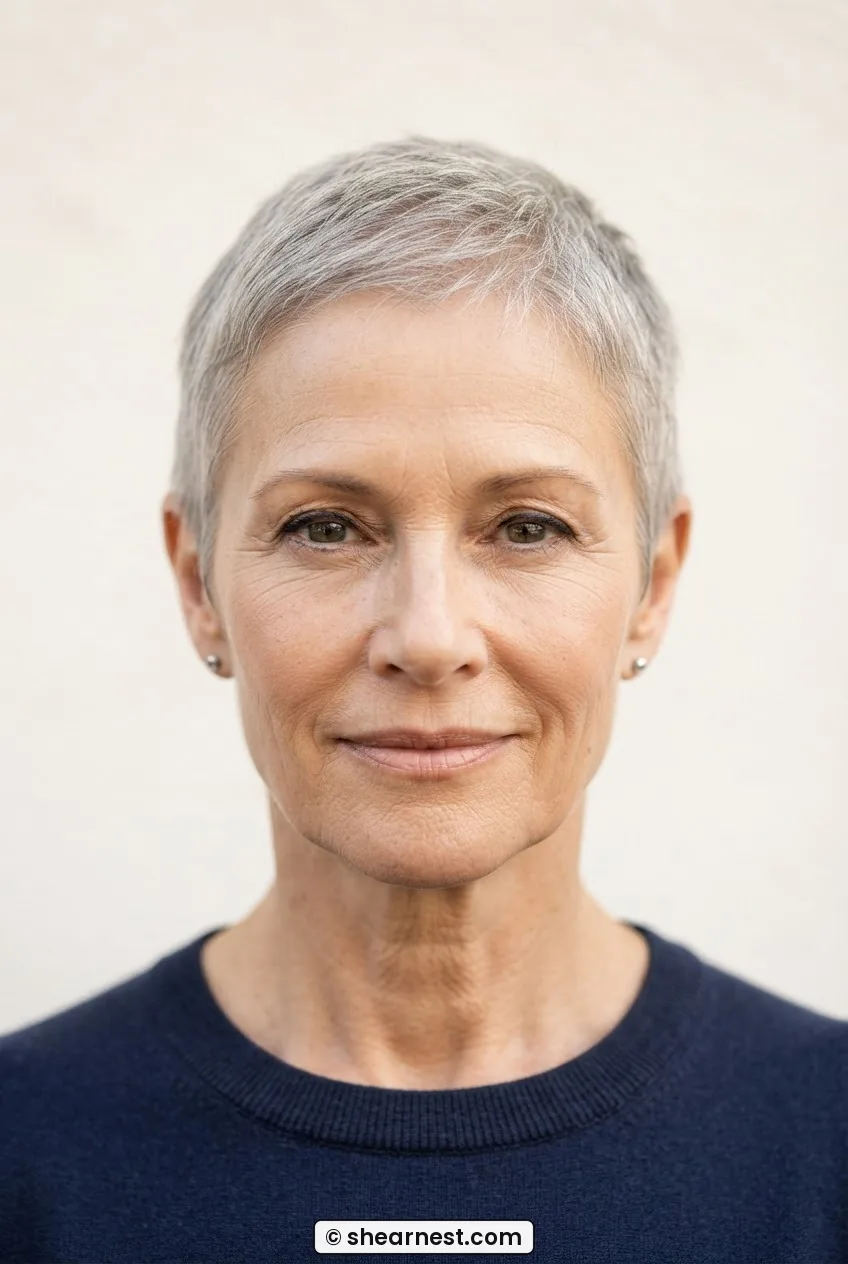
My personal pick for someone with fine ash grey hair is the graduated bob with face-framing pieces kept slightly longer. It stacks density at the back, redirects attention to the front, and the grey actually helps — lighter hair colours make scalp contrast less stark. I’ve seen it transform a woman’s relationship with her reflection. If I had to pick one cut from this whole list, that’s the one.
6. The Fringe Pulled Forward
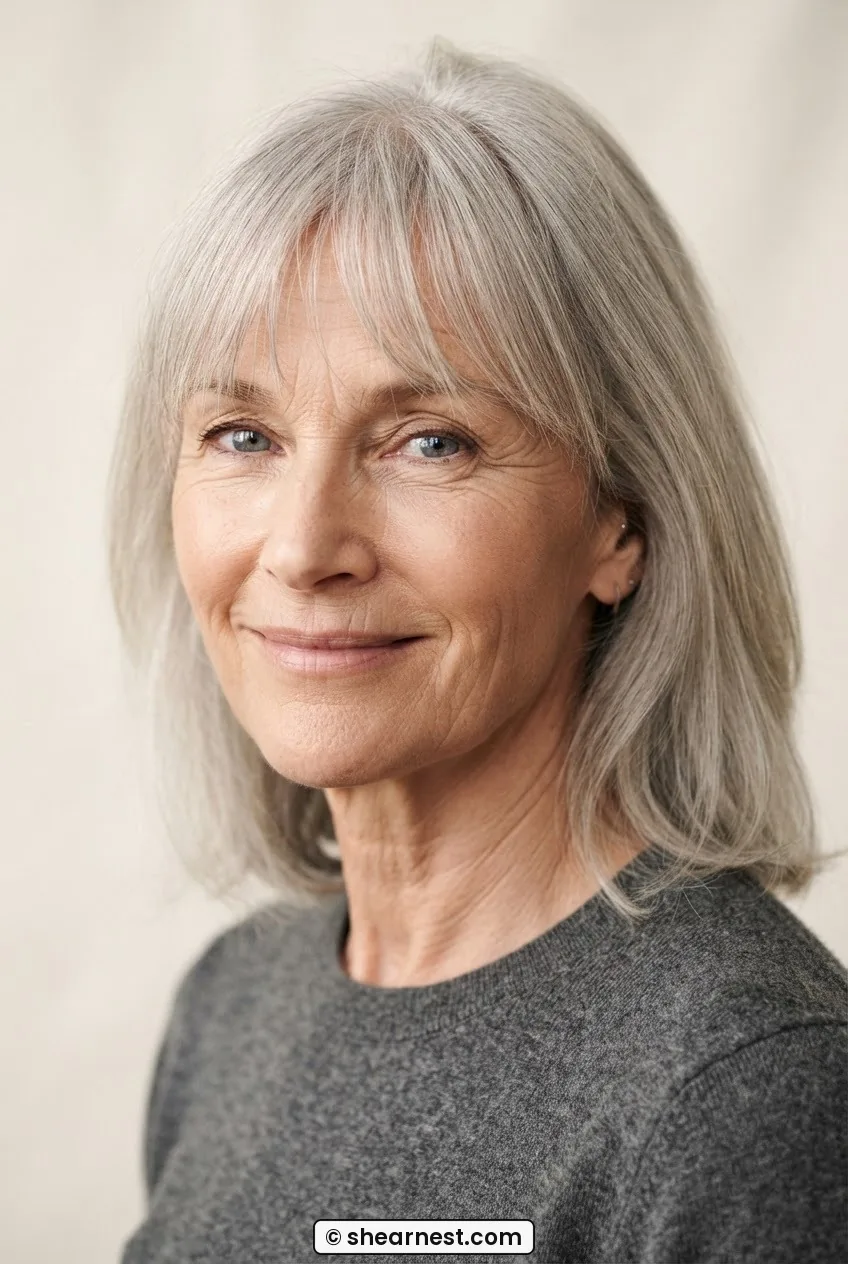
A fringe — specifically a soft, wispy fringe rather than a blunt one — covers the very front of the scalp line, which is often where thinning is most visible and most distressing. It’s one of the few cuts that offers actual physical coverage rather than optical redirection. The hair is literally sitting over the area in question.
The thing people don’t always consider: for a fringe to work on thinning hair, there needs to be enough density at the front hairline to cut from. If the front is significantly sparse, a fringe can end up looking thin itself — and a thin fringe draws more attention to the hairline, not less. A curtain bang or side-swept fringe tends to work better than a full blunt fringe here, because the softer shape is more forgiving of uneven density.
7. Layers Stacked Close to the Crown
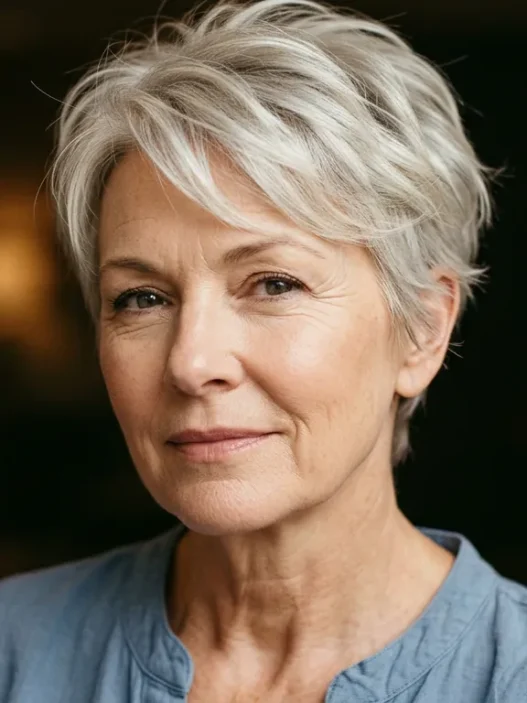
This is different from general layering throughout the length — I’m talking about layers that start relatively high, close to the crown, to build height and separation exactly where fine hair tends to go flat. The volume sits on top of the head rather than below it, which is where we need it. When I look at before-and-after photos where this is done well, the transformation at the crown is genuinely striking.
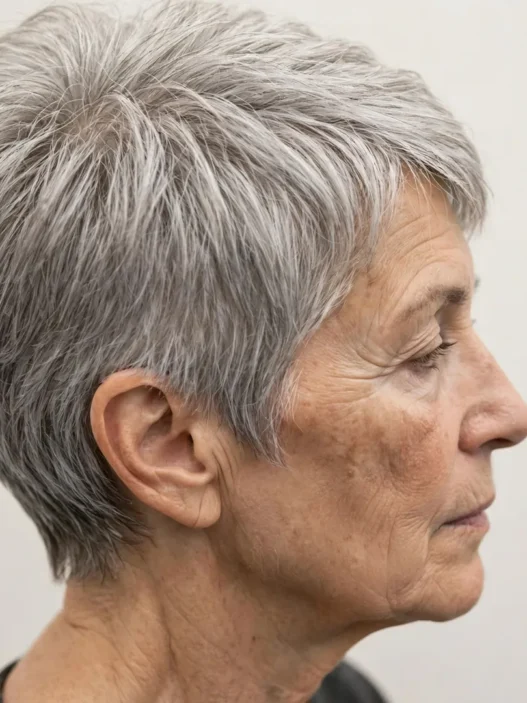
The mechanism is lift from separation. Short layers at the crown allow hair to stand slightly away from the scalp instead of lying flat against it, which reads as density. Pair it with a volumising mousse and a round brush blowdry and the effect compounds significantly. The women who struggle most with this technique are those with very little hair at the crown to begin with — there needs to be something there to layer. If you’re in that camp, read the section below on when a cut stops being the answer.
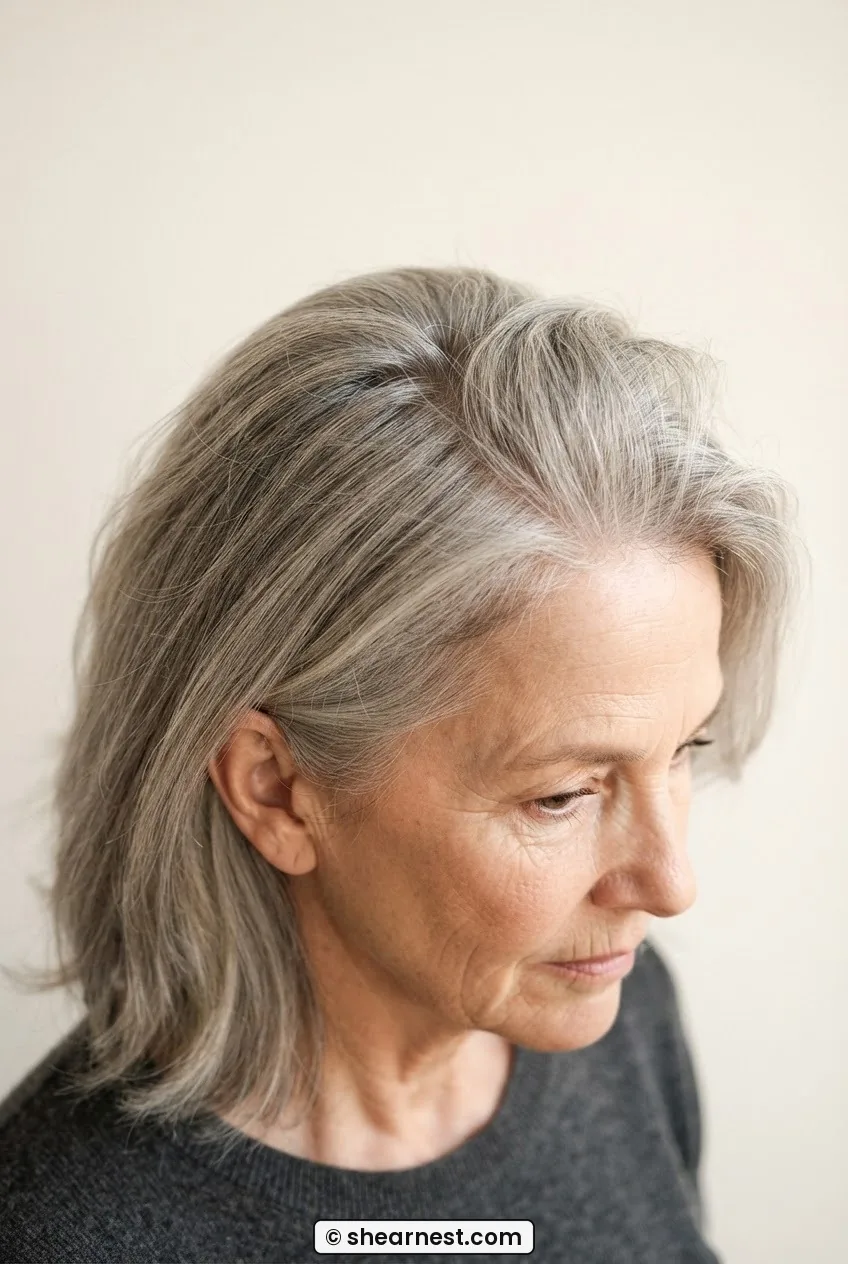
A Stylist Demonstrating Crown Layer Technique
8. The Bob Cut Blunt
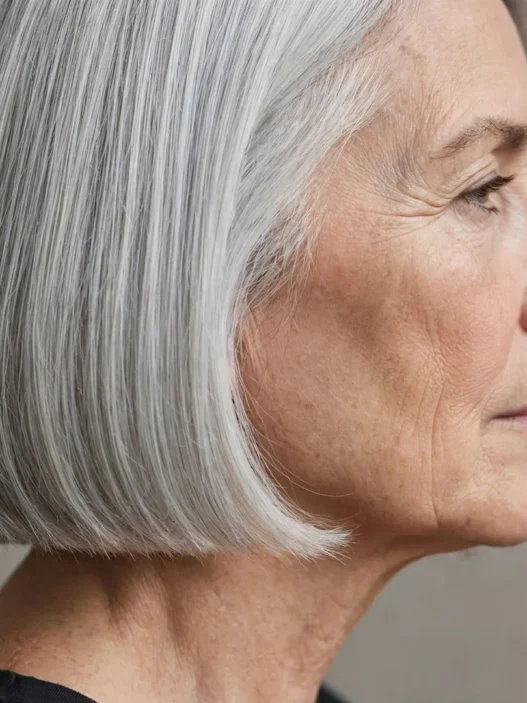
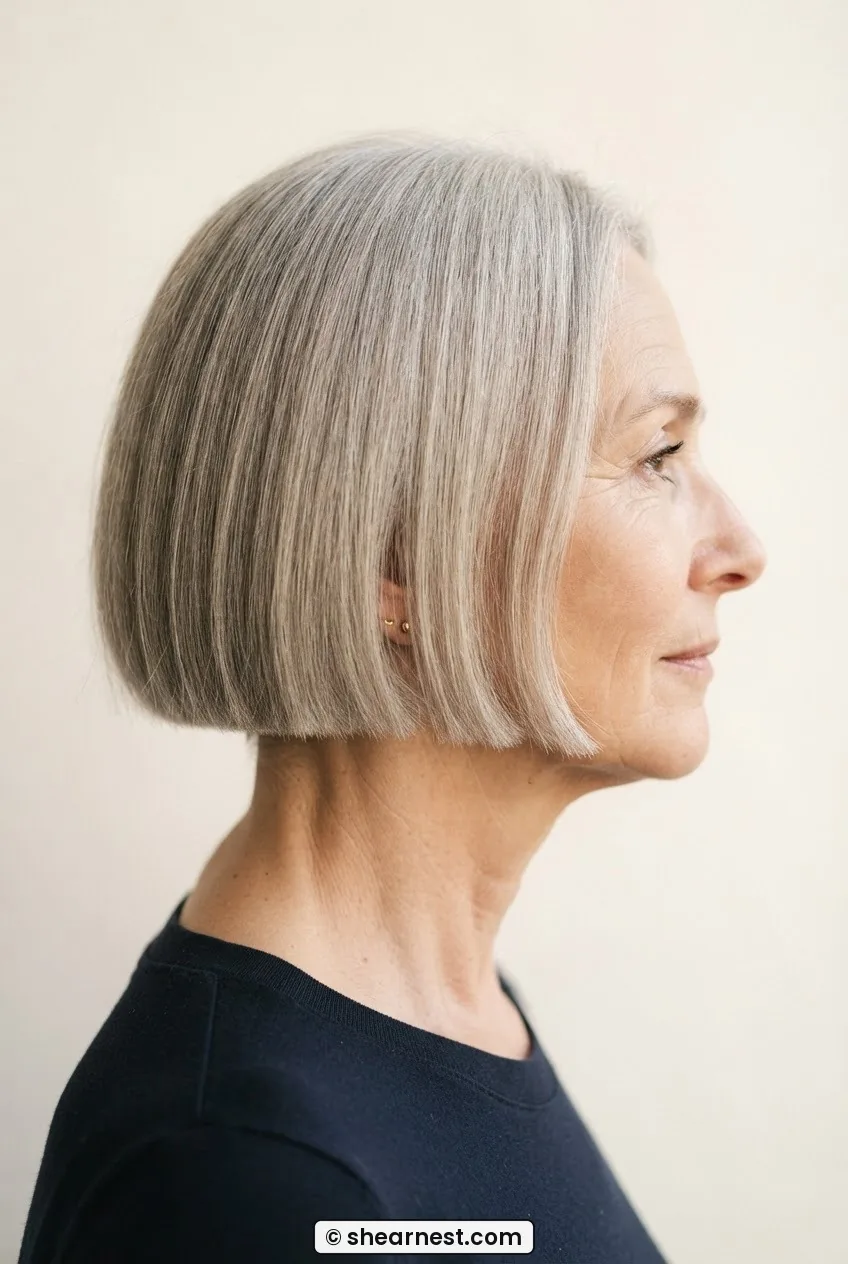
A blunt bob — all one length, no layering — concentrates every strand at the same point along the shaft. At the perimeter, where all those ends align, the hair looks thick. This is probably the most well-known density trick and it genuinely earns its reputation. The blunt perimeter creates a solid line that the eye reads as substantial.
But. And this is important: a blunt bob worn too long loses the effect. As it sits below the chin, the length starts to pull the hair down, and the blunt line starts to look sparse rather than solid. The most effective range is chin-length to just below the jaw. If you want length, the lob (long bob) can still work, but you’ll likely need some layering introduced to prevent it from looking limp — at which point you’re partially undoing the blunt effect. It’s a balance. For a broader look at what works cut-wise, the options I cover in haircut for fine hair over 50 go into that balance in real detail.
9. Curl Pattern Introduced
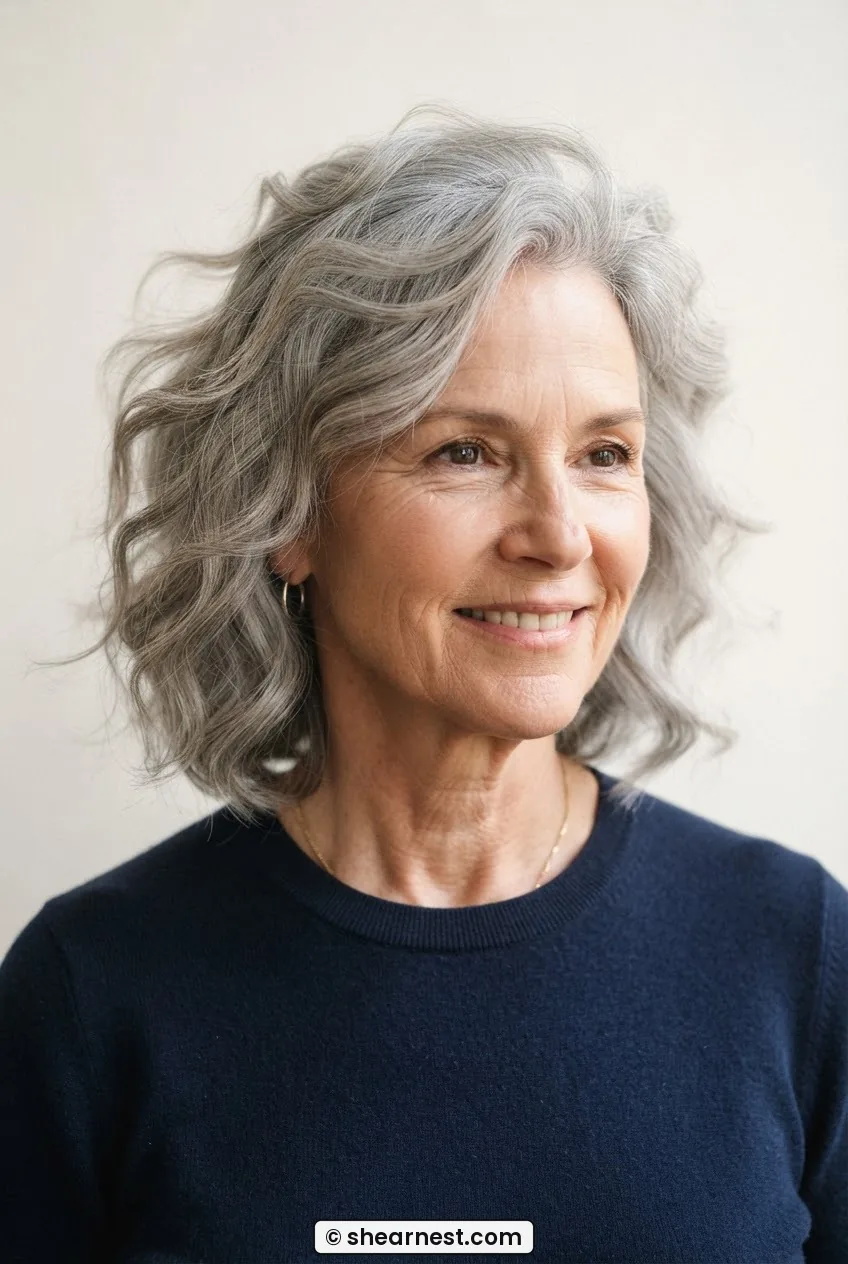
Curl and wave create volume through geometry — a curved strand takes up more physical space than a straight one. Introducing a wave pattern into fine or thinning hair through a body wave, a loose perm, or even consistent hot-tool styling (a large-barrel wand, used with a light touch) can meaningfully increase the visual density of the hair. The effect is real, not imagined.
The honest caveat: chemical services on already-compromised hair need to be approached carefully. Protecting fine hair during perms is worth understanding before you book anything. A stylist experienced with fine hair will use a gentler formula and be conservative with processing time. When done right, this technique hides diffuse thinning better than almost any cut — because it works in three dimensions rather than two.
10. Volume Lifted at the Root, Not the Ends
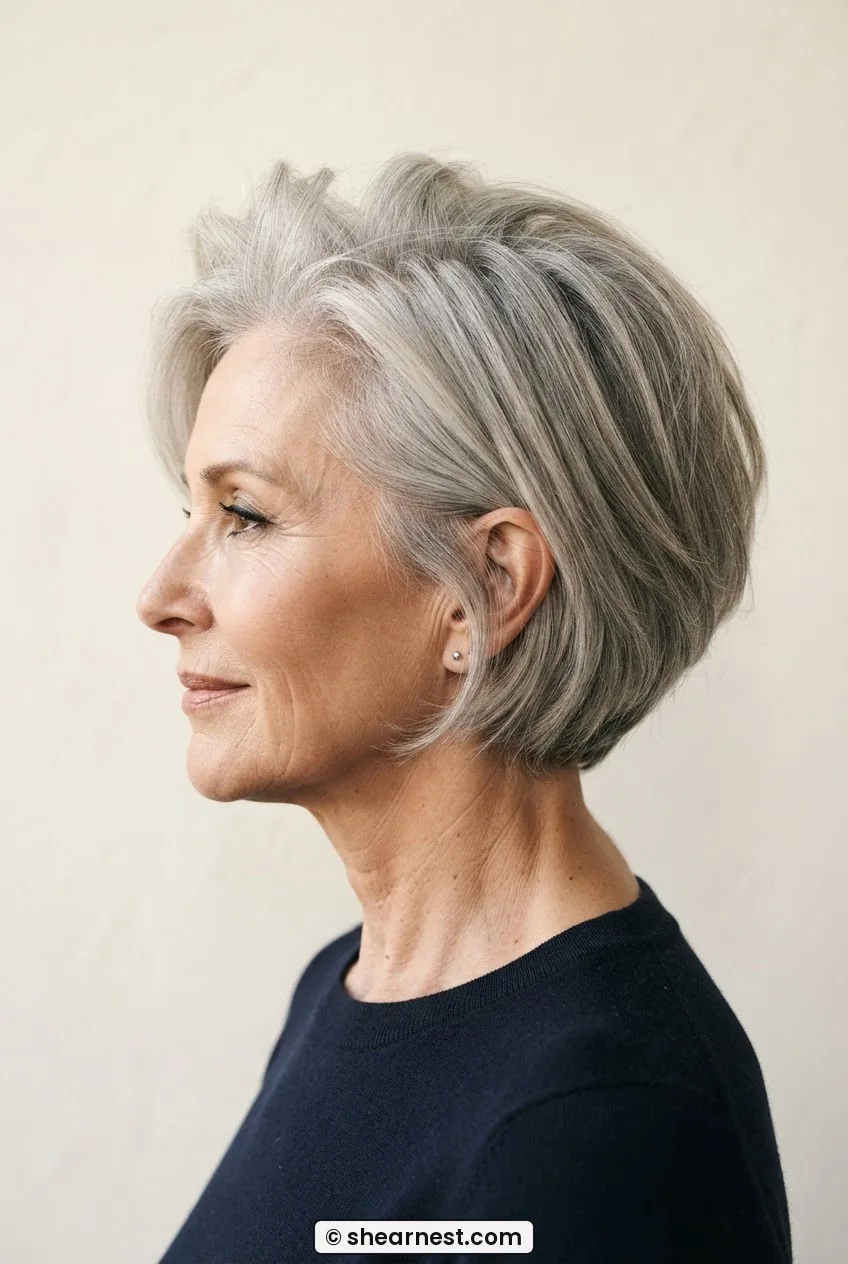
This one is as much about styling as cut, but certain cuts actively support root lift while others fight it. A cut with layers that start high, combined with a blowdry that lifts at the root using a round brush or even fingers, creates height that reads as density. The cut’s job here is to not flatten — to give the hair permission to stand up.
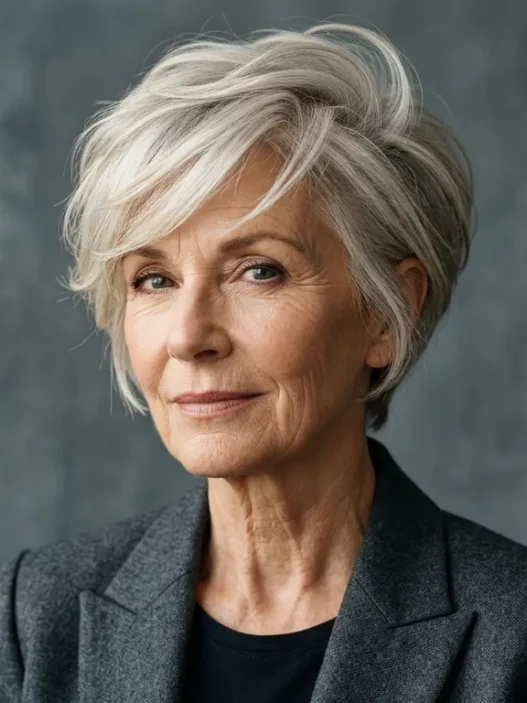
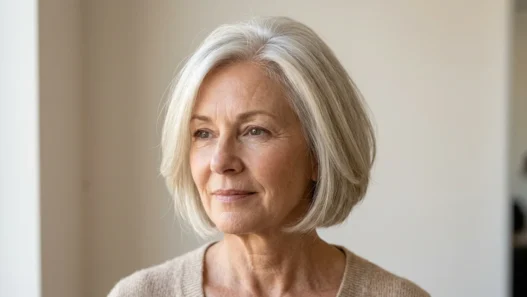
See how her hair in the photo has that lift at the crown — there’s real separation from the scalp there, and it changes the whole silhouette. That’s not product alone. The cut is shaped to allow it. If you’re interested in the styling side of this, the volume for fine hair techniques I return to again and again are worth your time.
The limit: root lift is a daily maintenance task. The moment you don’t blowdry with intention, the hair lies flat and the effect vanishes. A cut can support root lift — it can’t create it without you.
11. When the Cut Stops Being the Answer
Every technique above works within a range. When thinning has progressed to the point where the scalp is clearly visible through the hair in normal light — not just under harsh overhead lighting — even the best optical tricks struggle to keep up. At that stage, a cut can still improve things, but it’s no longer doing the heavy lifting.
This is where the conversation shifts: to scalp-coverage products, to scalp health, to speaking with a trichologist or dermatologist about whether what you’re experiencing has an addressable cause. Thinning that comes from hormonal changes, nutritional gaps, or scalp conditions can sometimes be slowed or partially reversed — but no amount of scissor work touches that.
For women at the severe-thinning end of the spectrum, hair pieces, toppers, and even full wigs have come a long way in 2026 — they’re genuinely beautiful, not a consolation prize. The women I most admire in this space are the ones who’ve stopped treating a wig as a last resort and started treating it as another tool. For an honest look at how needs evolve over time, what I’ve written about hair styles for women over 70 addresses some of this directly — because the conversation at seventy is often less about which cut and more about what the goal actually is.
What Women Actually Ask Me About These Cuts
Should I tell my stylist my hair is thinning, or will they notice?
Tell them — always. A good stylist notices, but knowing upfront means they can plan the cut differently from the first snip rather than mid-way through. Tell them where the thinning is most noticeable to you and what bothers you most about it. That specificity saves a lot of guesswork and gets you to a better result faster.
Does colouring make thinning worse, or does it actually help?
It depends on the service and the condition of your hair. Harsh bleaching on already-fragile fine hair can cause breakage that mimics thinning. But a well-placed tint or toner — especially one that adds contrast around the hairline or creates the impression of shadow at the parting — can visually reduce how noticeable a scalp gap looks. The fine and thinning hair colour strategies I keep returning to are about using colour as camouflage, not coverage.
Is there one haircut that works for all types of thinning?
No — and I’d be suspicious of anyone who told you there was. Diffuse thinning across the crown calls for different solutions than a receding hairline or thinning specifically at the temples. That’s why I break these down by mechanism rather than just cut name. The mechanism tells you which problem it actually solves.
My hair is very fine and thinning — should I go shorter or keep some length?
Generally, shorter wins — but not always as short as people assume. A chin-length to collarbone-length cut usually hits the sweet spot where length still frames the face but doesn’t drag the hair flat. I go into the specific length decisions in detail in my post on haircuts for thin hair over 50 if you want the longer version of that argument.
If you take one thing from this post, let it be that the mechanism matters more than the cut name. A bob doesn’t automatically help thinning hair — a blunt bob at the right length, with the part shifted and face-framing pieces kept long, uses three of these mechanisms at once. That’s when you start to see real change. Ask your stylist not just what they’re cutting but why — and if they can’t explain the optical logic, that’s useful information too.