







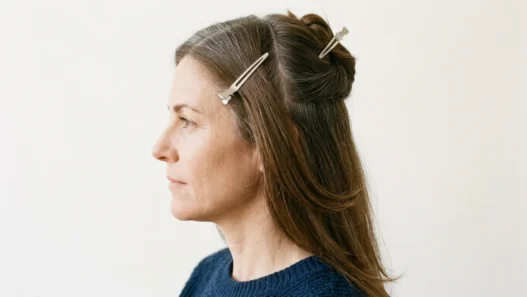


I kept putting off a proper cut for almost four months because I couldn’t find anything that explained how to actually do it — not just what it should look like when it’s done. Every guide showed a finished photo and called it a tutorial. I wanted the section sizes. I wanted to know where to point the scissors. I wanted someone to tell me what goes wrong first and why. So I finally worked it out myself, at my own bathroom mirror, over two very long Saturday afternoons. This is what I figured out.
Your Guide Through This Tutorial
- Why This Length Works So Well After 50
- What You’ll Actually Need
- Step 1: Washing and Rough-Drying to Natural Fall
- Step 2: Sectioning the Crown
- Step 3: Establishing the Base Weight Line
- Step 4: Cutting the Interior Layers
- Step 5: Releasing the Crown and Connecting the Sections
- Step 6: Drying Against the Fall
- Step 7: Where the Weight Comes Out — the Final Trim
- What It Looks Like When It Goes Wrong
- How Long It Holds and How to Revive It on Day Two
- Quick Answers Before You Start
Why This Length Works So Well After 50
Medium length — collarbone to just below the shoulder — is genuinely the most forgiving length there is once you’re in your fifties. I say that without a shred of nostalgia for my old long hair. The reason isn’t aesthetic, it’s structural. Hair after 50 tends to lose density at the ends, and longer hair just makes that visible. Medium length, with the right internal layers, keeps the ends looking full because there’s less length weighing the volume down.
The layers do two things. They redistribute weight so the hair doesn’t collapse flat by noon. And they create movement — actual visible movement — that makes the cut look expensive even when you’ve done it yourself on a wet Tuesday morning. If you’ve been reading about wavy haircuts for women over 50, you’ll know that texture plays a huge role here. Layers are the architecture behind all of that texture.
This tutorial teaches one specific result: a medium-length cut with soft internal layers, a preserved weight line at the perimeter, and enough movement that it air-dries into something genuinely wearable. Seven steps. One mirror. No second person required.
What You’ll Actually Need
Don’t overcomplicate this. You need fewer things than most tutorials suggest.
- Sharp haircutting scissors — not craft scissors, not kitchen scissors. A cheap pair of actual hair shears from a beauty supply shop will do more for this cut than an expensive pair of the wrong tool.
- A fine-tooth tail comb for clean sections
- Four or five butterfly clips (the flat, large ones — not small hair claws)
- A hand mirror, or a mounted second mirror behind you if you have one
- A spray bottle with water
- A lightweight leave-in conditioner or detangling spray — something that keeps the hair damp but doesn’t weigh it down
- A wide-tooth comb for detangling before you section
- A diffuser attachment for your dryer, if you have one (useful but not essential)
That’s genuinely it. I’ve seen tutorials that list ten products before you even pick up the scissors. For this cut, the scissors and the sections are the whole game.
Step 1: Washing and Rough-Drying to Natural Fall
Wash your hair and let it rough-dry to about 70–80% dry. Not damp, not soaking — you want it past the dripping stage but still pliable. The reason is important: if you cut wet hair, you won’t see how the layers will actually fall once dry, and you’ll almost certainly cut them too short. At 70% dry, the hair has already found its natural direction and weight, but it’s still easy to comb through cleanly.
While it’s drying, do nothing to it. Don’t scrunch it, don’t blow-dry it on a brush, don’t touch it much. You want it in its honest state — however it actually falls when left alone. This is your working canvas.
Once it’s at that 70–80% point, spray lightly with your water bottle to add a little even moisture back, then comb through gently with the wide-tooth comb from ends to roots. No tangles, no clumps. You want every strand moving freely before you section anything.
Step 2: Sectioning the Crown
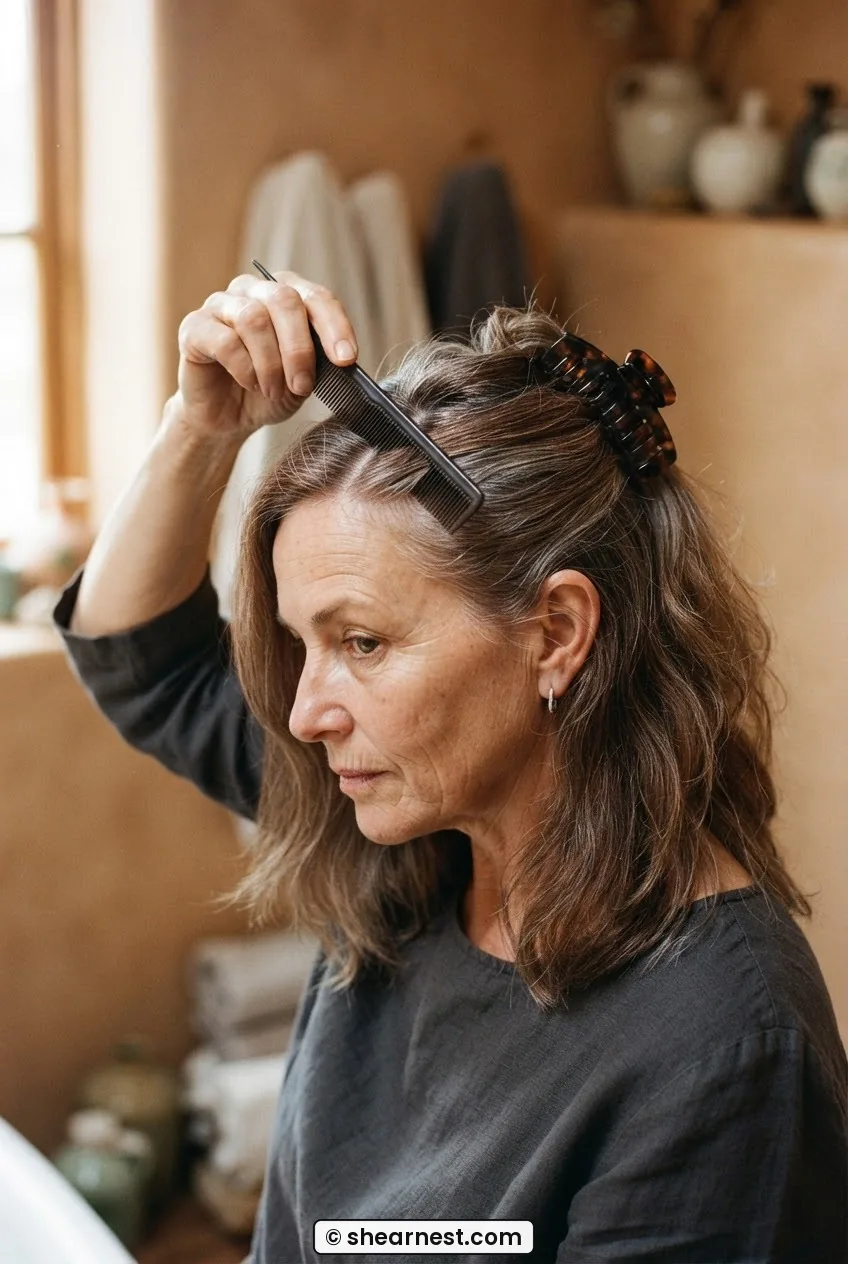
This step is where most home cuts fall apart, so go slowly here. Stand in front of your mirror in good light — side light is better than overhead light because it shows you the shape of the hair, not just the surface.
Use your tail comb to draw a horizontal parting from ear to ear across the top of your head. Everything above that line goes up into a clip. That top section is your crown, and you’re setting it aside for Step 5. Right now you’re working only with the sides and the back below that parting.
Then draw a vertical centre parting from that horizontal line down to the nape. Now separate what’s left (the sides and back below the crown parting) into two halves: left and right. Clip one side up and out of the way. You’ll work one half at a time.
Your working section at any given moment should be roughly the width of two fingers — about an inch and a half to two inches at most. Thinner sections give you more control and more precision. Thicker sections are where the bulk mistakes happen.

Step 3: Establishing the Base Weight Line
Before any layers, you need the perimeter line — the bottom edge of the cut. This is the weight line, and it’s what makes medium layered hair look intentional rather than just grown-out. Get this right and everything on top of it works. Get it wrong and the layers have nothing to connect to.
Let one side section fall completely natural, combed smooth. Decide on your length — for most women over 50, collarbone to just past the shoulder is the sweet spot. Point your fingers horizontally, sandwich a thin subsection between two fingers, hold your hand flat and parallel to the floor, and cut straight across with your scissors parallel to your fingers. Small snips, not one long slice.
Repeat this across the entire perimeter — both sides, the back (using your hand mirror to check). Keep checking that both sides match by pulling a piece from each side forward to your face and comparing them at the front. Don’t rely on feel alone. Your eyes will catch asymmetry that your hands miss.
The weight line should be clean and solid. Think of it as the floor of the house — the layers are the interior walls, and they need that floor to sit on.
Step 4: Cutting the Interior Layers
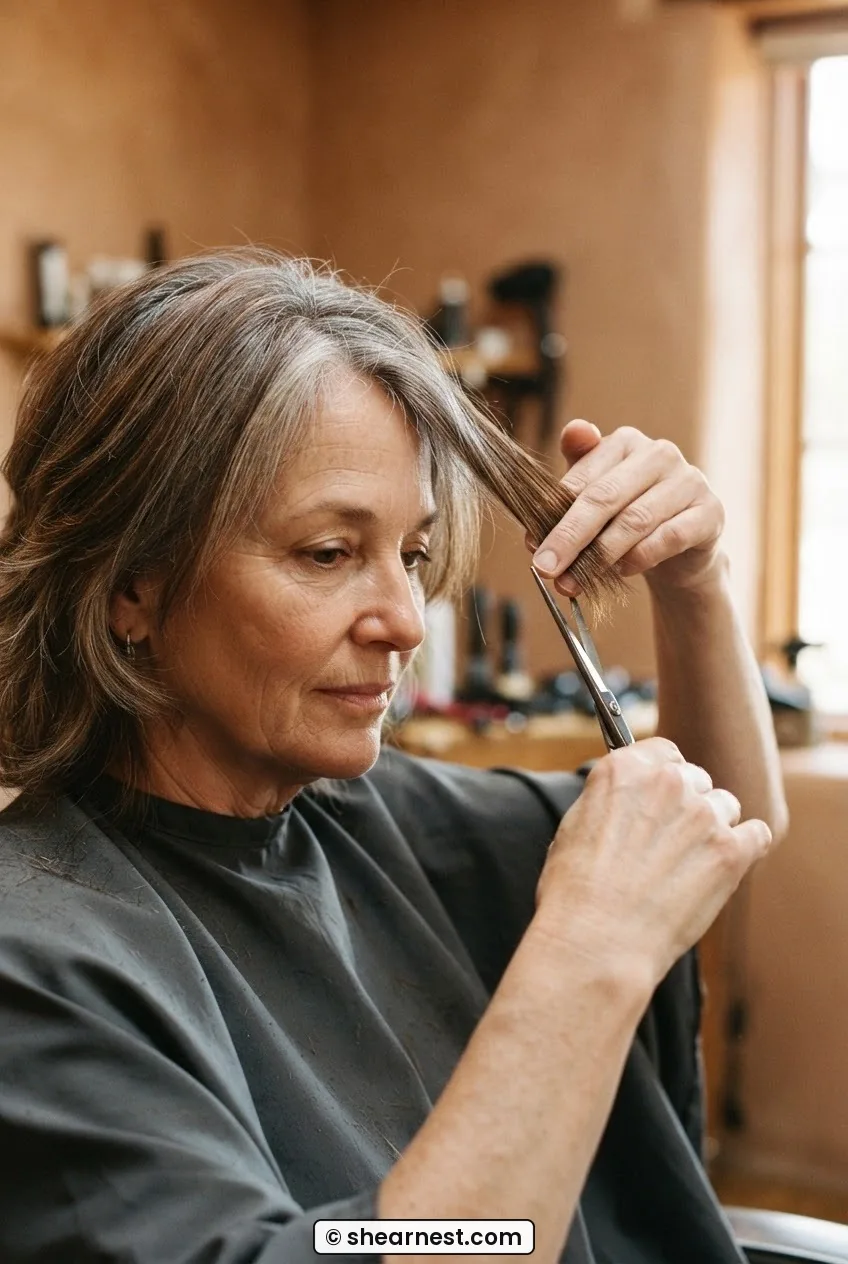
Now the actual layering begins. Still working with the sides and back below the crown, take a one-inch subsection. Hold it up and away from your head at roughly a 45-degree angle — not straight out horizontal (that’s too aggressive), not flat against the head (that’s no layer at all). Forty-five degrees upward and slightly away from the part gives you a soft internal layer that creates movement without removing the weight line you just established.
With the section elevated at that angle, slide your fingers up the section to where you want the layer to fall — typically three to four inches above the perimeter line for medium length hair. Cut across with small point-cuts rather than a blunt straight cut. Point-cutting means angling your scissors into the hair at a slight downward angle rather than cutting straight across. This softens the layer and prevents that harsh shelf-like line that makes home cuts look, well, home.
Work through each subsection systematically — front of the side section first, then move toward the back. Always comb the subsection out cleanly before elevating it. Hair has a memory and will fold where it wants to if you’re not deliberate. Your guiding hand position: the non-cutting hand holds the section firm with fingers flat, parallel to your cut line, keeping consistent tension on the hair. The cutting hand does short, confident snips. No hesitating mid-cut.
Repeat on the other side, using the first side as your guide — pull corresponding sections from each side and compare the elevation and length before cutting the second side.
Step 5: Releasing the Crown and Connecting the Sections
Unclip the crown section. Let it fall. Comb it smooth. Now look at where it meets the sides and back — there should be a visible transition, a step, between the crown hair (uncut) and the layered sides below. That step is what you’re going to soften here.
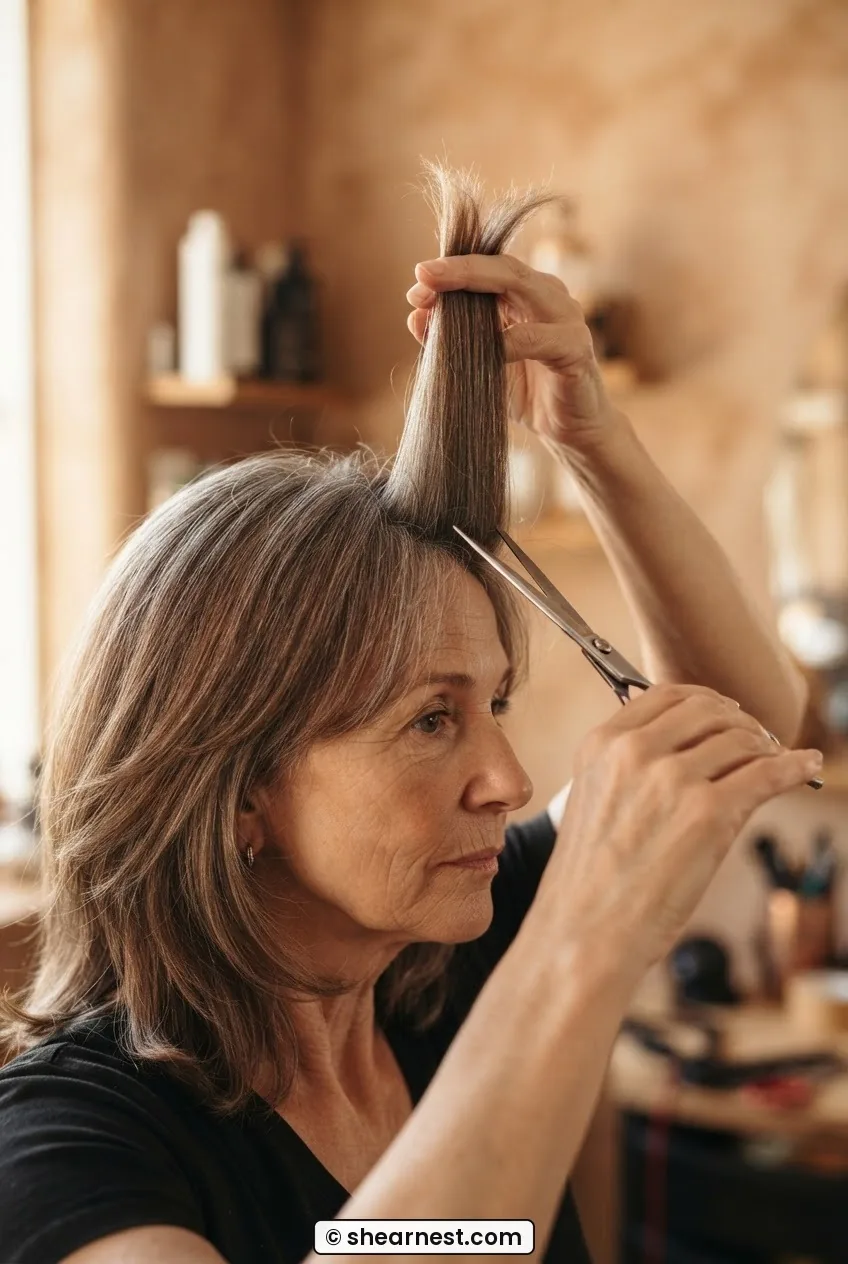
Take a subsection from the crown, about an inch wide, and hold it up vertically — straight up, 90 degrees from the scalp. Slide your fingers up to about two to three inches above the top of the head. Cut. This is your first crown layer, and it will be shorter than the sides. That’s intentional. The crown layer creates lift at the top and means the hair doesn’t sit flat against the head.
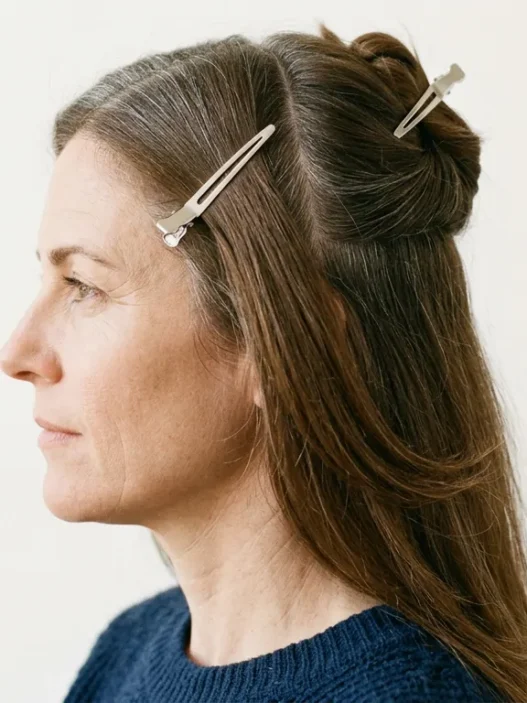
Work through the crown in sections, always elevating vertically. When you reach the front hairline, be more conservative — take less length here because the front layers frame the face. The goal is that the front pieces fall somewhere between cheekbone and chin when they’re finished, which is particularly flattering for softening the jawline. Look at how she’s wearing hers in this image — see how the front layer sits just past the cheekbone and creates that gentle frame? That’s exactly the position I mean.

Once all crown subsections are cut, run your fingers through the whole head of hair, tossing and separating, and look for any hard lines where the crown meets the sides. If there’s a visible step, take a small amount — one subsection, elevated at 45 degrees — and cut just a touch to blend. Don’t over-work it. One pass is usually enough.
Step 6: Drying Against the Fall
Here’s where the cut becomes a style. If you just air-dry after cutting, the layers will fall flat because the hair is doing what it always does. Drying against the fall — briefly lifting and directing the hair in the opposite direction from where it naturally goes — is what activates the layers and makes the volume visible.
With your dryer on a medium heat and low speed (high speed collapses the layers before they set), flip your head forward and diffuse or finger-dry from underneath. Use your free hand to lift sections at the roots and scrunch them upward while the dryer runs over them. You’re not trying to style it perfectly — you’re building body. Thirty seconds of this flipped forward makes a bigger difference than five minutes of careful brushing.
Then flip back upright and use your fingers — not a brush — to direct the layers where you want them. If your hair has any natural wave, this is when it’ll start to show. If it’s straighter, the movement from the layers will still be visible as a gentle flick where each layer ends. Let it finish drying naturally at this point, or use the diffuser on low to finish off any damp sections at the roots.

A Drying Technique Worth Watching Live
Step 7: Where the Weight Comes Out — the Final Trim
Once the hair is fully dry, you’ll be able to see the shape clearly. And you’ll almost certainly find one or two spots where the weight line has a little bump, or one layer is sitting slightly heavier than the others. This is normal. It’s not a mistake — it’s just the last stage of the process.
Hold up a hand mirror and check the back. Look specifically at the perimeter: it should be relatively even, with no single section dropping noticeably longer than its neighbours. If you find a bump — a section that’s a few millimetres longer than the rest — isolate it, hold it flat between your fingers, and take one small snip. Just one. Then check again.
For the layers, run your hands through the hair and feel for any section that feels heavier or thicker than the surrounding hair. That’s where the weight is sitting. Hold that section up at its cut angle and use two or three gentle point-cuts to remove a little of the bulk at the ends. The goal is not to make every layer identical — slight variation in layer weight is what creates that natural, dimensional look. You’re just removing any section that is noticeably heavier than its neighbours.
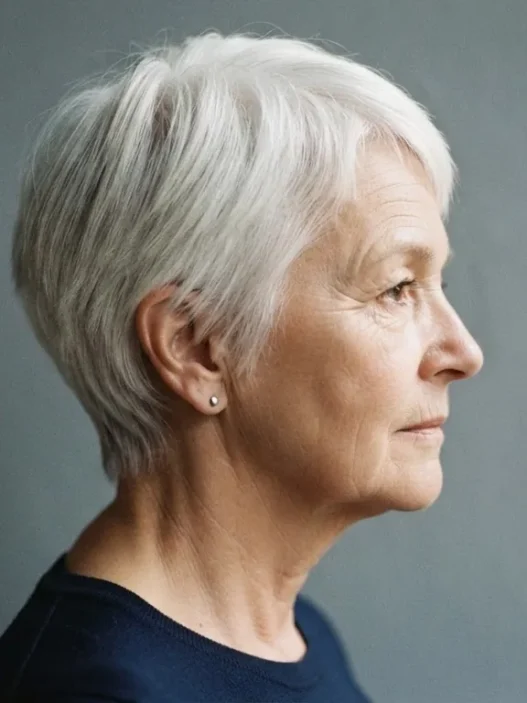
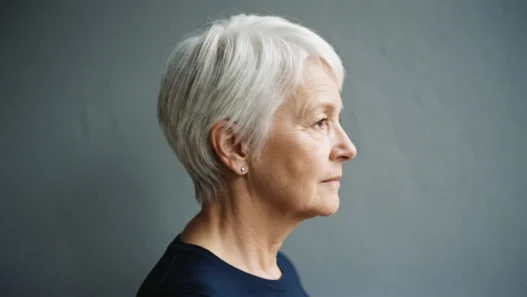
Look at her hair in this photo — you can see exactly how the layers separate and sit at different depths, with the lighter pieces at the crown and the slightly heavier pieces framing the jaw. That dimensional layering is what you’re going for, not a uniform staircase.
What It Looks Like When It Goes Wrong
My first attempt looked incredible from the front and absolutely chaotic from the back. I’d cut every section holding it forward toward my face — which is a natural instinct when you’re working alone at a mirror — and what that does is build in a dramatic V-shape at the back without meaning to. The weight line wasn’t level; it was almost two inches shorter in the centre back than at the sides. I spent another hour evening it up. The fix was to deliberately position myself side-on to the mirror at regular intervals and check the back balance before it’s too late — not just at the end.
A few other things that go wrong, and how they look:
- Hard shelf lines instead of soft layers: You cut with the scissors straight across instead of point-cutting. The fix is to go back over those sections and point-cut the edges. You can always soften a too-blunt layer, but you can’t add length back.
- Layers that are invisible: You elevated the sections too low — less than 30 degrees from the scalp. The hair needs to be lifted to a real angle for the layer to have any effect on the finished shape.
- One side longer than the other: Almost always caused by uneven tension. One hand holds the hair tighter than the other. The fix is to pull both sides forward simultaneously and compare before you cut the second side, not after.
- The crown looks flat: You didn’t elevate the crown sections high enough — they need to go straight up (90 degrees) to create real lift. If you cut them at 45 degrees, they’ll just blend into the sides without creating volume.
How Long It Holds and How to Revive It on Day Two
A well-cut medium layer on hair that’s in reasonable condition will hold its shape for six to eight weeks before it starts to look noticeably grown-out. The perimeter softens first, and the crown layers start to lose their lift as they get longer and heavier. You’ll feel it before you really see it — the hair will start to sit flatter by the end of the day, where before it was still moving by evening.
Day two is where most layered cuts either win or lose. Overnight sleep compresses the root volume and flattens the layers, especially at the crown. The revival method I rely on: don’t wash. Instead, spray the roots lightly with water (not the ends, just the roots), flip the head forward, scrunch and lift, then let it dry upright. The layers remember where they were. This takes about four minutes and gets you another full day.
If you’re reading up on longer-term styling approaches — particularly if your hair has some texture — the notes on styling medium wavy hair are worth looking at alongside this technique. And if you’re curious about how these medium layered cuts evolve as you get older, I’ve written about what actually changes about hair styles for women over 70, which gives some useful context for where this cut might go in the next decade or two.
One product that genuinely helps with day-two revival: a small amount of a lightweight hair oil worked through the mid-lengths and ends after the root refresh. Not the roots — just the ends. It smooths the layer edges and brings back that just-cut definition without making the hair look oily or flat.
By week three or four, you’ll probably want to do a light version of Step 7 — just a quick final trim on the perimeter to keep the weight line clean, without touching the internal layers. That alone buys another two to three weeks before a proper re-cut is needed. Many women doing this on themselves trim the perimeter every four weeks and do a full re-cut every ten to twelve weeks. That cadence works well. If you want to explore what other women in this age group are doing with medium lengths, the full collection of ideas for hairstyles over 70 shows how layered cuts adapt beautifully over time — much of what’s shown there starts with exactly this kind of foundation cut.
Quick Answers Before You Start
Can I cut my hair wet instead of 70% dry?
You can, but I genuinely don’t recommend it for this specific cut. When hair is fully wet it stretches, and it’ll spring up shorter than expected once it dries — especially if your hair has any natural wave. At 70% dry you see the real fall of the hair, which means your layer lengths will land where you intended them to. The only exception is if your hair is very straight and quite fine, in which case damp-cutting can work.
How do I know if I’ve taken too much length off the layers?
The honest answer is: you’ll feel it when you toss the hair and the top layers pop up noticeably shorter than you expected. A good test mid-cut is to let everything down, shake your head, and see if the overall shape still reads as medium. If the bulk of the hair is still sitting at collarbone-to-shoulder length, you’re fine — the internal layers can be quite short without changing the silhouette. If the overall length starts looking more like a lob than a medium, you’ve gone too far into the interior.
Does this work on fine hair, or does layering make fine hair look thinner?
This is the number one fear I hear, and it’s worth addressing directly: over-aggressive layering does thin out fine hair. But the technique in this guide — with a preserved weight line and layers that only remove three to four inches from the interior — actually adds the appearance of density rather than removing it. The key is not elevating sections too high and not point-cutting too deeply. Keep the layers soft and the perimeter solid, and fine hair benefits enormously from this approach. You can also read more about how layering works for fine hair if you want the deeper explanation.
I have a lot of grey coming through. Does this cut work differently on grey hair?
Grey and greying hair tends to have a slightly coarser, drier texture than pigmented hair, which actually helps with layered cuts — the texture grips the shape and the layers tend to hold their position better. The main adjustment I’d suggest: be a little more conservative with how much you take off the perimeter, because grey hair can look thin at the ends more quickly. And if you’re in the process of transitioning, I’d also look at the notes on wavy haircuts for women over 50, since the grey transition often reveals natural wave texture that changes how layers behave.
Three weeks after I finished this whole process for the first time, my hair was still sitting well. The weight line was holding, the crown layers were creating actual movement, and I’d done it in two sittings at my own mirror. If you have questions about the technique or want to share how it went, you’re welcome to reach out through the contact page — I genuinely love hearing what worked and what didn’t. This cut is forgiving enough that most small errors are fixable, and the more you do it, the faster and easier the whole process becomes.