



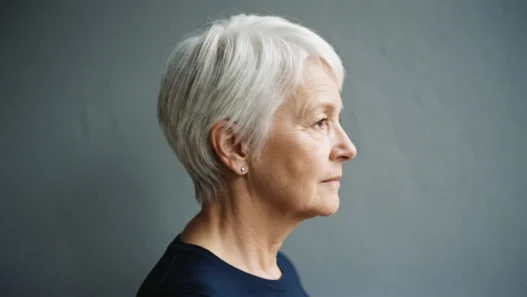

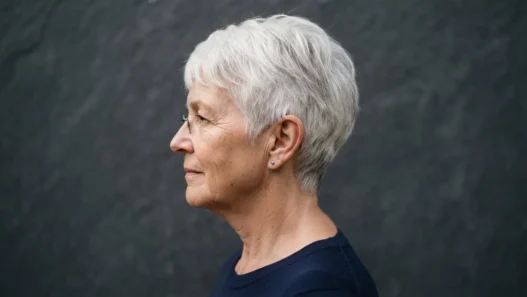


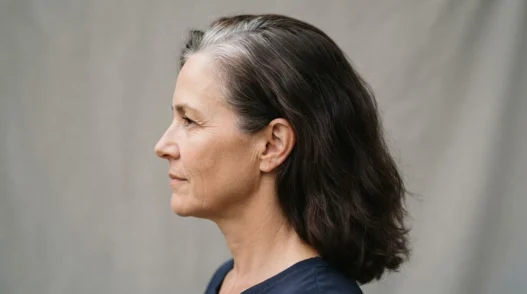
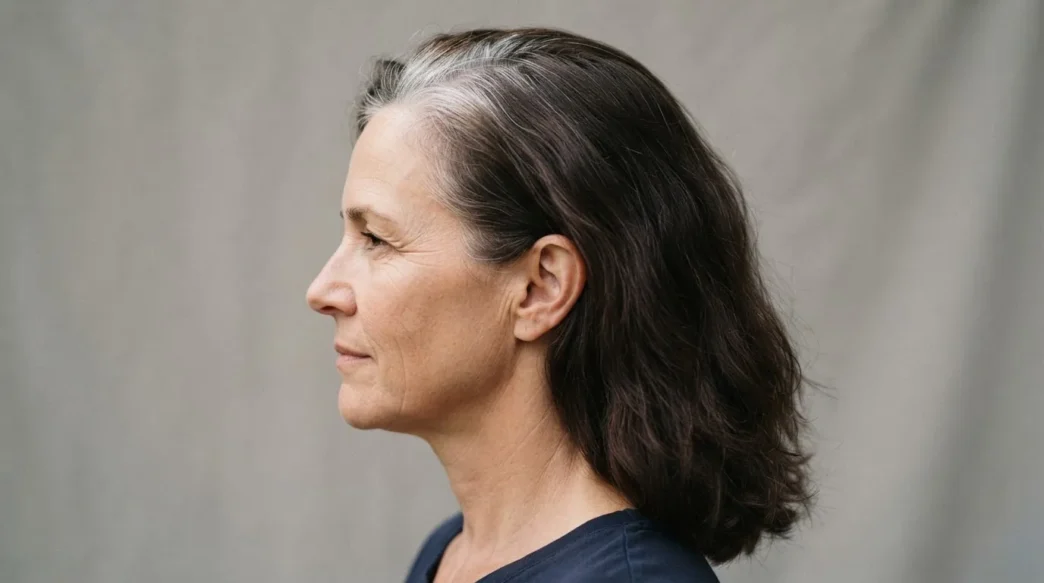
I spent about three years fighting my roots before I stopped. Not going fully gray, not committing to the dye — just existing in this uncomfortable in-between where my dark brown lengths looked like they belonged to someone else entirely. The silver at my crown was coming in fast, the demarcation line was sharp enough to photograph badly in any light, and every time I tried to blend it myself I either ended up with orange banding or a muddy smear that fooled nobody. What finally worked wasn’t dramatic. It was patient. It was a method I pieced together from two colorists, a lot of failed attempts, and one very honest bathroom mirror.
What’s In This Guide
- Why This Method (And Not Box Dye)
- What You’ll Need
- Step 1: Mapping the Demarcation Line
- Step 2: Sectioning the Crown
- Step 3: Mixing for Your Depth
- Step 4: Applying Along the Root Panel
- Step 5: Pulling Through the Lengths
- Step 6: Processing and Rinsing
- Step 7: Toning the Silver
- What It Looks Like When It Goes Wrong
- How Long It Holds and Day-Two Revival
- Questions I Get About This
Why This Method (And Not Box Dye)
Box dye and permanent color are what got most of us into this mess. They deposit pigment uniformly, which means when your natural silver grows in — and it will, faster after 40 than you think — the line between new growth and dyed length is stark. Clinical. On dark brown hair specifically, that contrast is especially unforgiving because the depth of a Level 3 or 4 brown sits so far from the lightness of incoming silver. You can’t just cover the silver and expect it to look soft. It won’t.
What this method does instead is blur. It uses a lightener in very thin, closely spaced sections near the root to feather the boundary, then deposits a demi-permanent tone through the mid-lengths to lift some of that built-up dark pigment slightly. The result isn’t a full gray transition — it’s not a full color either. It’s a negotiation. The silver gets to exist. The brown gets to stay. The line between them starts to look like something a stylist chose rather than something that just happened.
If you’re also thinking about where a cut fits into all this — because length genuinely affects how visible the demarcation is — it’s worth reading about haircuts for fine hair over 50 that work with the transition rather than against it. Shorter lengths with movement hide less-than-perfect blending much more kindly than a blunt, heavy hem.
What You’ll Need
I’m going to be straight with you about this list — some of it matters a great deal, and some of it is just a preference. I’ll tell you which is which.
- A powder lightener — not a bleach kit from the drugstore, ideally. Something from a professional line with a bond protector built in. Redken Flash Lift Bonder Inside or Wella Blondor Seal & Care are the ones I’ve used and trusted. This genuinely matters — cheaper lighteners lift unevenly on dark hair.
- 20-volume developer — not 30. On fragile, already-processed dark lengths you do not need the aggression of 30 volume near the root panel. 20 is enough.
- A demi-permanent gloss in your depth, one shade lighter — if your natural brown is a Level 4, choose a Level 5 demi in a neutral-ash or cool-neutral tone. Redken Shades EQ is the one I keep coming back to. You need it slightly lighter because the silver will resist, and the gloss is there to close the gap between the silver and the length, not to cover the silver entirely.
- A violet or blue toning shampoo — for after, to knock out any warmth that appears. This is optional but I’d really recommend it. Ten minutes of purple shampoo after your rinse changes things.
- A tint brush and bowl — not your fingers, not a comb. A brush. Application precision is everything in this process.
- Foils or cotton strips — I prefer foils because they hold heat and process more evenly.
- A sturdy sectioning clip (or four) — the cheap plastic ones that snap immediately will make you furious. Get the duckbill type.
- A mirror you can angle — or a two-mirror setup. You will be working one-handed at the back of your own head. Do not underestimate how important this is.
- A timer on your phone — because you will absolutely lose track.
- Old towel, old shirt, petroleum jelly along your hairline — the basics, always.
Step 1: Mapping the Demarcation Line
Before you open anything, do this first. Stand in good light — daylight if you have it, or directly under a light rather than beside it — and look at your roots honestly. The demarcation line is the edge where your silver regrowth ends and your colored length begins. On dark brown hair it often looks like a visible ridge, almost a different texture.
What you’re mapping is its depth. Run a finger along the part line and measure, roughly, how far down the shaft the silver goes. Is it half an inch? An inch? Some of us have two inches of regrowth when we finally get around to this. That measurement determines how wide your root panel will be when you apply lightener. You want to work within that silver zone, not above it or below it. Going below it — into the dyed length — is where banding happens. Going above it means you’re lightening already-silver hair, which you don’t need to do.
Make a mental note — or literally draw a line with a rattail comb — of the boundary. Now look at the whole picture. Is the silver concentrated at the crown and temples? Does it appear differently at the nape? This matters because the nape often resists lightener differently than the crown, and you may need to apply there first if it processes slower on your head.
Step 2: Sectioning the Crown
This is the step most at-home attempts skip, and it’s the one that costs them the result. Proper sectioning is what separates a blended finish from a blotchy one.
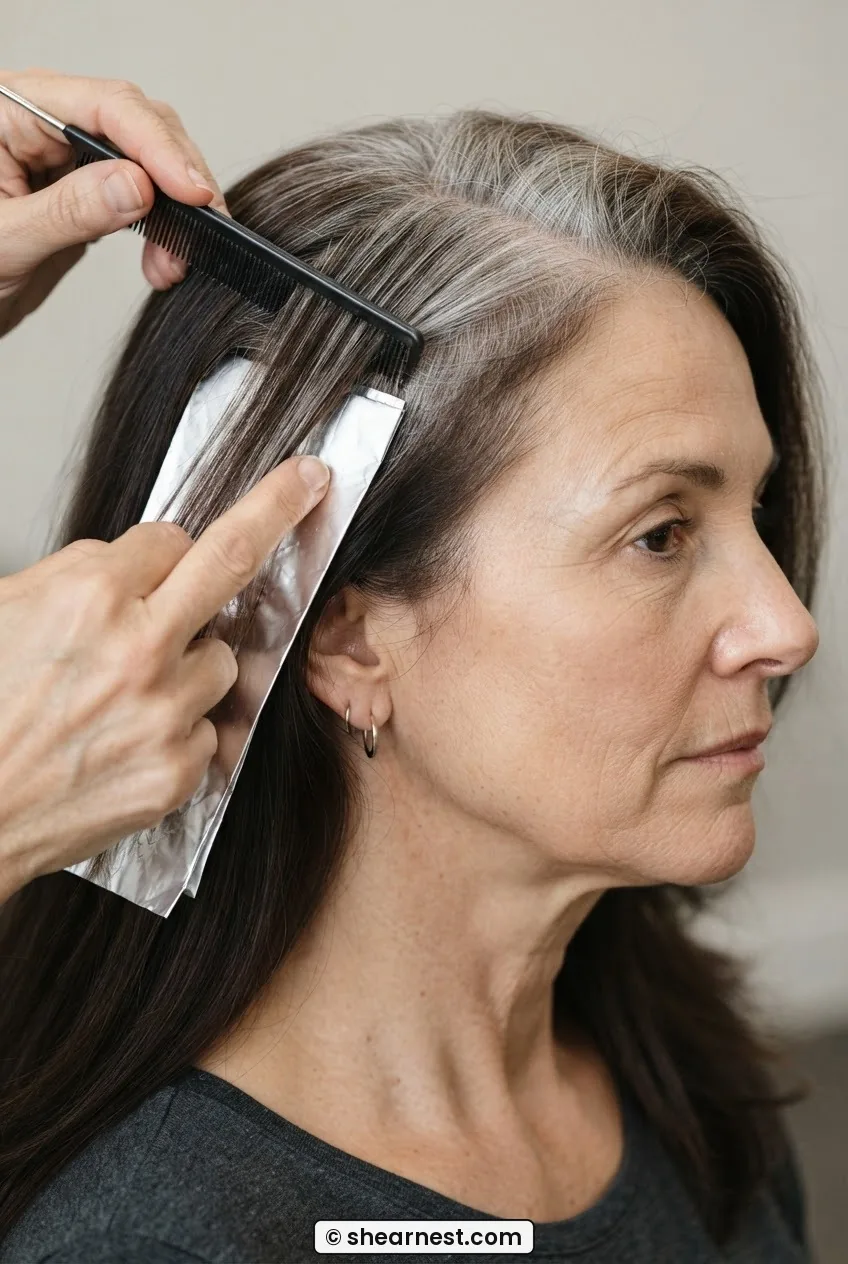
Start with dry, unwashed hair. Not freshly washed — the natural oils actually protect your scalp slightly during processing. Begin at the crown. Part your hair straight down the middle from the front hairline to the nape. Then take a horizontal part ear-to-ear across the crown, creating four rough quadrants. Clip the back two sections up and out of the way.
Now, within one of the front sections, take your first working subsection. This should be thin — about a quarter inch. Think of it as a slice, not a chunk. Lay it flat, pull it taut, and hold it between two fingers. The section should be thin enough that you can see through it when you hold it up to the light. This thinness is what creates the soft, feathered edge rather than a hard band. If your slices are too thick, the lightener deposits in a block and the contrast remains visible.
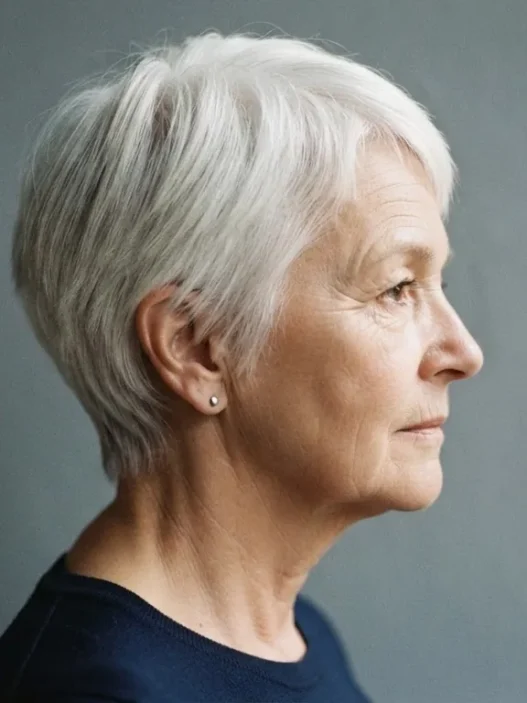
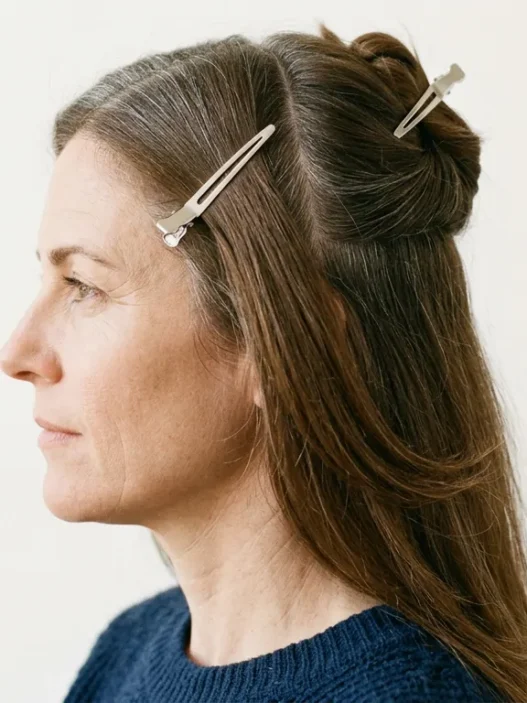
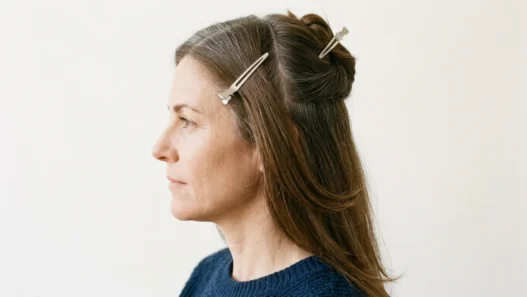
Look at her in that photo — see how the section sits flat against the head, parallel to the part? That’s the position you want. The section should lie completely flat, not bunched or twisted. If you’re working one-handed, use the tail of your comb to hold tension while your other hand places the foil.
Step 3: Mixing for Your Depth
Mix your lightener now — after sectioning, not before, because powder lightener starts working as soon as it’s combined with developer and you don’t want to be rushing your sections because the product is already activating in the bowl.
The ratio for most powder lighteners is 1:2 — one part lightener to two parts developer. Mix until it’s smooth and has a consistency like thick yogurt. Too runny and it drips off the foil onto your lengths. Too stiff and it won’t distribute through the section. Aim for something that moves but holds its shape when you load the brush.
For dark brown hair specifically — Level 3 to Level 5 — you are not trying to lift to blonde. You’re lifting the boundary zone about two levels. The silver itself doesn’t lift (it has no pigment to remove), but the dark hair immediately adjacent to it will go from Level 4 to roughly Level 6 or 7, which is a warm, medium brown with slight softness. That’s all you need. You’re not going platinum. You’re closing the contrast gap by just enough that the eye reads it as intentional.
Understanding how lightener behaves on dark hair takes a little research — you can read more about how lifting dark pigment works before you mix, especially if your lengths have been colored repeatedly over the years, which affects porosity and lift speed.
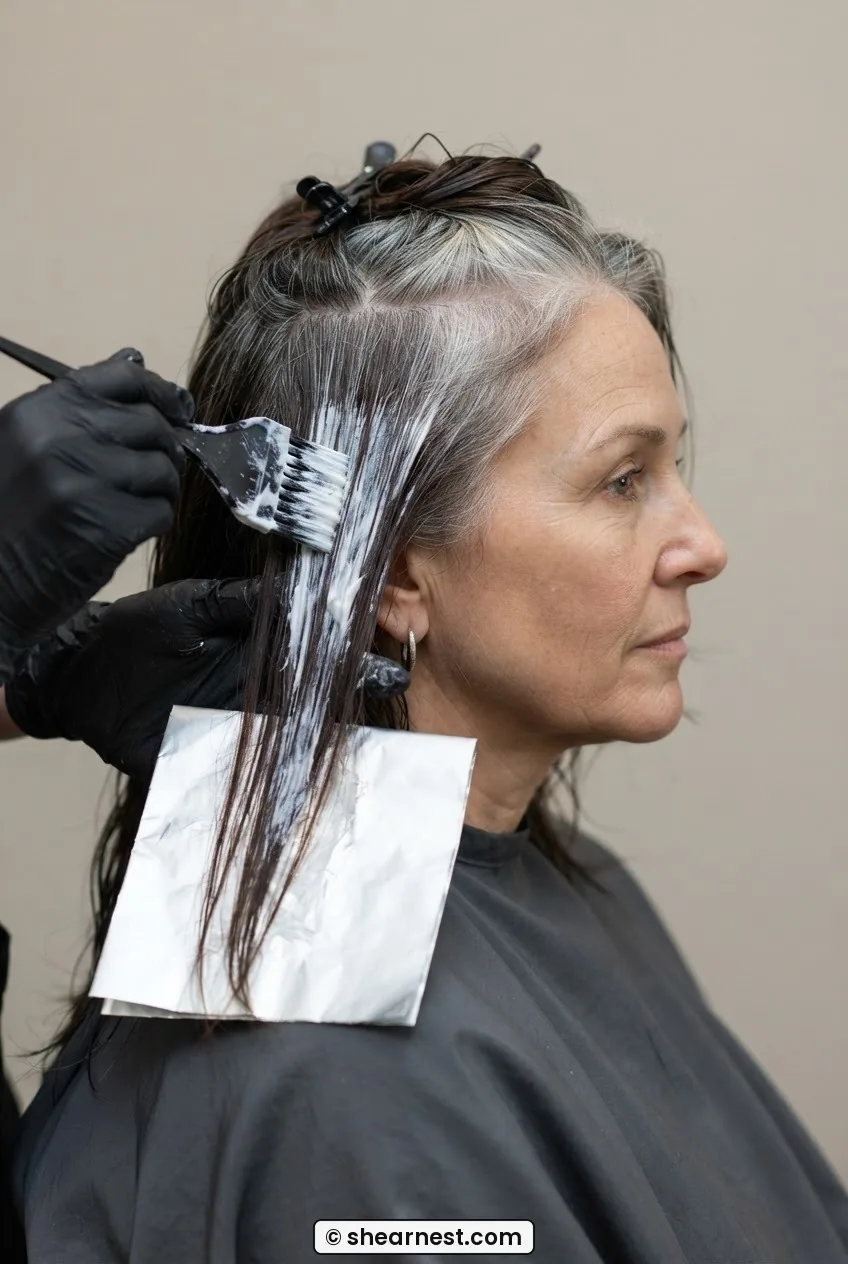
Step 4: Applying Along the Root Panel
This is the step where most people go wrong, myself included the first two times. The instinct is to apply the lightener right at the scalp, covering all that silver as thoroughly as possible. Don’t. That’s the old cover-up logic and it doesn’t serve you here.
Instead: place your foil under the thin section you’ve taken. Load your brush with lightener and start about a quarter inch below the visible silver line — in the dark hair, not in the silver. Apply in smooth, downward strokes for about half an inch to an inch into the length. The point is to lighten that hard edge in the dark hair so it transitions gradually toward the silver. You are lightening the brown side of the boundary, not the silver side.
Then — and this is the part that makes the difference — feather the bottom edge. Don’t cut it off sharply. Drag the brush lightly downward with diminishing pressure for about another quarter inch so the lightener thins out gradually. This is what creates the soft boundary that reads as blended rather than banded. Fold the foil up, press it flat against the head, and move to the next section.
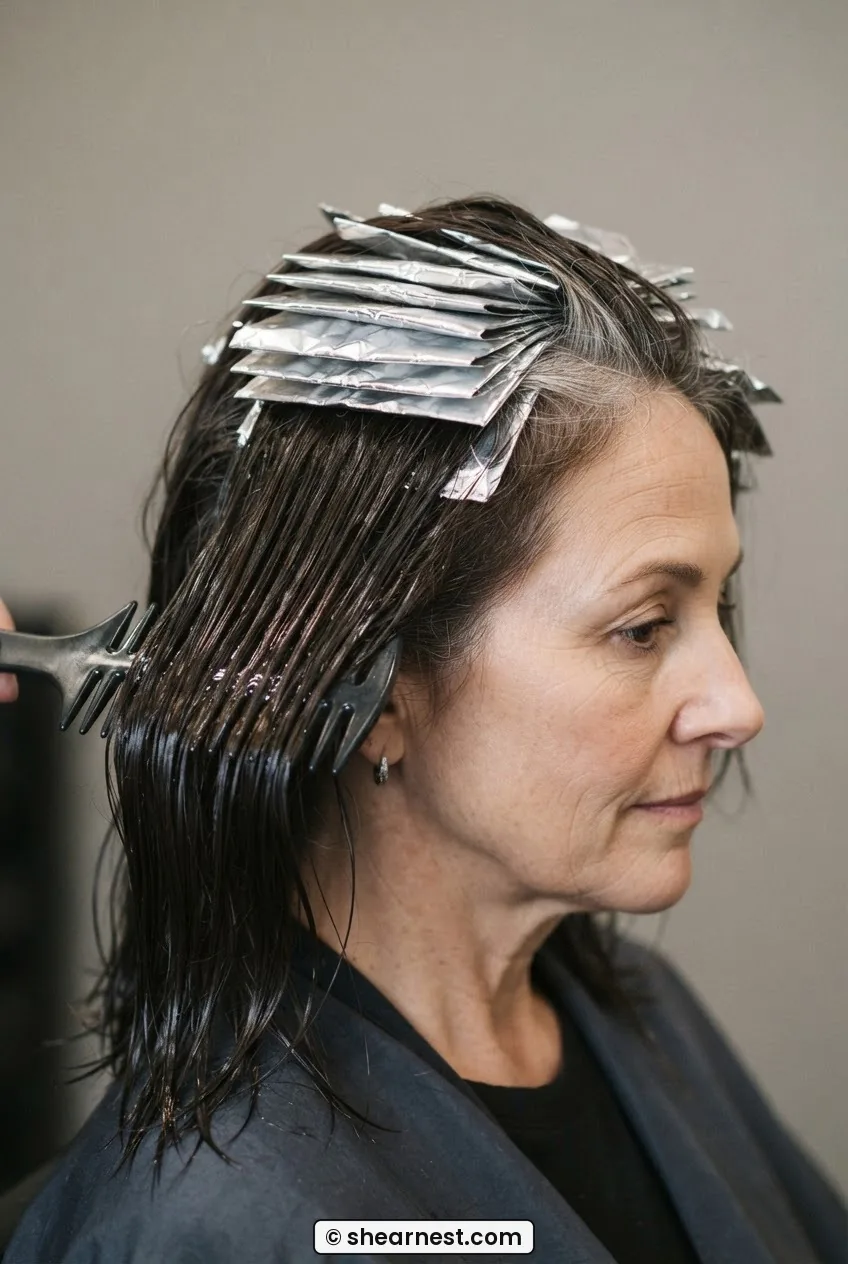
Mistake I Made: The first time I tried this, I applied the lightener directly onto the silver regrowth — covering it completely — which made no sense in retrospect, because silver hair has no pigment to lift. It just sat there, the developer dried it out, and when I rinsed, the silver looked exactly the same while the area just below it had gone a weird brassy orange. The orange happened because I’d lifted the dark hair too far and too unevenly, and I hadn’t toned afterward. I had a worse demarcation line than when I started, just in a different color. Don’t do this. Start in the dark hair below the line, not in the silver above it.
Seeing the Feathering Technique in Real Time
Step 5: Pulling Through the Lengths
Once all your foils are placed and processing — I’ll get to timing in the next step — you have about ten to fifteen minutes while you wait. Use them. This is when you mix your demi-permanent gloss.
The gloss is applied to the lengths that are not in foils. Its job is to refresh the color depth, add shine, and — this is the key part — slightly shift the tone of your existing color so it sits closer to the cooler, ashier territory of your natural silver. This tonal alignment is what sells the whole thing. If your dyed lengths are a warm, reddish brown and your incoming silver is a cool, blue-toned white, your eye will always read them as different even after you’ve blended the edge. You need to bring the lengths toward the silver tonally, not just structurally.
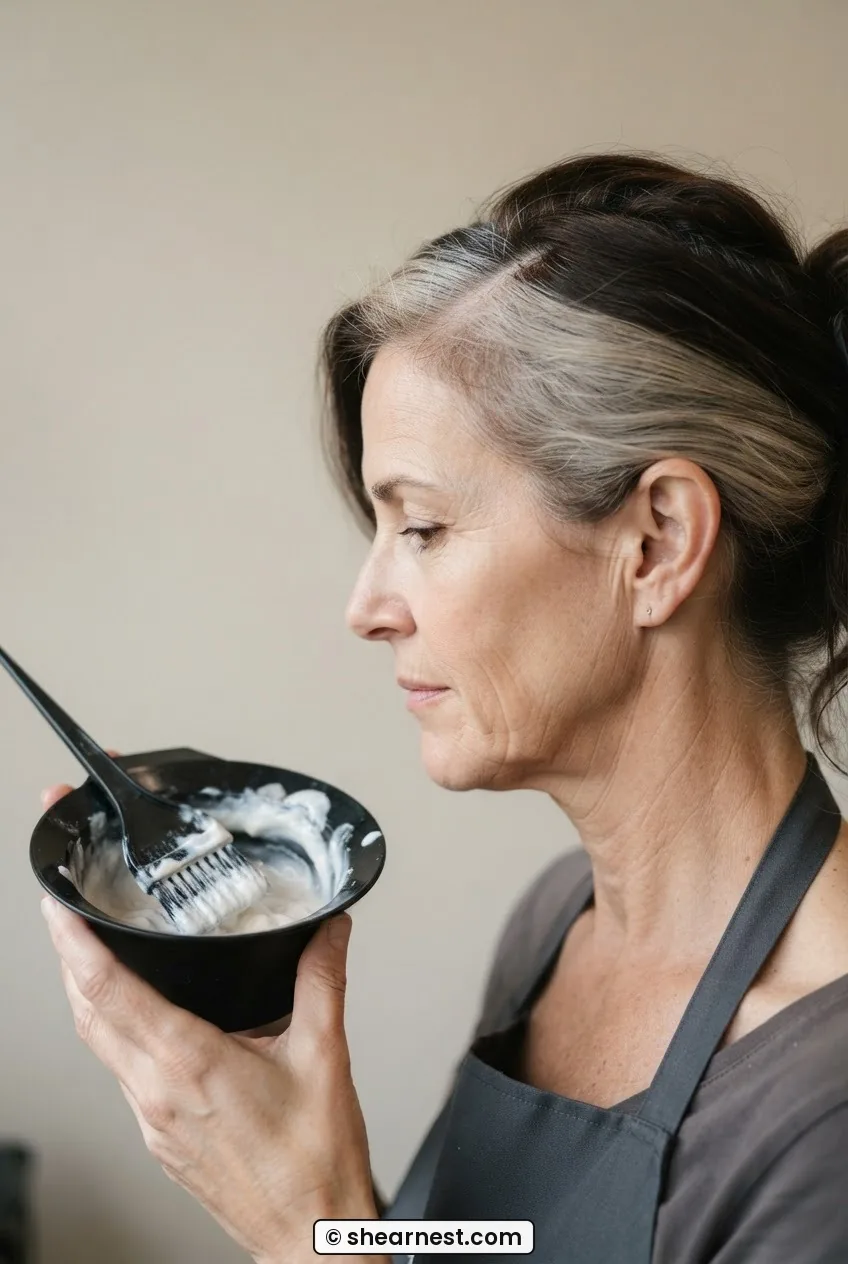
Mix your demi in a neutral-ash or cool-neutral shade, one level lighter than your current shade. Apply it from mid-length to ends on all the hair not in foil. Comb it through with a wide-tooth comb. This process is gentle — demi has no lifting power, so it won’t damage your ends, and it rinses out over six to eight weeks rather than creating another permanent line of demarcation when it fades.
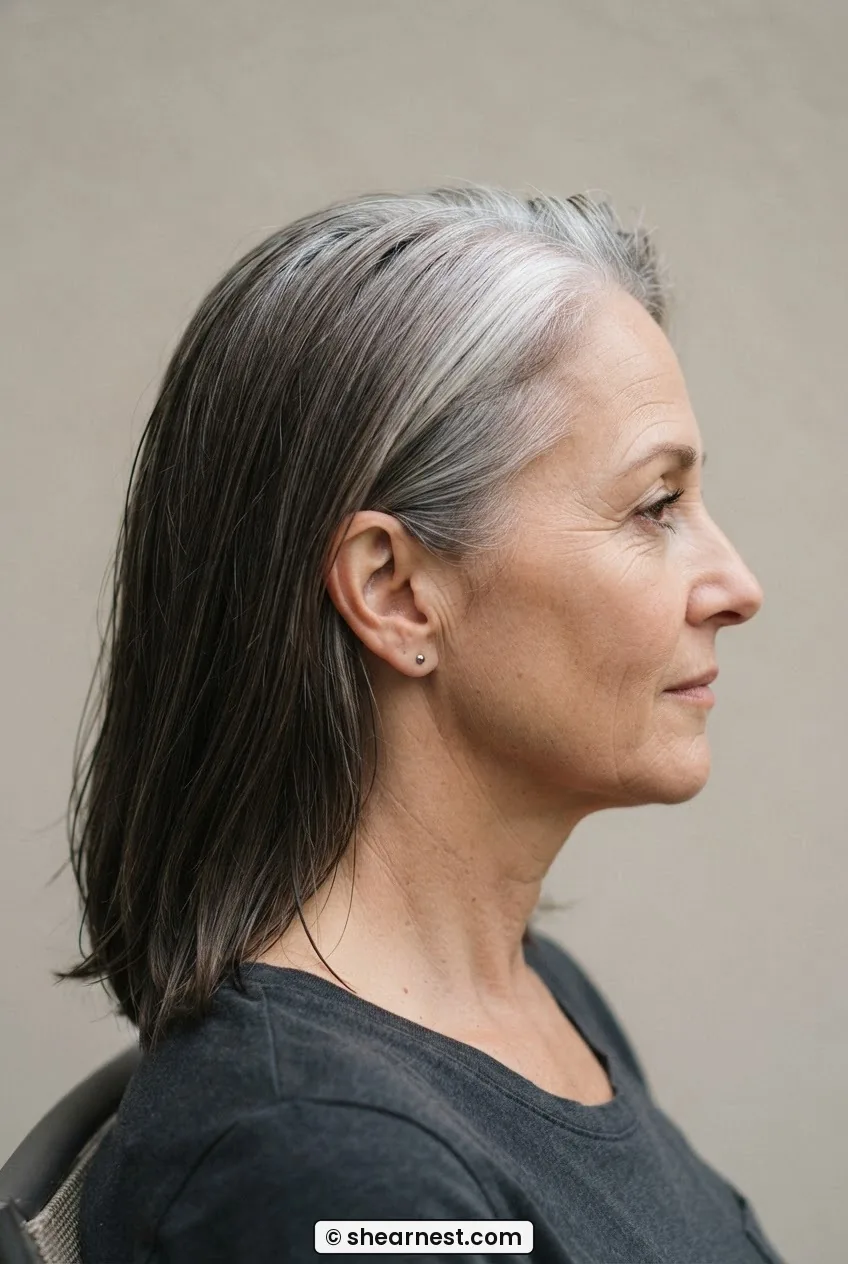
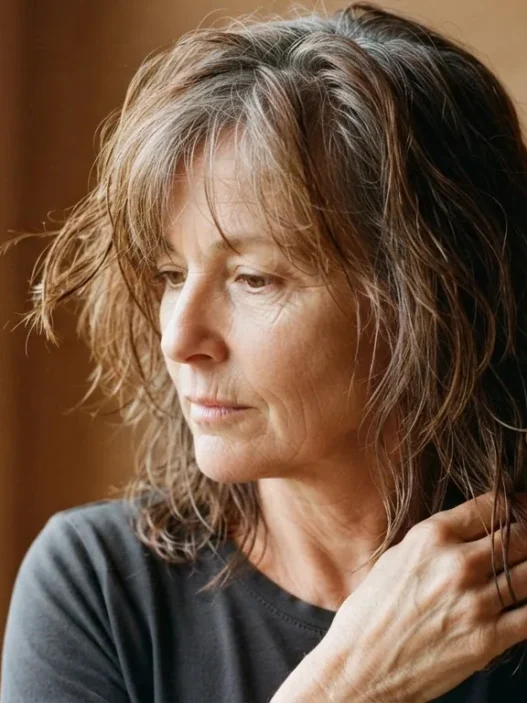
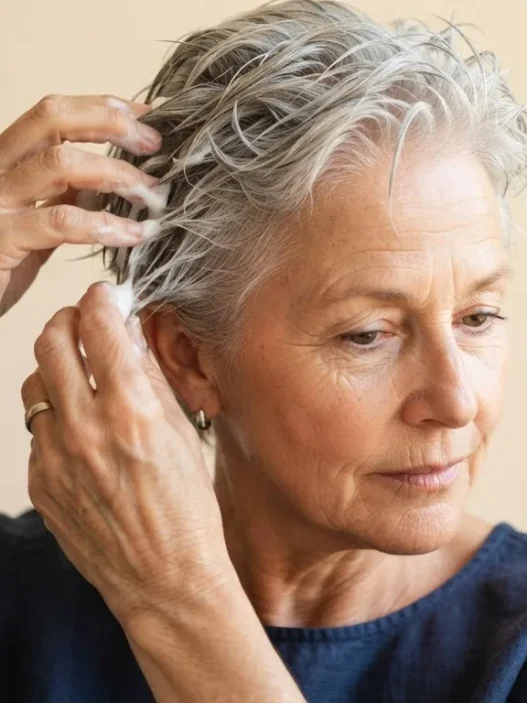
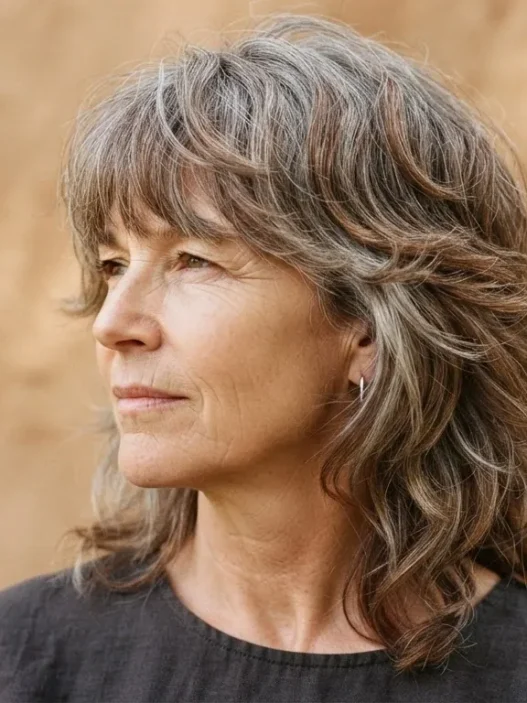
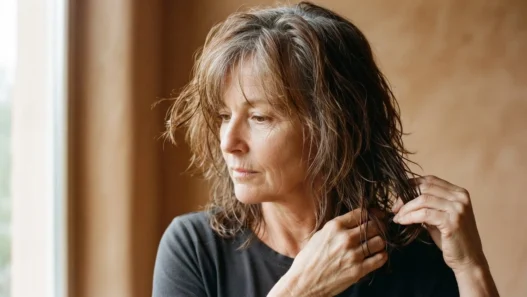
Look at her lengths in that image — see how the mid-shaft is catching the light slightly differently from the ends? That’s the gloss doing its job, evening out the porosity and adding reflectivity. On camera it reads as dimensional rather than flat, which is exactly the goal for gray blending on dark brown hair that’s been heavily colored over time.
Step 6: Processing and Rinsing
Your foils need between 20 and 35 minutes to process, depending on the starting depth of your hair and how warm your bathroom is. Heat speeds things up. On dark brown Level 4 hair, I check at 20 minutes by unfolding one foil at the back — where it usually processes slowest — and looking at the color. You’re aiming for a pale gold or sandy blonde in the lifted section. Anything darker and you need more time. Anything yellower or brassy, you’re fine — the toner handles that.
Rinse the foils first, carefully, with warm water while keeping the rest of your hair — the sections with gloss on them — away from the rinse water. Then rinse the gloss sections separately, also with warm water. Condition everything, deeply. This is not the moment to skip the conditioner. Your lifted sections have opened cuticles and they will absorb anything you put on them — moisture or damage equally. Use a bond-rebuilding conditioner or at minimum a generous, fatty conditioner left on for five minutes before rinsing.
Pat — don’t rub — dry with your towel. Your hair at this stage will be somewhat vulnerable and slightly rough to the touch. That’s normal. The next step closes it back down.
Step 7: Toning the Silver
This is often treated as optional. It is not optional. Especially not on dark brown hair that’s been lifted, which will have warm underlying pigment — orange and gold tones that appear as the dark pigment is removed. Toning neutralizes those warm tones and brings everything into a coherent, cool-neutral palette that allows the silver and the brown to read as a considered combination rather than a chemical accident.
You can tone two ways. The easier approach is a purple or blue toning shampoo applied to damp hair for ten to fifteen minutes. This is gentler and gives a subtle result — good for first-timers or if your lift was fairly conservative. The more targeted approach is a dedicated toner — Wella T18 or T14 for cooler results, Redken Shades EQ 09T or 09P for a softer, more natural silver-adjacent tone. Apply it to the foiled sections specifically with a brush, leave it for ten minutes, rinse, and condition again.
On the silver itself — your natural incoming gray — a violet-toned gloss can deepen and enrich it rather than leaving it looking dull or yellowish. Silver hair oxidizes and picks up environmental warmth over time, and a quick blue-violet toner keeps it looking intentional. The kind of lived-in silver that looks gorgeous rather than neglected. You can understand more about toning gray hair at home if you want to go deeper on this step before your first attempt.
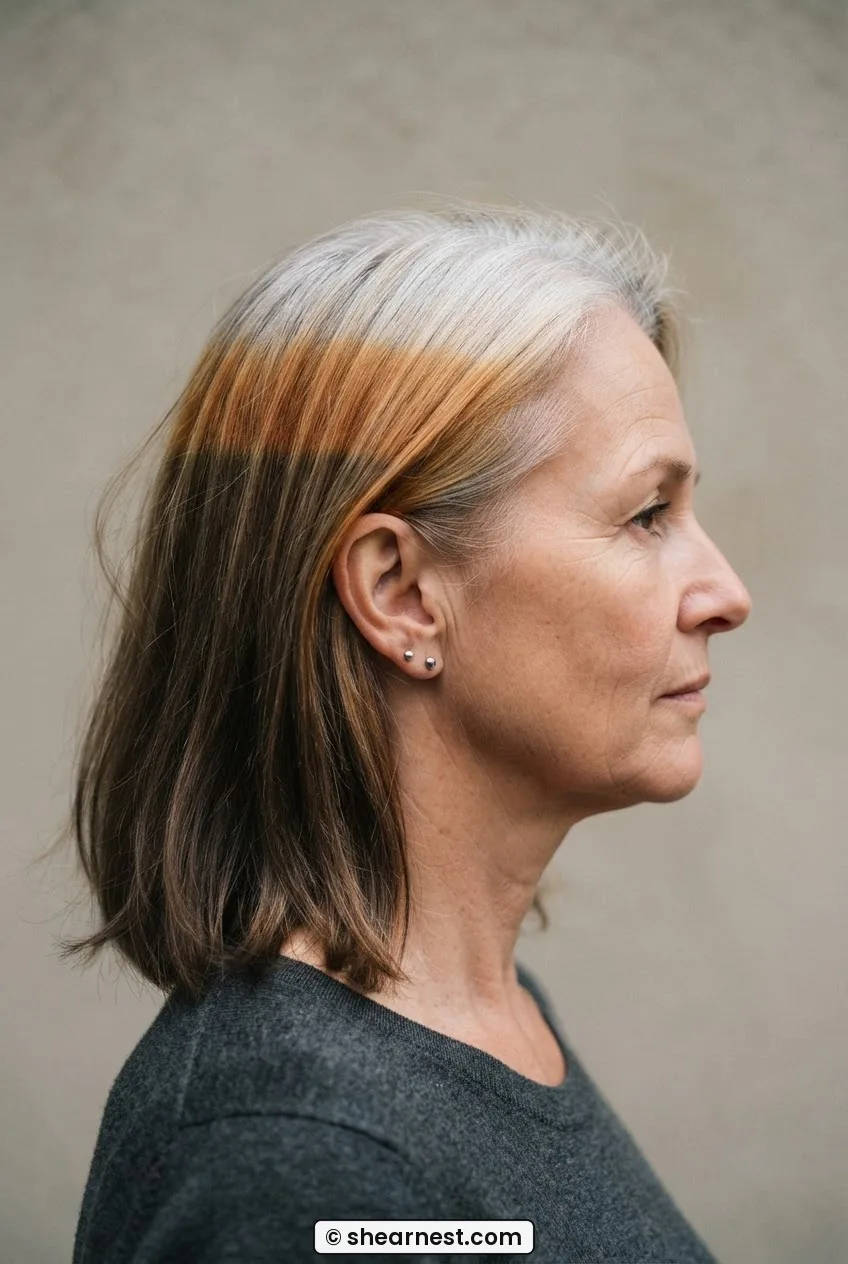
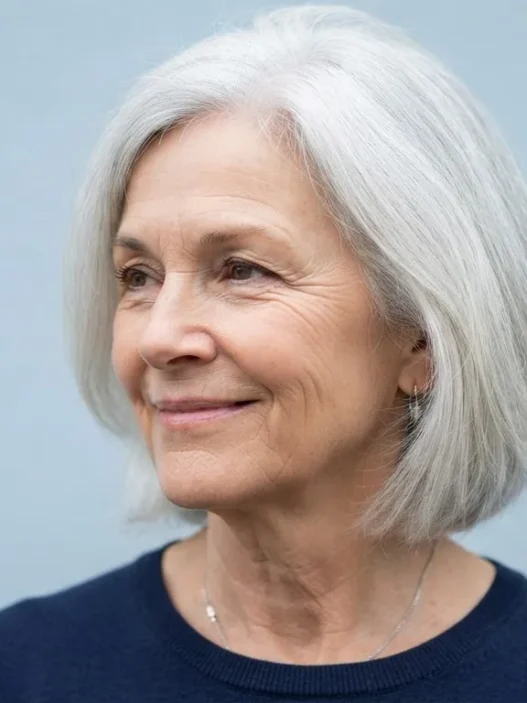
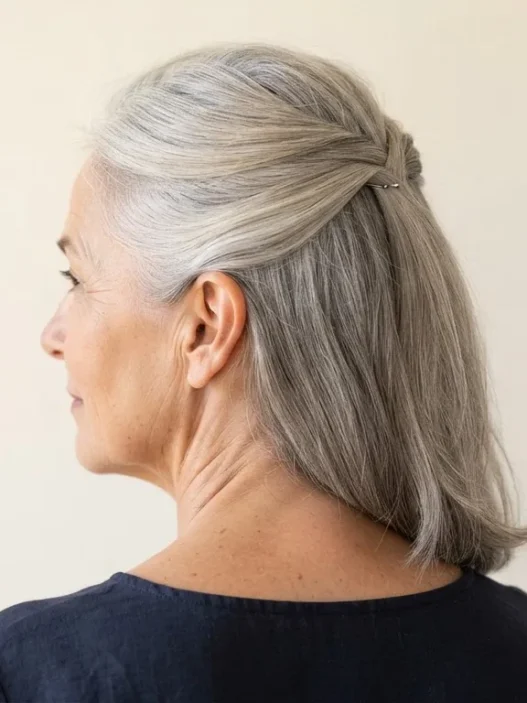
See how the toned result on her looks in that photo? The silver crown and the dark lengths are speaking the same tonal language now — both cooled down, both reading as intentional. That’s what you’re working toward. The demarcation line is still faintly visible if you look for it, but your eye doesn’t snag on it the way it did before because there’s no longer a sharp warm-to-cool contrast at the boundary.
What It Looks Like When It Goes Wrong
I want to be honest about this rather than glossing over it, because if you know what the failure modes look like, you can course-correct early.
Orange banding: This is the most common one. It appears as a horizontal stripe of warm, brassy orange — often about an inch below your natural root line — where the lightener hit the dark hair but either didn’t process long enough or was applied too thickly. The fix is toning immediately, and in future sessions, either leaving the lightener on longer or using 30-volume developer in that section specifically.
Patchy lift: Some sections go lighter than others. Usually this means the foil sections were uneven in thickness, or you had areas of resistant, previously-colored hair mixed with areas of fresher growth. Next time, take even thinner slices and make sure you’re distributing the lightener all the way to the ends of each foiled section.
The gloss turned everything darker than expected: Demi-permanent color always processes deeper on high-porosity hair. If your ends are porous from years of coloring, they absorb more pigment than intended. Next time, apply the gloss to mid-length first and only add it to the ends in the final five minutes of processing.
The silver looks more yellow than it did before: The toner didn’t take or didn’t stay on long enough. Leave it on for the full fifteen minutes next time, and make sure your silver sections are slightly damp but not dripping when you apply it — water dilutes the toner.
How Long It Holds and Day-Two Revival
The blending effect holds genuinely well for about six to eight weeks, which is roughly when your regrowth pushes far enough down that the original demarcation line starts to reappear below the new silver growth. At that point you have a choice: repeat the full process, or do a maintenance gloss only — no lightener — to refresh the tone and buy yourself another few weeks.
The demi-permanent gloss fades gradually, which is actually one of its virtues. As it fades, it lightens further — which means the color continues to evolve softly rather than hitting a hard edge at the moment it wears off. By week eight or nine your lengths may be half a level lighter than they were after the service, which is fine. That’s the gloss working the way it’s designed to.
Day two is when this look genuinely comes into its own. Freshly toned hair can look a little flat or slightly green-toned in certain lights. After one wash and a night’s rest, the tone settles, the cuticle closes fully, and the hair gets its movement back. On day two, use a dry shampoo at the root if you need volume — the silver regrowth actually holds dry shampoo beautifully because of its texture. A small amount of a lightweight hair oil on the mid-lengths and ends brings back the gloss effect that the first wash removes. Work it through with your fingers in downward strokes, not scrunching, so you maintain the smoothness rather than adding frizz.
If you’re considering where this transition sits in the bigger picture of going gray — the planning stages, the emotional side of it — there’s genuinely good reading on what actually changes in hair as we get older that helped me understand what I was working with biologically, not just cosmetically. Understanding the structure of aging hair made me stop fighting it quite so hard.
And if you’re at the stage of thinking about a full commitment to silver — or at least exploring what options exist beyond the blending phase — it’s also worth looking at blonde options for women over 50, because a lot of the same lightening and toning principles apply, just in a different direction tonally.
Questions I Get About This
Can I do this on hair I’ve been box-dyeing for years?
Yes, but with extra care. Box dye often contains metallic salts and builds up unevenly on the hair shaft, which means it can lift unpredictably — some sections may go orange while others lift faster than expected. Do a strand test first, always. If your hair has more than three years of consistent box dye on it, I’d honestly recommend seeing a colorist for the first session and doing maintenance yourself afterward.
Do I need to do this every time I notice regrowth?
No — the full lightening-and-glossing process every six to eight weeks is plenty. If you feel the color going dull between sessions, a standalone purple shampoo treatment or a ten-minute demi gloss refresh is enough to extend things. The lightening step specifically only needs repeating when the visual gap between silver and length becomes stark again.
Will this damage my hair significantly?
Used correctly — 20 volume, thin sections, a bond protector in the lightener, and deep conditioning after — the damage is minimal. The key risk is over-processing or overlapping onto previously lightened hair, which is why keeping your foil sections precise and timing carefully is so important. The demi gloss is essentially non-damaging.
What if my hair is fine and already feels fragile near the root?
Fine, fragile hair at the root is more common after 40 and it’s a real concern. In that case, skip the lightener at the very root and start your application about a quarter inch below the scalp. The scalp heat would lift that section anyway. And read up on haircut options for fine hair over 50 — sometimes the way the cut is structured does more for a gray blend than the color itself.
Can this work on curly or wavy brunette hair?
It can, but the sectioning is harder and the result is softer, which is actually often more beautiful. Curly hair diffuses hard lines naturally because the texture breaks up any visible edge. You may need to do slightly fewer foils to avoid over-processing, and toning is even more important on curly hair because the texture tends to make warm tones more visible. You can look at gray blending on curly hair for technique adjustments specific to curls.
The first time I did this properly — all seven steps, in order, without rushing the processing or skipping the toner — I stood in the bathroom after and didn’t hate what I saw. That sounds like a low bar but after three years of bad at-home attempts it was actually everything. The silver at my crown looked like it had been placed there deliberately. The dark lengths looked refreshed rather than stale. The line between them was still there — I could see it if I looked — but it had stopped being the first thing my eye went to. That’s all gray blending on dark brown hair is really trying to do. Not erase the gray. Not pretend it isn’t there. Just make peace between what’s growing in and what’s already there. Turns out that’s worth every careful step.