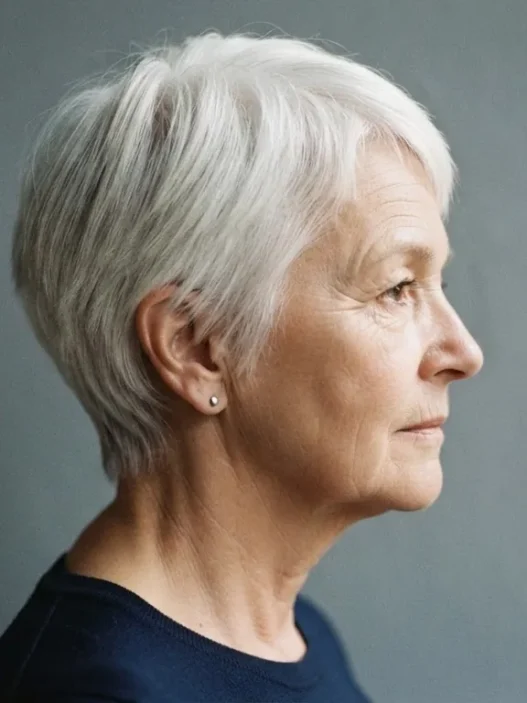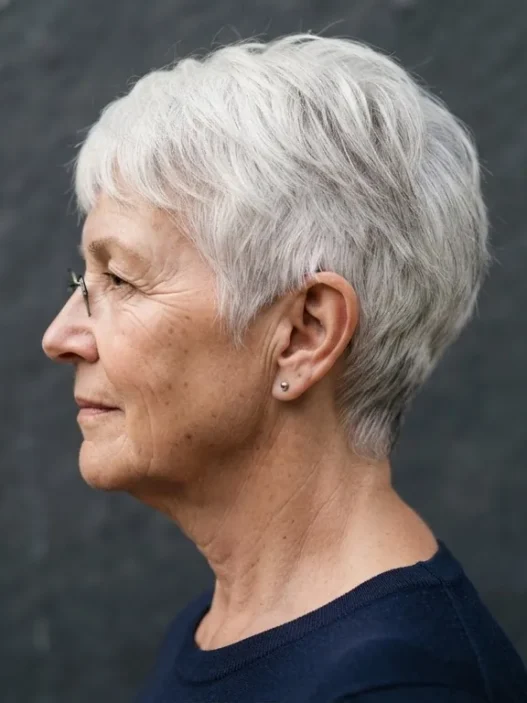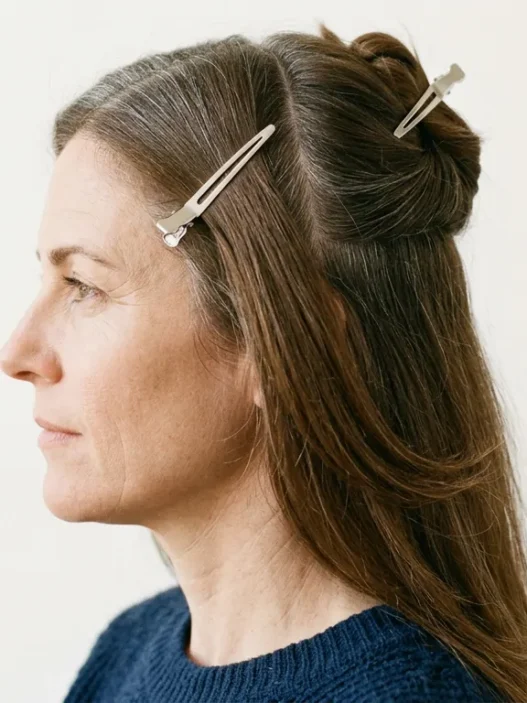








I’d been wrestling with my hair at the bathroom mirror for nearly twenty minutes before I finally admitted I had no idea what I was doing. I had the concept — a low, elegant chignon sitting just at the nape — but every attempt slid south by noon or sat lumpy against my skull. My hair is fine, mostly white now, and slippery in a way it never used to be, and none of the tutorials I found seemed to account for any of that. So I took it apart, stage by stage, until I understood exactly where my grip was failing and why.
This guide is the result. It’s written for doing this on yourself, one-handed if necessary, at a standard bathroom mirror. No salon, no second pair of hands.
What’s In This Guide
- Why This Style Works for Mature Hair
- What You’ll Need
- Step 1: Prepping Dry Hair Without Adding Weight
- Step 2: Sectioning the Crown
- Step 3: Building the Ponytail Base
- Step 4: Where the Weight Comes Out
- Step 5: Rolling and Anchoring the Chignon
- Step 6: Securing Without Flattening
- Step 7: Finishing and Holding All Day
- What It Looks Like When It Goes Wrong
- How Long It Holds — And How to Revive It on Day Two
- Questions I Get About This
Why This Style Works for Mature Hair
Here’s something nobody tells you: a low updo is actually more forgiving for fine or thinning hair than a high one. When you pile everything up on top, every gap and thin patch is on full display. Drop the whole thing to nape level and the weight distributes differently — the roll sits against the head rather than fighting gravity — and the neckline does something genuinely beautiful with white or silver hair. The contrast of texture against skin at that level is one of the most elegant things I know.
There’s also a facial framing argument. A low chignon softens the jawline and keeps the focus on the eyes, which is the kind of geometry worth understanding if you’re curious about what oval face hairstyles for women over 50 are actually trying to achieve structurally. The principle holds regardless of face shape: the lower the anchor point, the more the face reads as the main event.
What You’ll Need
Keep it simple. Mature, fine hair hates being overloaded with product. Here’s my actual list:
- A fine-tooth rat-tail comb (for sectioning — the pointed end is essential)
- A soft-bristle brush (Mason Pearson or similar — nothing with plastic pins)
- A fabric-covered elastic — snag-free, medium tension, one size down from what feels comfortable
- Bobby pins in your hair colour — I use at least 8, sometimes 12 for slipperier days
- Sectioning clips (the flat, alligator-jaw type — 4 minimum)
- A light-hold texturizing spray or dry shampoo — NOT a heavy cream or wax
- A small amount of light pomade or balm (optional, for flyaways at the end)
- A hand mirror for checking the back
One product note: I use a texturizing spray on white or fully grey hair before I do anything structural. White hair in particular is very smooth at the cuticle — it has less of the roughness that grips itself — so you need to manufacture some friction. The best texturizing sprays for fine hair your stylist recommends for your texture will matter more here than almost any technique I can teach you.
Step 1: Prepping Dry Hair Without Adding Weight
Work on second-day hair if you can. Freshly washed fine hair is too clean — it’s slick and has no memory. If your hair is freshly washed, hit the roots and mid-lengths with dry shampoo, wait two minutes, then rough it gently with your fingertips against the growth direction. You’re not teasing, just disturbing the surface slightly.
Then spritz your texturizing spray from about 30cm away, focusing on the under-layers and the ends. Let it dry for a full minute before you touch it. This is where people rush. Let it set.
Give everything a slow brush-through with the soft bristle brush — top to bottom, following the fall of the hair. You want it smooth on the surface but with grip underneath. The difference is subtle but you can feel it when you run your palm over it: it should feel slightly matte, not silky.
Step 2: Sectioning the Crown
This step is what most tutorials skip, and it’s the one that makes everything else possible.
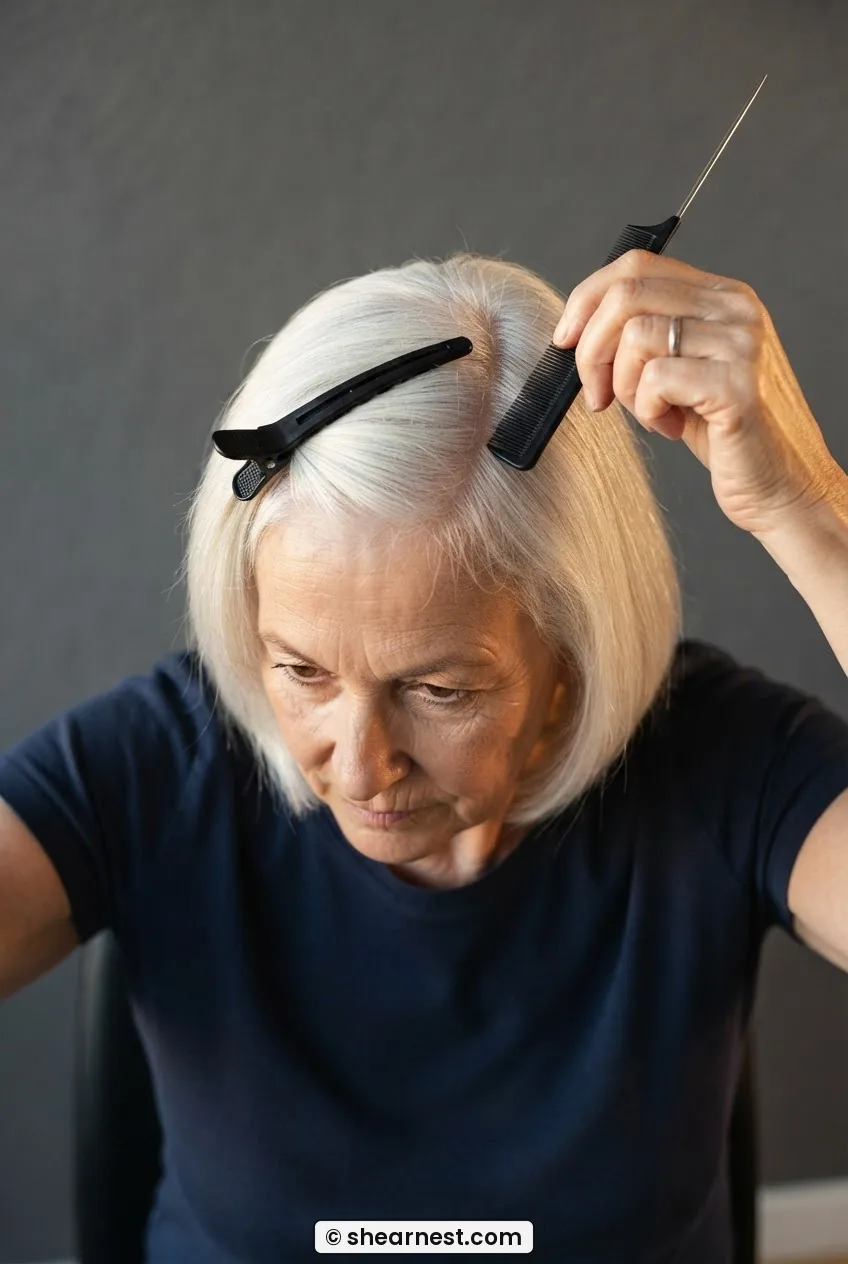
Using the rat-tail comb, draw a curved parting from temple to temple — roughly following the curve of your head about 5cm back from the hairline. Clip this front section forward out of the way with a sectioning clip. This front panel is not going into the chignon body; it’s going to be smoothed back over the top later to cover any gaps and thin patches at the crown.
Now take the remaining hair — everything behind that parting — and divide it loosely into two sections: upper (from the parting to the crown peak) and lower (from the crown peak down to the nape). Clip the upper section up. You’re working with the lower nape section first, which sounds counterintuitive but keeps everything controllable when you’re working alone.
The section sizes matter. If your hair is very fine or short at the nape, the lower section might only be 2–3cm of length. That’s fine — it becomes part of the roll’s anchor, not the roll’s bulk.
Step 3: Building the Ponytail Base
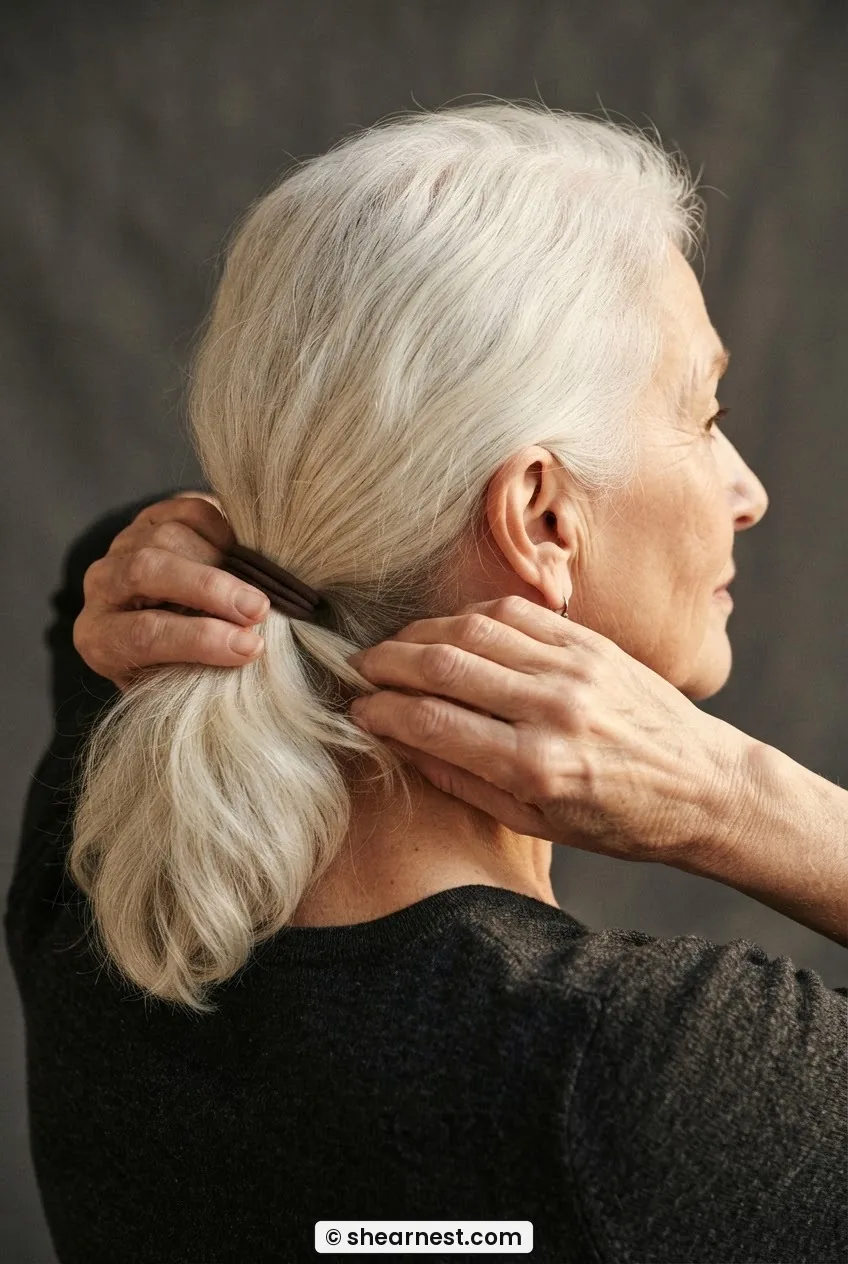
Release the upper back section and combine it with the nape section — hold everything together at nape level. The position is lower than you think: the elastic should sit right at or just above the occipital bone, that little shelf where your skull curves inward. Not at the middle of the back of your head. Not high. Right at the nape shelf.
Gather toward this point slowly, smoothing with the soft brush as you go. Use your non-dominant hand to hold the gathered hair against the nape while your dominant hand brushes any remaining sections into it. Keep the tension consistent — firm, not tight. A tight ponytail on fine mature hair will give you a headache by hour two and will also create drag lines at the temples that aren’t flattering.
Secure with the fabric elastic. Loop it three times if the elastic allows — fine hair needs the hold but can’t take a metal crimp. Run the rat-tail comb handle gently under the elastic to create just a small amount of lift at the base, so the ponytail base sits slightly away from the skull rather than flat against it. This creates the foundation volume that the chignon will need.
Step 4: Where the Weight Comes Out
This is the step I got wrong for months. The weight distribution in a low chignon determines whether it looks elegant or lopsided, full or flat — and it’s entirely about what you do with the ponytail tail before you roll it.
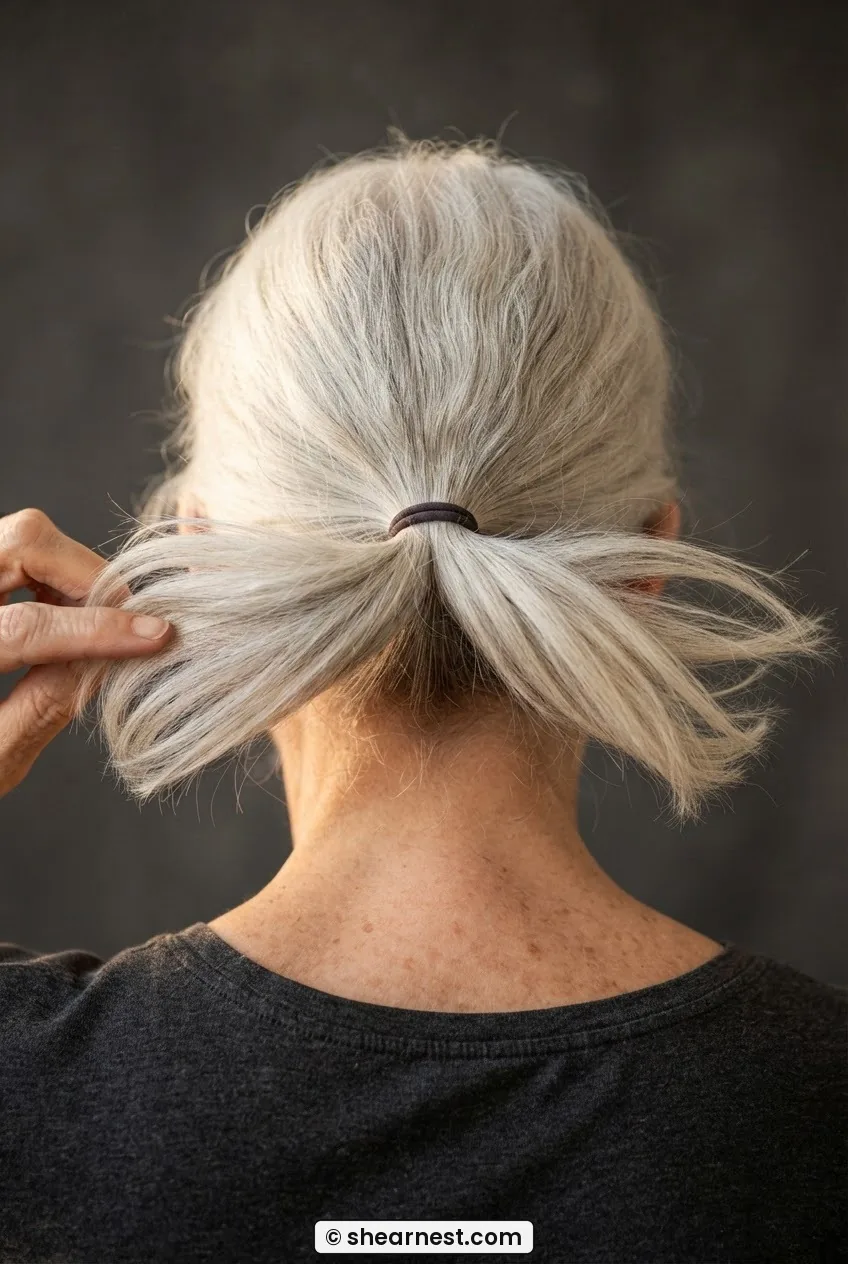
Hold the ponytail tail straight out from the nape (horizontally, not downward). Now split it into two loose sections — left half and right half — and separate them slightly so there’s a small gap between them. This gap is where the roll’s interior volume comes from. When you bring the ends under and up (which happens in the next step), these two halves will form the outer walls of the chignon rather than collapsing into a single flat pancake.
If your ponytail has very little length — say, 8–10cm — don’t split it. Instead, fan the ends out slightly into a wide, flat paddle shape, which achieves the same spreading effect on a shorter tail. The goal is width, not thickness. A wide, flat base rolls into a fuller chignon than a narrow rope of hair, no matter how much hair you have.
The mistake I kept making: I was rolling the ponytail tail upward from the ends, like rolling a scroll. What actually works is tucking the ends under and toward the nape first, then anchoring that fold before you bring the roll up and over it. Rolling upward first means you’ve got nothing to anchor to — the whole thing unrolls the second you let go. Tuck, anchor, then roll.
Step 5: Rolling and Anchoring the Chignon
Take the fanned or split ponytail tail and bring the ends downward and under, tucking them toward the nape below the elastic. Hold this fold in place with two fingers of your non-dominant hand — don’t let go. This is your anchor fold.
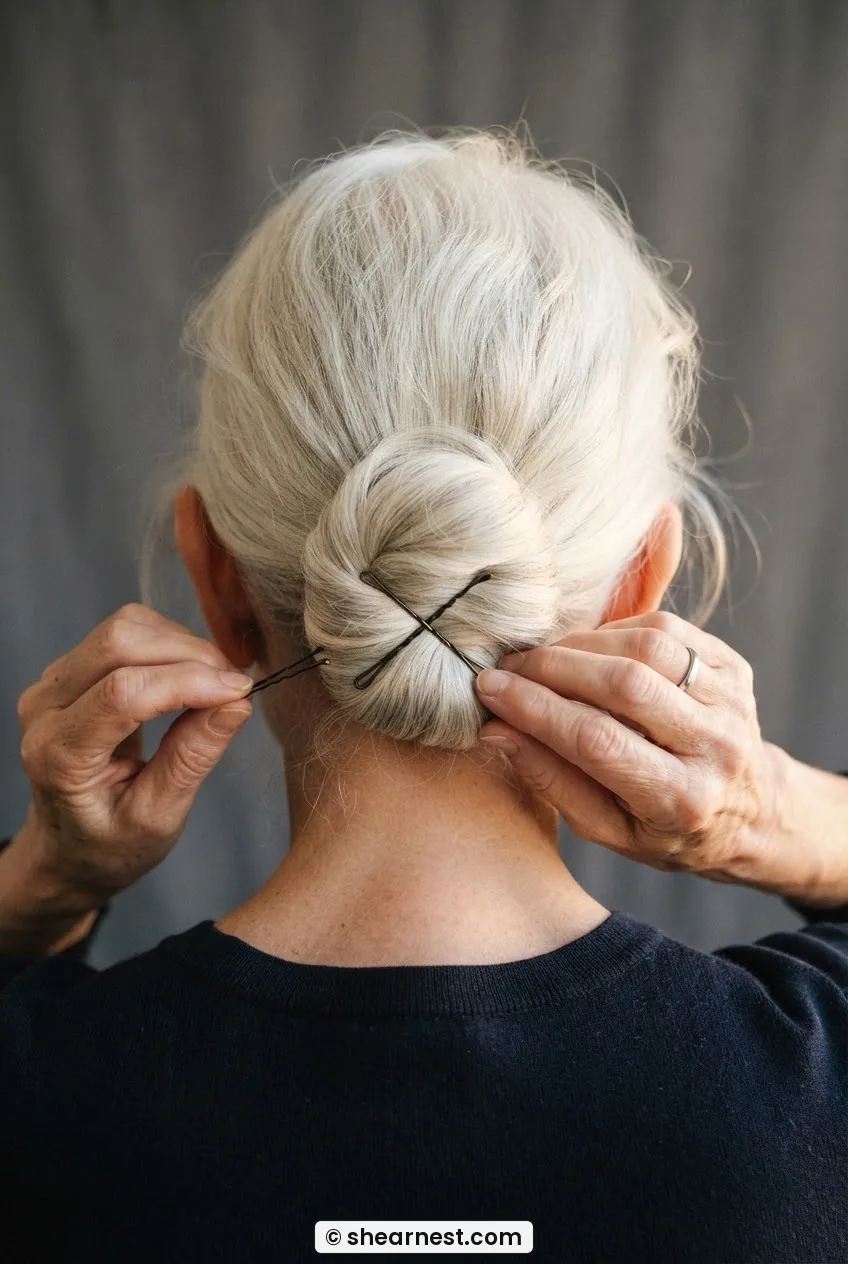
With your dominant hand, slide two bobby pins through the fold horizontally, right at the point where the tucked ends meet the underside of the elastic. Cross the pins in an X if you can — it holds significantly better than two parallel pins. Now you can release your non-dominant hand.
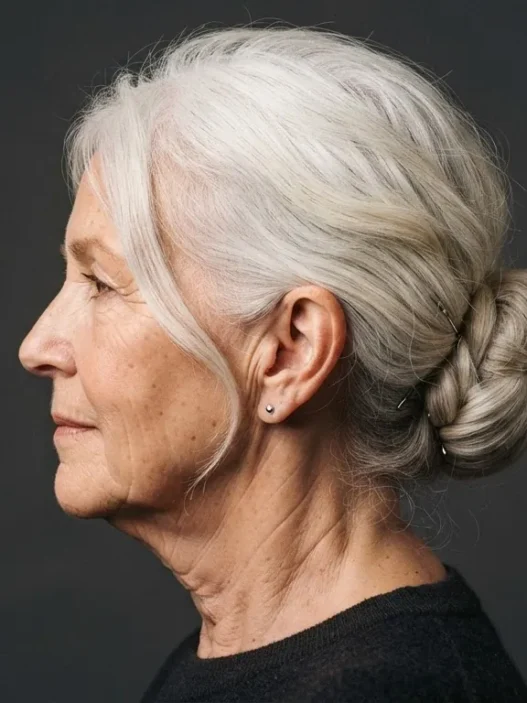
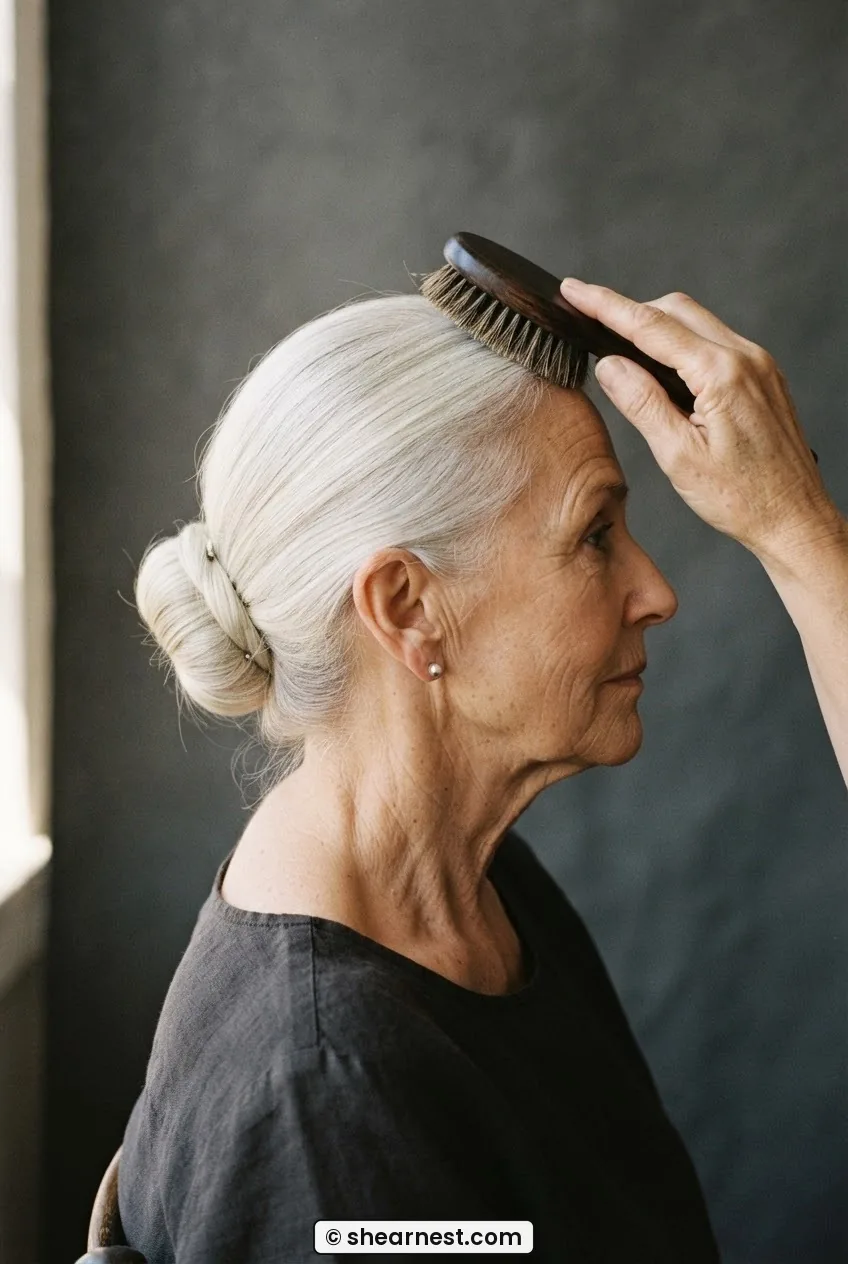
The anchored fold has created a small loop of hair at the nape. Gently bring this loop upward and forward — not tight, let it roll loosely — until the roll sits against the base of the skull. The roll should look like a soft horizontal log sitting at nape level, with its ends pointing toward each ear. Look at the woman in this photo — see how her roll sits almost like a bolster, with a defined edge at the top and a smooth curve below? That’s the shape you’re aiming for.
Step 6: Securing Without Flattening
Fine hair collapses under too many pins placed too aggressively. The secret is to pin into the roll from the underside and at the edges, never from the top surface. Pinning from the top pushes the roll down against the skull; pinning from beneath lifts it slightly and keeps its shape.
Slide pins at the left and right ends of the roll first, angling them inward and downward at about 45 degrees, catching hair from inside the roll and anchoring it to hair at the nape below. Then do two more pins along the bottom edge of the roll, again angling upward into the roll’s body. That’s four pins total at this stage. Use more only if something feels unstable.
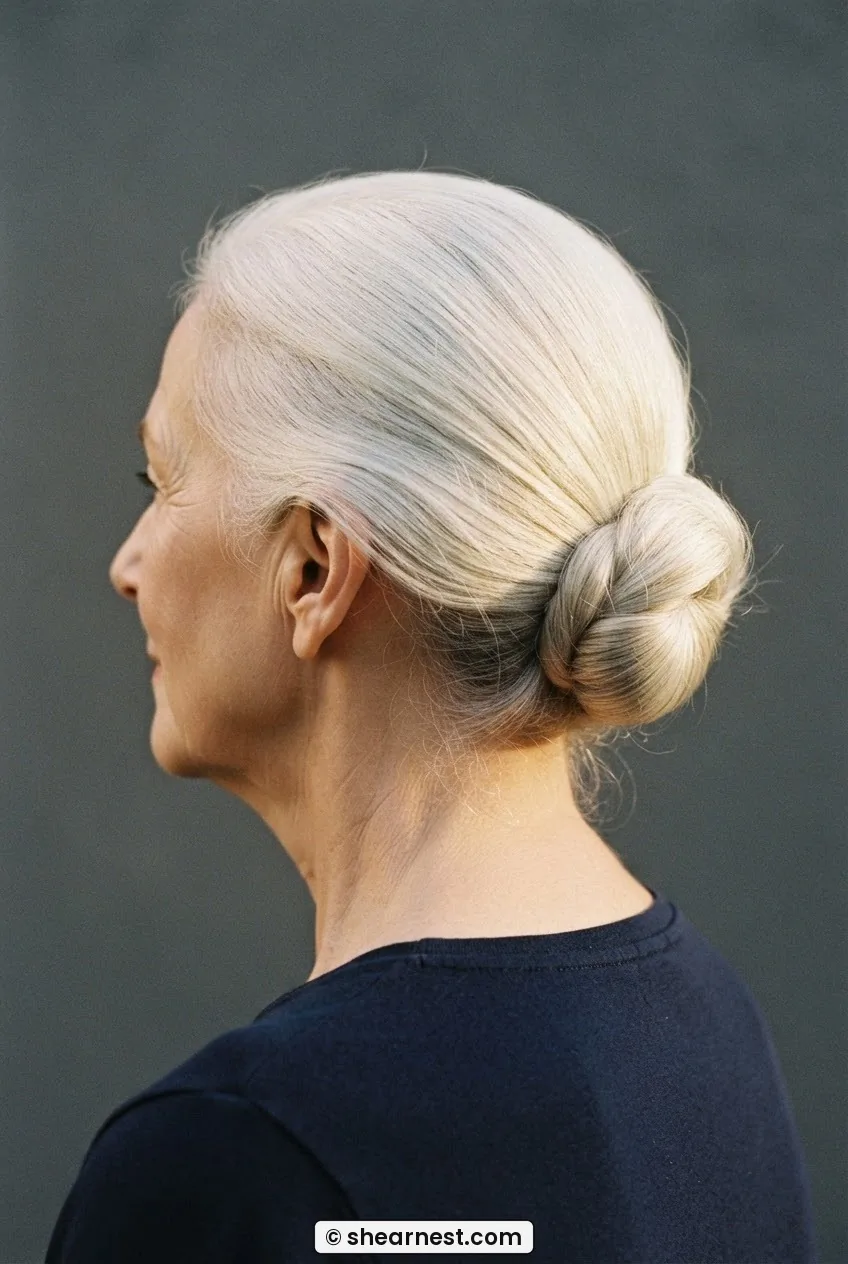
Now release the front crown section you clipped forward in Step 2. Smooth it back over the crown with the soft-bristle brush, directing it toward the roll. Don’t pull it tight — just lay it gently over the top of the head, letting it follow the curve of the skull. Where it reaches the roll, tuck the ends discreetly into the top of the roll and pin them there with one or two more bobby pins. This covers any crown thinning and creates a seamless transition from the smooth top to the chignon. It’s the same principle behind the 60-plus French twist updo method — controlling the crown section separately gives you coverage you can’t get if you throw everything into one ponytail.
Step 7: Finishing and Holding All Day
Stand at the mirror with your hand mirror behind your head. Look at the overall shape: the roll should be centered (or deliberately off-center if you prefer — a chignon worn slightly to one side is genuinely chic on mature hair), the crown should be smooth but not pulled, and there should be a small amount of volume at the base of the roll where it meets the nape.
Any wiry flyaways around the face — and there will be some, especially at the temples — get a tiny touch of pomade or balm worked between your palms, then smoothed over the surface. Don’t fight short pieces around the hairline; let them curve naturally. Forcing them flat with product makes the whole thing look harsh, and harsh is never the goal here.
For hold, mist a light-hold finishing spray from at least 40cm away — a cloud, not a coat. Tilt your head slightly forward and spritz the nape area directly, which is where slippage almost always starts. Understanding how updo longevity techniques work for fine hair fundamentally changed how I approach the finishing step — a light mist at the roots of the roll, from beneath, holds far better than spraying the surface.
That’s it. Step back. The style is done.
What It Looks Like When It Goes Wrong
A few failure modes worth naming so you can spot them immediately:
The pancake. The roll is flat against the skull with no depth. This means the anchor fold in Step 5 wasn’t wide enough — the ends were gathered too tightly before tucking. Go back and re-fan the tail more broadly.
The sliding roll. The chignon gradually drops or tips sideways over a few hours. This is a pinning angle problem — your pins are parallel rather than crossing, or they’re going into the roll surface rather than through it. Repin with crossed pins from the underside.
The pulled temples. Tension lines radiating from the hairline toward the ears look tight and uncomfortable. Loosen the ponytail elastic by one loop, or move the ponytail base down 1cm. The low chignon should never create visible drag.
The visible elastic. You can see the fabric band below the roll. This means the roll isn’t sitting low enough to cover the base, or the crown hair wasn’t brought far enough down in Step 6. Bring the roll down just slightly, or use a small section of hair to wrap over the elastic before securing.
If you’re working with hair that has significant texture variation — some wiry, some fine, some straight — this is a common challenge. It’s worth reading about what actually changes about hair styles for women over 70, because the texture shifts that happen in your 60s and 70s affect how updos behave structurally, not just aesthetically.
How Long It Holds — And How to Revive It on Day Two
Done correctly on second-day hair with texturizing spray at the base, this chignon holds reliably for 8–10 hours. That covers a full workday, an afternoon event, or an evening dinner. It’s not an overnight style — the nape pins will work loose by morning regardless of what you use — but it genuinely holds through activity, humidity, and the kind of head-turning you do at a table.
On day two revival: don’t take it out. Instead, gently press the roll back into position with the heel of your palm, re-anchor any pins that have loosened, and re-spritz the nape. If the crown has developed any gaps, tease the crown panel very lightly with the rat-tail comb before smoothing it back into place. It won’t be pristine, but it will be presentable — and there’s an argument that a slightly looser chignon on day two looks warmer and more lived-in than the just-done version.
If your hair is straight and particularly resistant to holding shape, the approach for straight hair cuts for women over 50 goes into helpful detail about how straight hair’s growth patterns affect what any style can realistically hold — which translates directly to updo longevity. Worth knowing before you blame your technique when it’s actually your texture working against you.
Questions I Get About This
Can I do this on hair that’s shorter than shoulder length?
Yes — I’d say chin-to-shoulder length is actually the sweet spot. Longer hair creates a thicker tail that’s harder to roll neatly without a second pair of hands. If your hair reaches your mid-back, you may need to twist rather than roll. The method changes slightly but the anchoring principle stays the same.
What if I have a lot of short regrowth or broken pieces at the nape?
Short nape pieces that won’t reach the elastic become your best friends in disguise — they add texture to the roll’s surface and make it look intentionally tousled. Encourage them with a tiny bit of pomade and let them sit naturally. Trying to pin every short piece will take 45 minutes and look worse than leaving them alone.
My hair is very thin at the crown — will the chignon look sparse?
This is exactly why I section the crown separately in Step 2. That front panel, laid over the top last, gives you control over what the crown looks like independent of what the chignon body is doing. A thin crown is much more visible in a high updo than a low one, which is another reason this placement works so well for many women. You might also find the tips in my piece on wavy haircuts for women over 50 useful — the section on crown density applies whether or not you have natural wave.
How many bobby pins is too many?
I use 10–12 on a normal day. If you’re somewhere past 16 and the chignon still feels unstable, the issue isn’t the number of pins — it’s the anchoring in Step 5. More pins can’t fix a fold that wasn’t anchored properly. Rebuild the fold before you add more hardware.
Is this appropriate for formal occasions or just everyday wear?
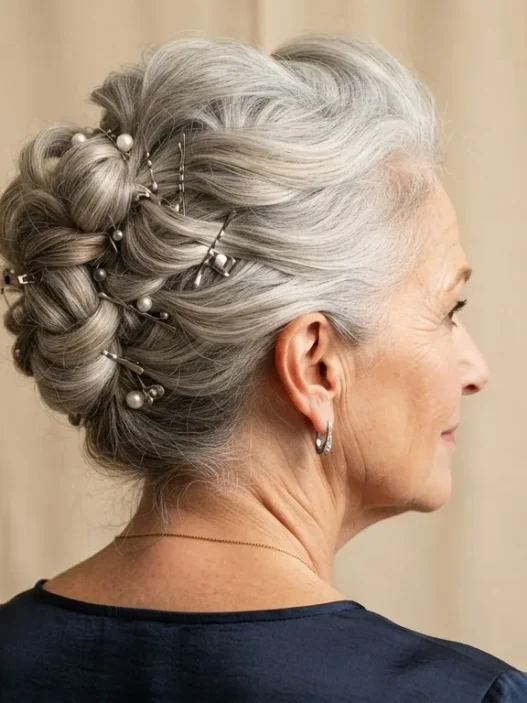
Both, genuinely. A tidy version with smooth crown and minimal flyaways reads as polished enough for a wedding, a memorial, or a professional event. Add small pearl pins or a simple gold comb and it becomes genuinely formal. A slightly looser, less fussed version is a great everyday chignon that looks intentional without looking like you spent forty minutes on it. The shape does the work.
The first time I got all seven stages right, I stood at the mirror for a moment longer than necessary just to look. The roll was centered, the crown was smooth, the nape felt clean. It held through a five-hour day of meetings and a dinner out. I’ve done it dozens of times since, and it still gives me that small, quiet satisfaction of something done properly. That’s enough of a result for me.